Some painting I did on my original pieces.
Japanese Navy.JPG Italian Navy.jpg Bismark.jpg
Custom carriers from OOB's and painted pieces
-
@DMcLaren
a little damage is to be expected. Nothing a rest and refit can’t fix :) -
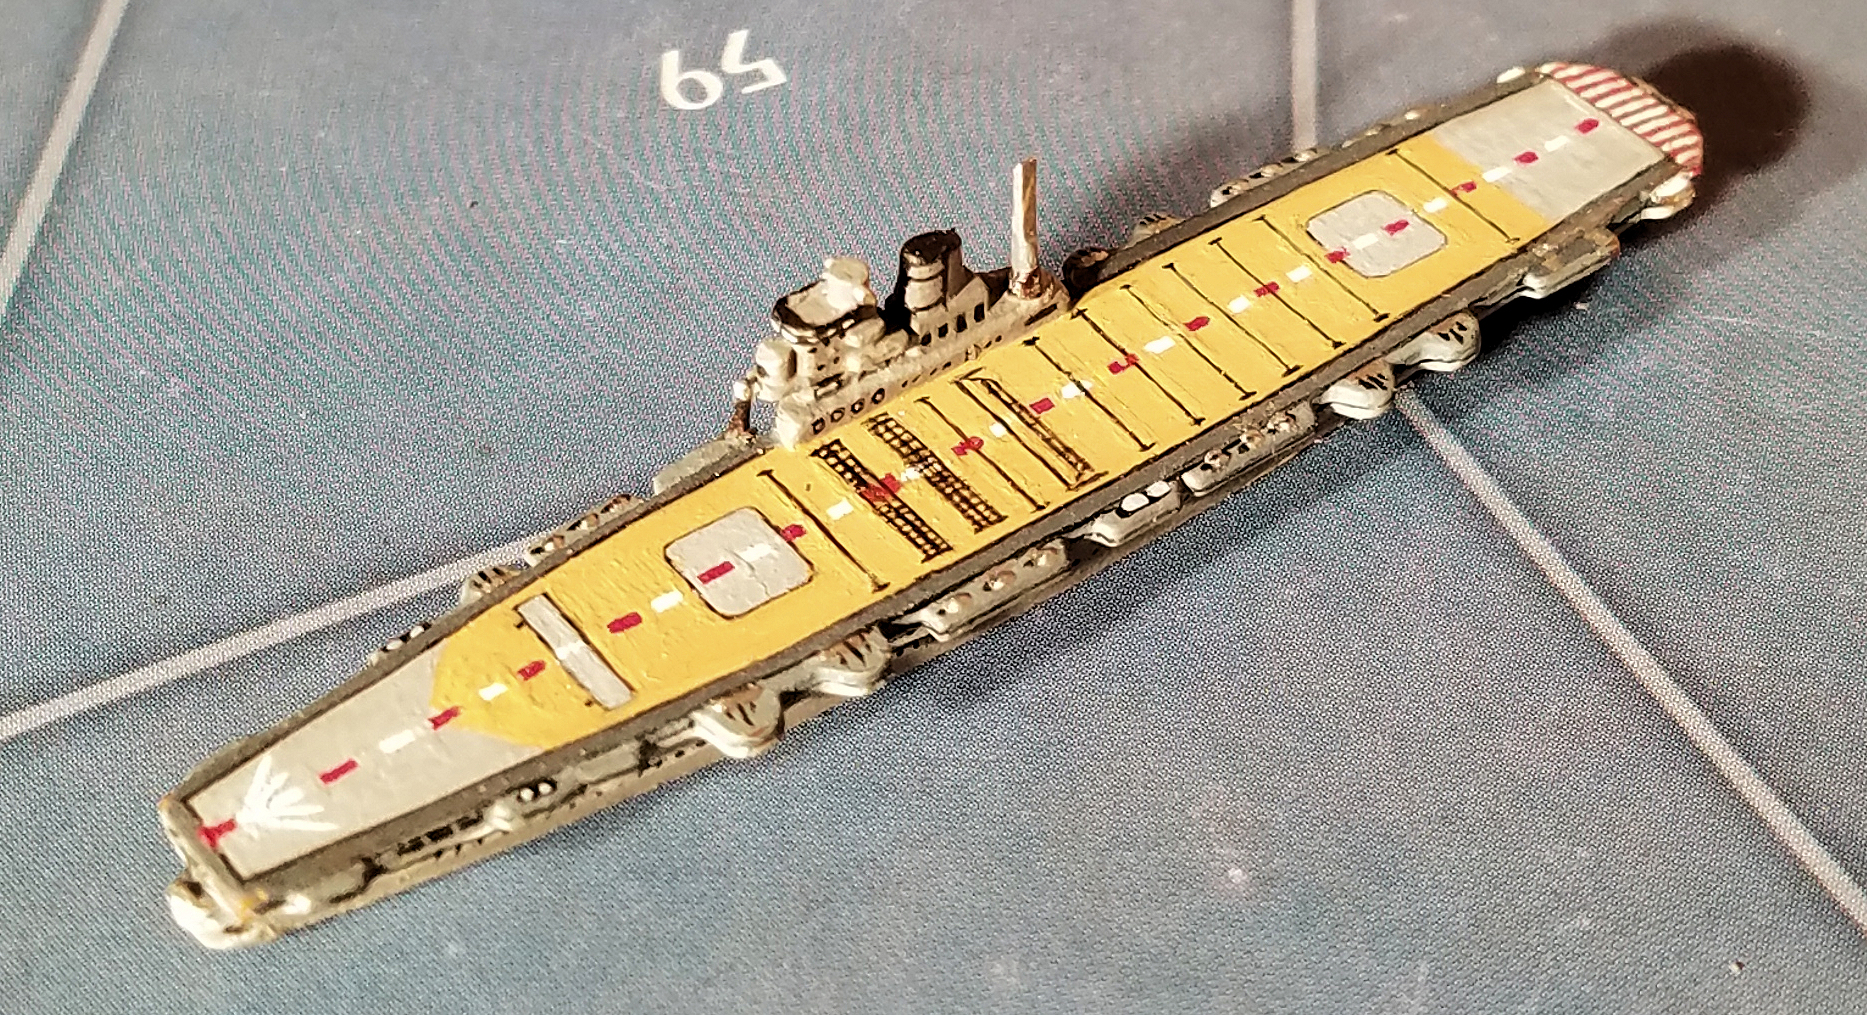
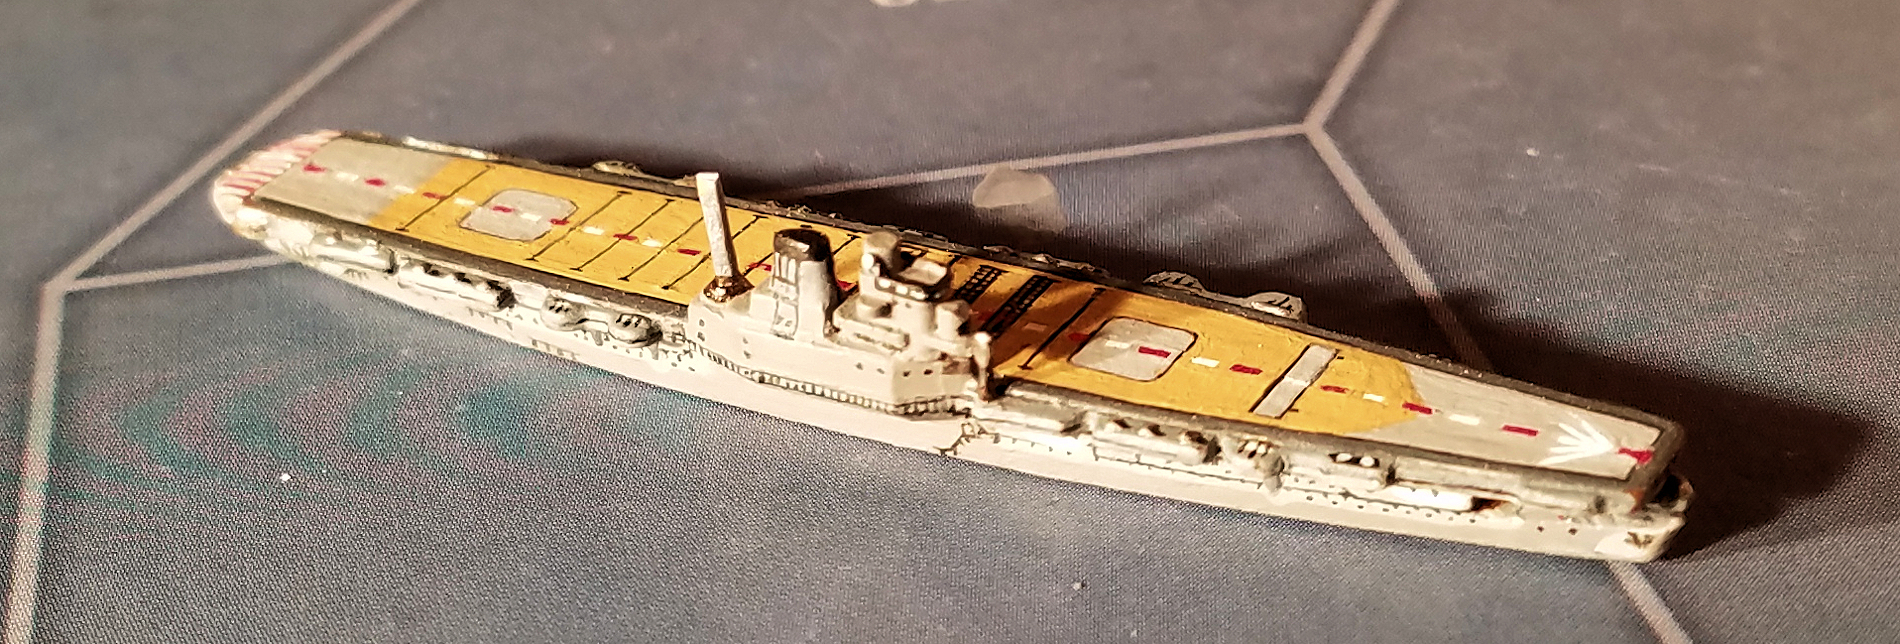
The IJN Junyo has been done for a while but I’ve just now gotten around to cropping the pictures to post. So without further ado, FOlewnik’s (a.k.a. FJO) IJN Junyo in late war livery made from a Shinano sculpt.



-
@DMcLaren Awesome !
Do you have one where it’s damaged ?
-
Not carriers but I posted a picture of the Takaos a few pages back in an older post (to compare over time) that need a rest and refit to replace their scout planes.
-
-
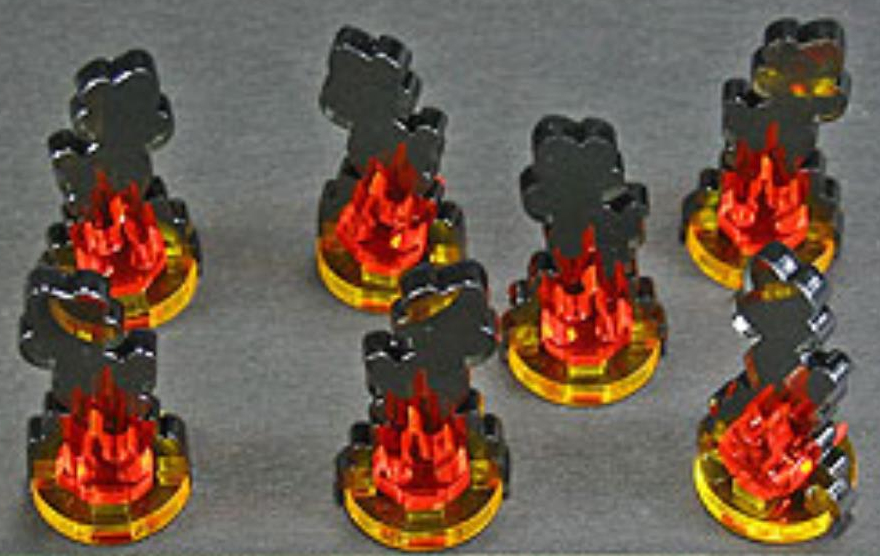
Oh! lol, no. We use the smallest version of the Litko “Flaming Wreckage” markers. They sit well on carriers, but have to sit next to ships.
-
@DMcLaren Nice : )
-
@barnee said in Custom carriers from OOB's and painted pieces:
@DMcLaren Nice : )
Ya we use same brand but just the small flame. Sits on carrier and as mentioned can place next to 2 hit ships if need room
Also use them on territories with train track damage. Or any kind of flat token your using. AB NB train stations. Rail tracks resource tokens and such. -
A few of the blurry pictures on the first page of the post have been replaced with better pictures, and pictures have been added to the finished IJN Shoho post earlier in the thread, and a destroyer family photo added of the IJN destroyers. Speaking of family photos, here are all the IJN aircraft carriers together. The last one still to complete is on the far right of the capital carriers- it just needs the deck painted. It’s a “what if” carrier of a converted battleship the Japanese player can upgrade to when fixing a damaged battleship. (The Japanese originally planned this for the Ise but went with a scaled down version to retain the big guns.) Might take a turn to convert, we haven’t play-tested it yet. The light carriers have the IJN Hiyo with them on the left just because of length- FOlewnik put 2 magnets in it so we could use it for either light or capital. You can see the finished canopies on the Zeroes.


-
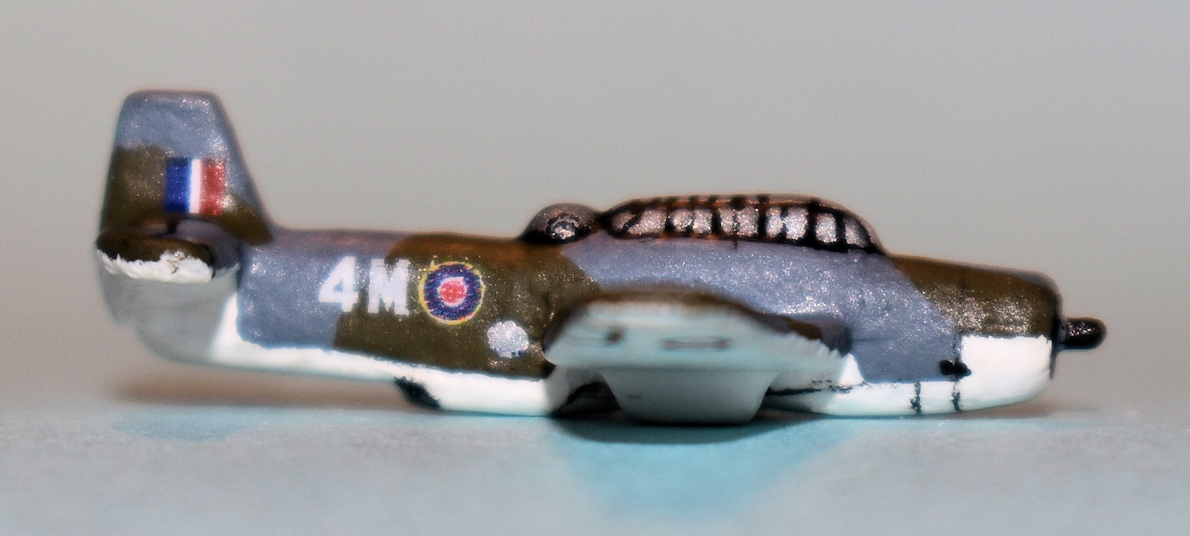
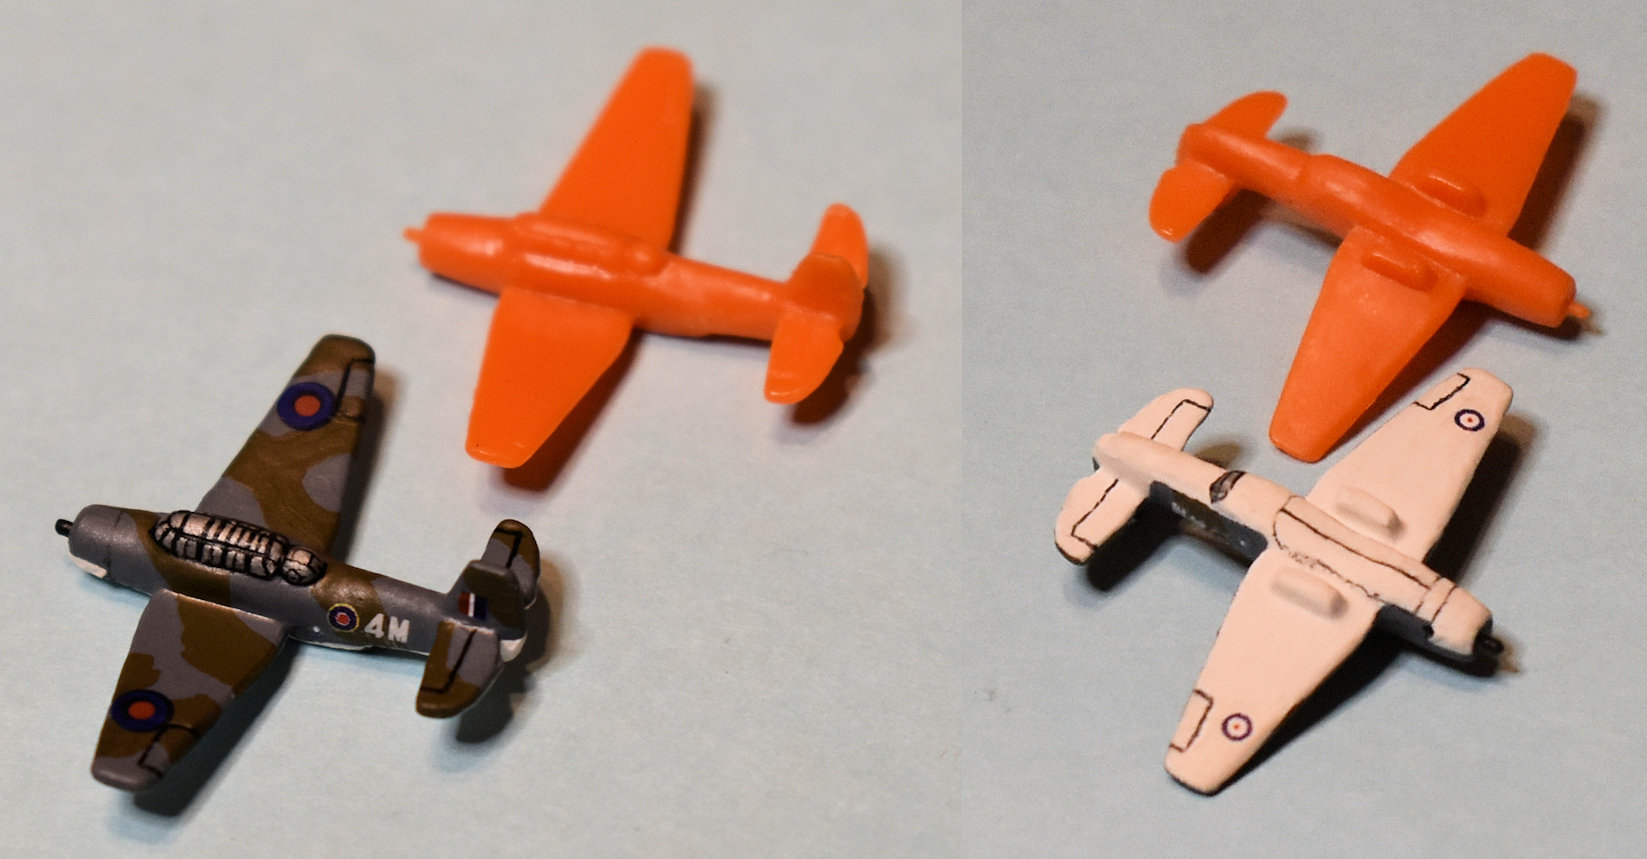
A while ago, HBG had a sale on orange pieces so I took advantage of it and bought a lot of aircraft on the cheap. While looking for paint schemes for TBF Avengers, I came across a set of pictures of a model someone had built of a Royal Navy Avenger and decided it would be the first I attempted so I could add it to the Mosquitoes. While looking for better pictures of the canopy I found another depiction on Wings Palette with a description of its history. I haven’t put the magnet in it yet, but that will go in soon.

-
@DMcLaren Just like the picture !! The tricolor flag on the tail is great. That will be the first plane on somebodies ANZAC carrier.
-
Just gorgeous.
-
Thanks, guys. Glad you like the pieces. I replaced the pictures of the Vals on the bottom of page 2 with recent pictures of the finished bunch with their canopies done. We realized we’d never finished the canopies on the Oscars, so when those are done I’ll replace the picture of the Japanese fighters. We wanted to show how the camouflage schemes of the Imperial Japanese Navy went together so we put a few sorties together for a few runs down The Slot.
The Night Raiders:

The Coastal Fleet:

And my personal favorite, The Fleet of Fog:

(Can you find the 6 airplanes in the Fog Fleet?) -
@DMcLaren awsome
-
@sansmerci
awesome ! is right ! Looks like too much Fun ! :) -
I added a final picture of the Japanese fighters to the Zeroes picture post on the bottom of page 2, right above the finished Aichi D3A Vals. There is a slight difference in Zero sculpts between sets- one set has a thinner rudder and wings, but not by much.
-
Added final Japanese bombers pictures to page 2 and forgot to mention the added UK finished fighters on page 3. If you like them, please click the little heart at the bottom right of the post and show them some love!
-
Wow! You guys do some outstanding work. I am trying to paint my own sculpts for about a year now. I live in an isolated community in British Columbia, Canada. I use whatever acrylic paints I can lay my hands on. That goes for the brushes as well. I tried using masking tape to get detail, but it hasn’t worked out great. I will probably have to order online to get some of the supplies that you have mentioned. Again, great work! Fantastic patience! Kudos to you!
-
@tatsu Thank you very much! Your appreciation means a lot to us. My buddy and I are fortunate enough to live just outside Detroit, Michigan where we have a few nice hobby shops. He does the ships in acrylics and I do the aircraft in enamels. The acrylics come from the local hobby shop, as do most of the brushes (Micheal’s for good brushes, as well), but I can’t find Testor’s (also under the Model Master brand) enamel locally so I get it on Amazon (and the dullcote). “Army Painter” makes some great acrylics and fine, tiny brushes that allow fine lines and details (like their “Psycho” & “Insane Detail” brushes- get both!). Its the smaller brushes that will allow you to get the fine squiggly lines for camo and smaller lines for carrier decks. I’m pretty sure they’ll ship to you: https://www.thearmypainter.com/
I tried masking tape when I was trying to get straight black lines on the tops of the Japanese bombers, but the pieces are too small for masking tape to work effectively. I ended up using the reflected light from my magnifying lamp on the fuselage as a straight edge guide and hand lined it with a 20/0 brush and filled it with a 3/0. I have, though, made “stencil guides” out of 3x5 cards to do things like line up the “red tape” on the Spitfire wings by cutting a small piece of card and punching the nose of the aircraft through the card and folding it onto the wings, marking where the guns go with a pencil, removing the card, cutting a small hole where I marked, and then putting that on the nose of the aircraft, dab a spot of color in the hole to be squared later, and then reversing the card on the nose for the other wing. Also helps with decal placement if you don’t have a better measuring tool.
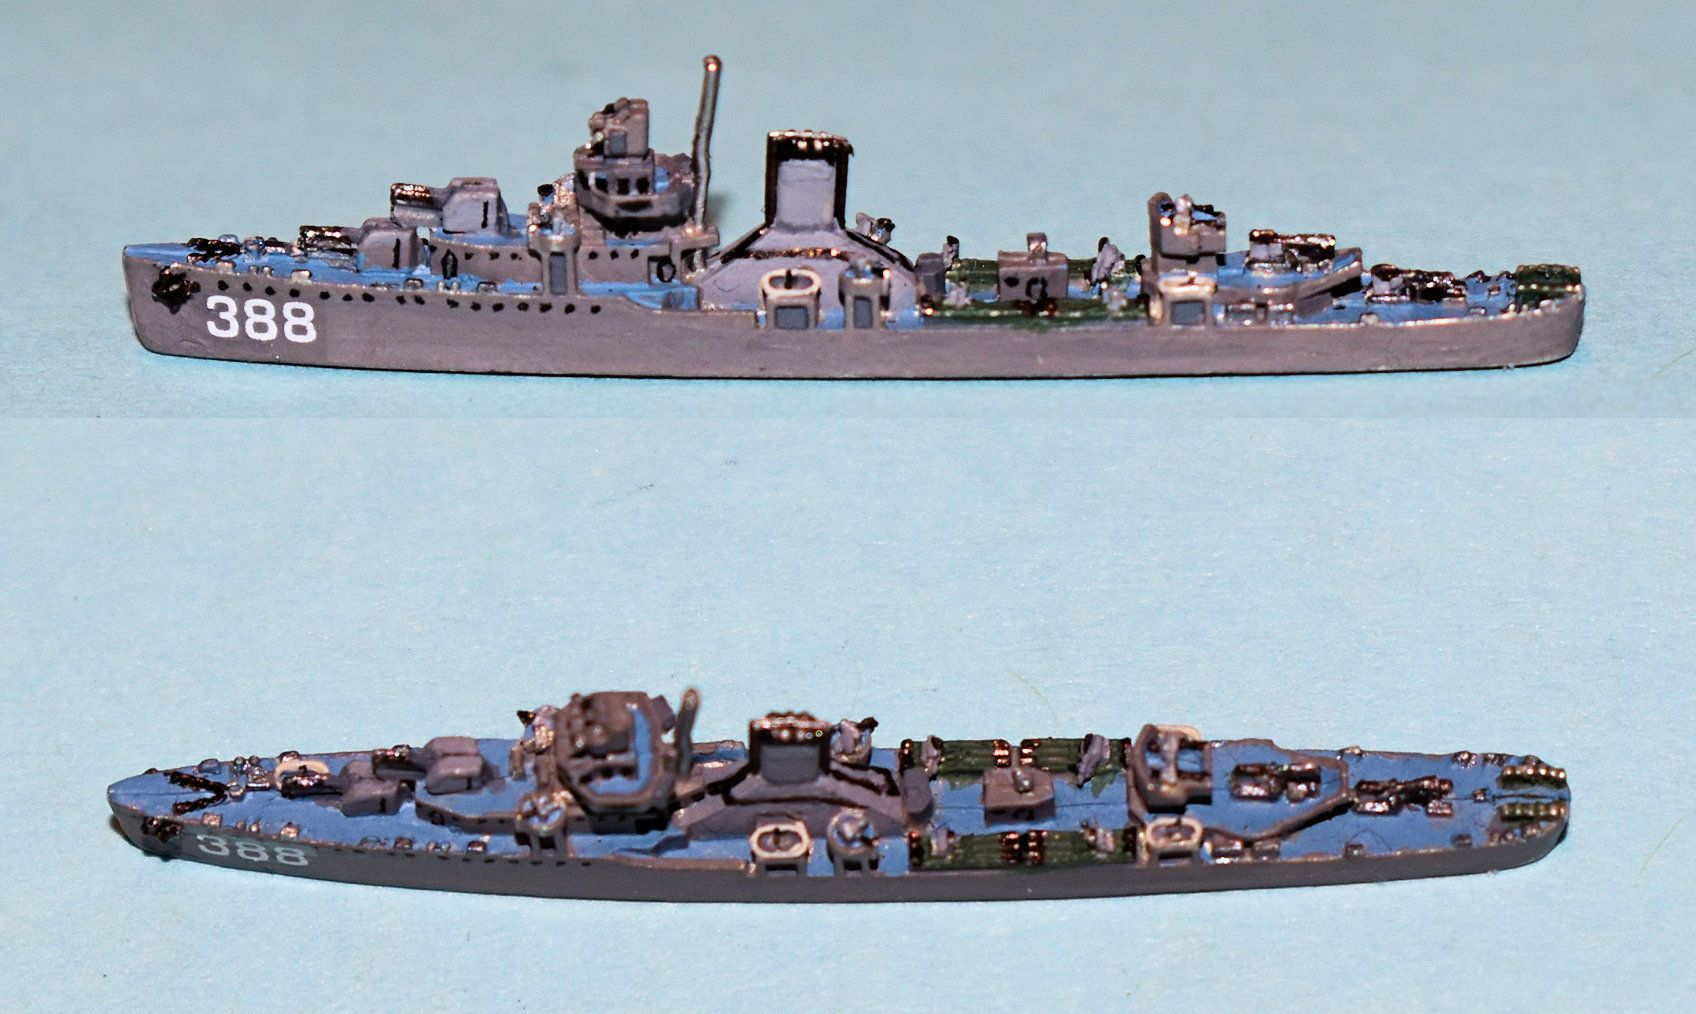
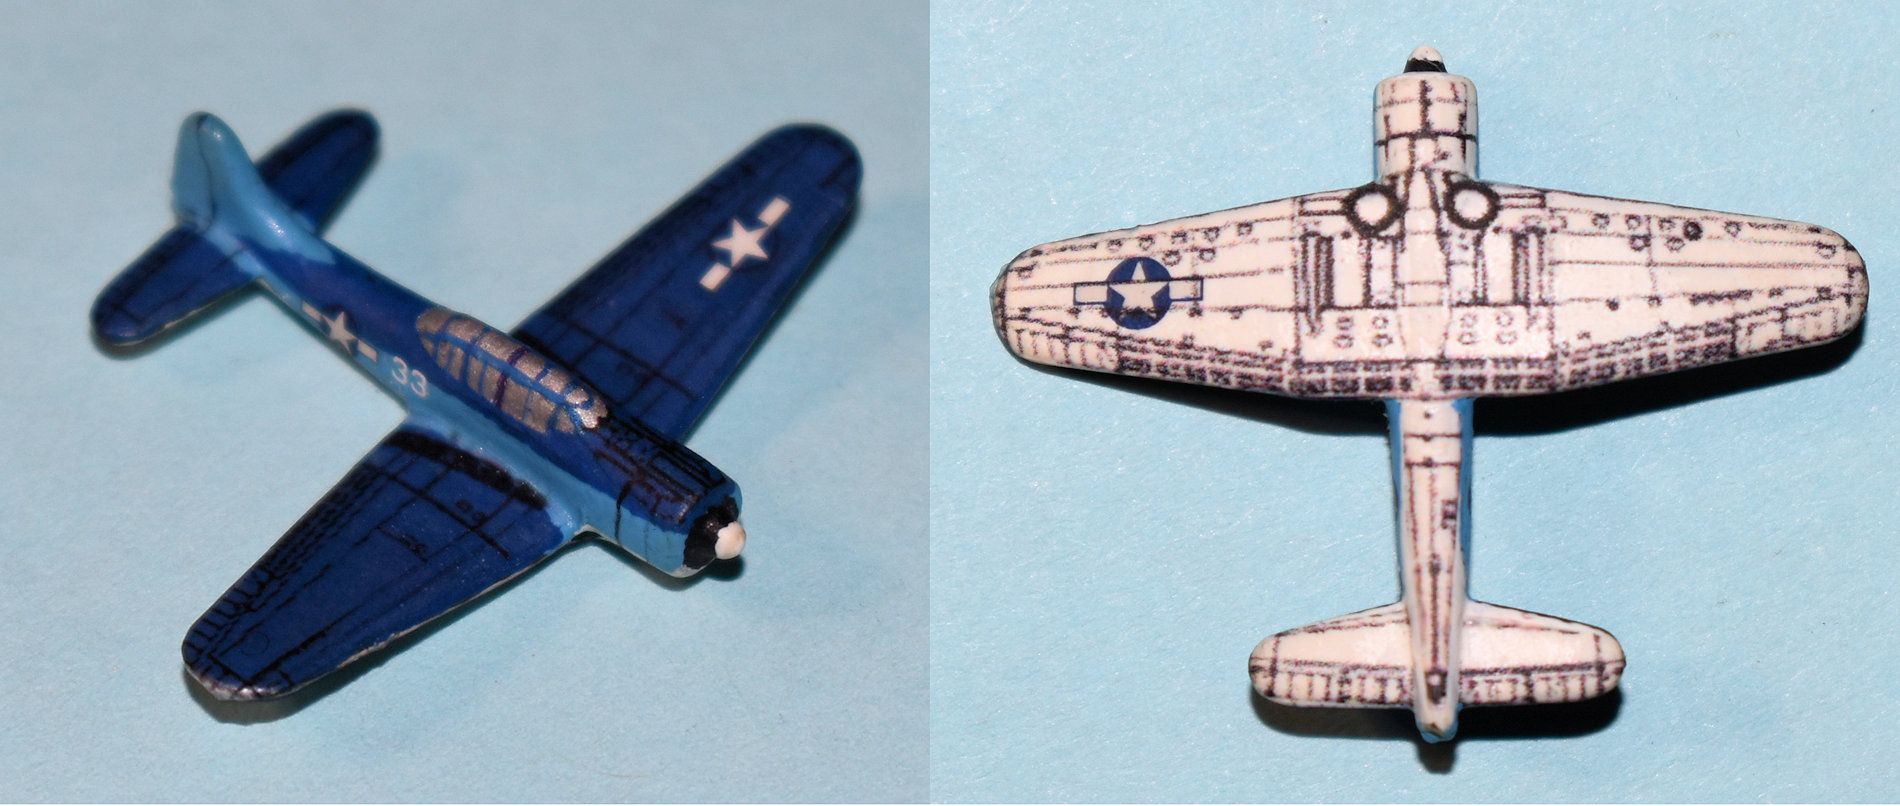
FOlewnik has started on the US Navy while I’m working on some UK bombers and US tacticals. The GHQ destroyers and destroyer escorts that FOlewnik got at last year’s “Check Your 6!” gameday in Dayton, OH are finally getting a coat of paint and some proper hull numbers and are looking good. Testor’s makes decal sheets that I’ve been experimenting with to good effect for the underside of the Dauntless SBD and their top side control surfaces (like dive flaps and ailerons). Below are HBG’s South Dakota BB and GHQ’s DD USS Helm (NOT DE Lansing as previously thought- Helm received 11 battle stars for her World War II service in the Pacific). by FOlewnik in acrylic (I’d just put the hull numbers on and hadn’t put Microsol on them yet and they’re not dullcoted-BB needs touch-up), and my test tactical (try not to chuckle at the sound of that) in enamel with my home made decal top and bottom. I’m not happy with the inked rudder and the rest of the tacticals won’t get the full bottom and top that the test piece got. It still needs the exhaust drawn in and another engine vent on each side, and the test decal isn’t straight on one rear wing on the bottom, but I’m pleased with the potential.

-
I’ve looked at these so many times over the last couple years. Just had to finally post and say how incredibly awed I am at your guys’ work. The detail done. The color schemes, everything. Just incredible.
I’ve recently decided it’s high time I paint my own units. I’m going to be so incredibly happy with anything 10% as good as what you have here, so I can only fathom how you guys feel playing with these!


