Nice work @ari236
@Playing-Kid said in My First Custom Map:
You can use Gimp as a great free software to make your maps
And I agree with Gimp. That’s the tool I used for working on my map files.
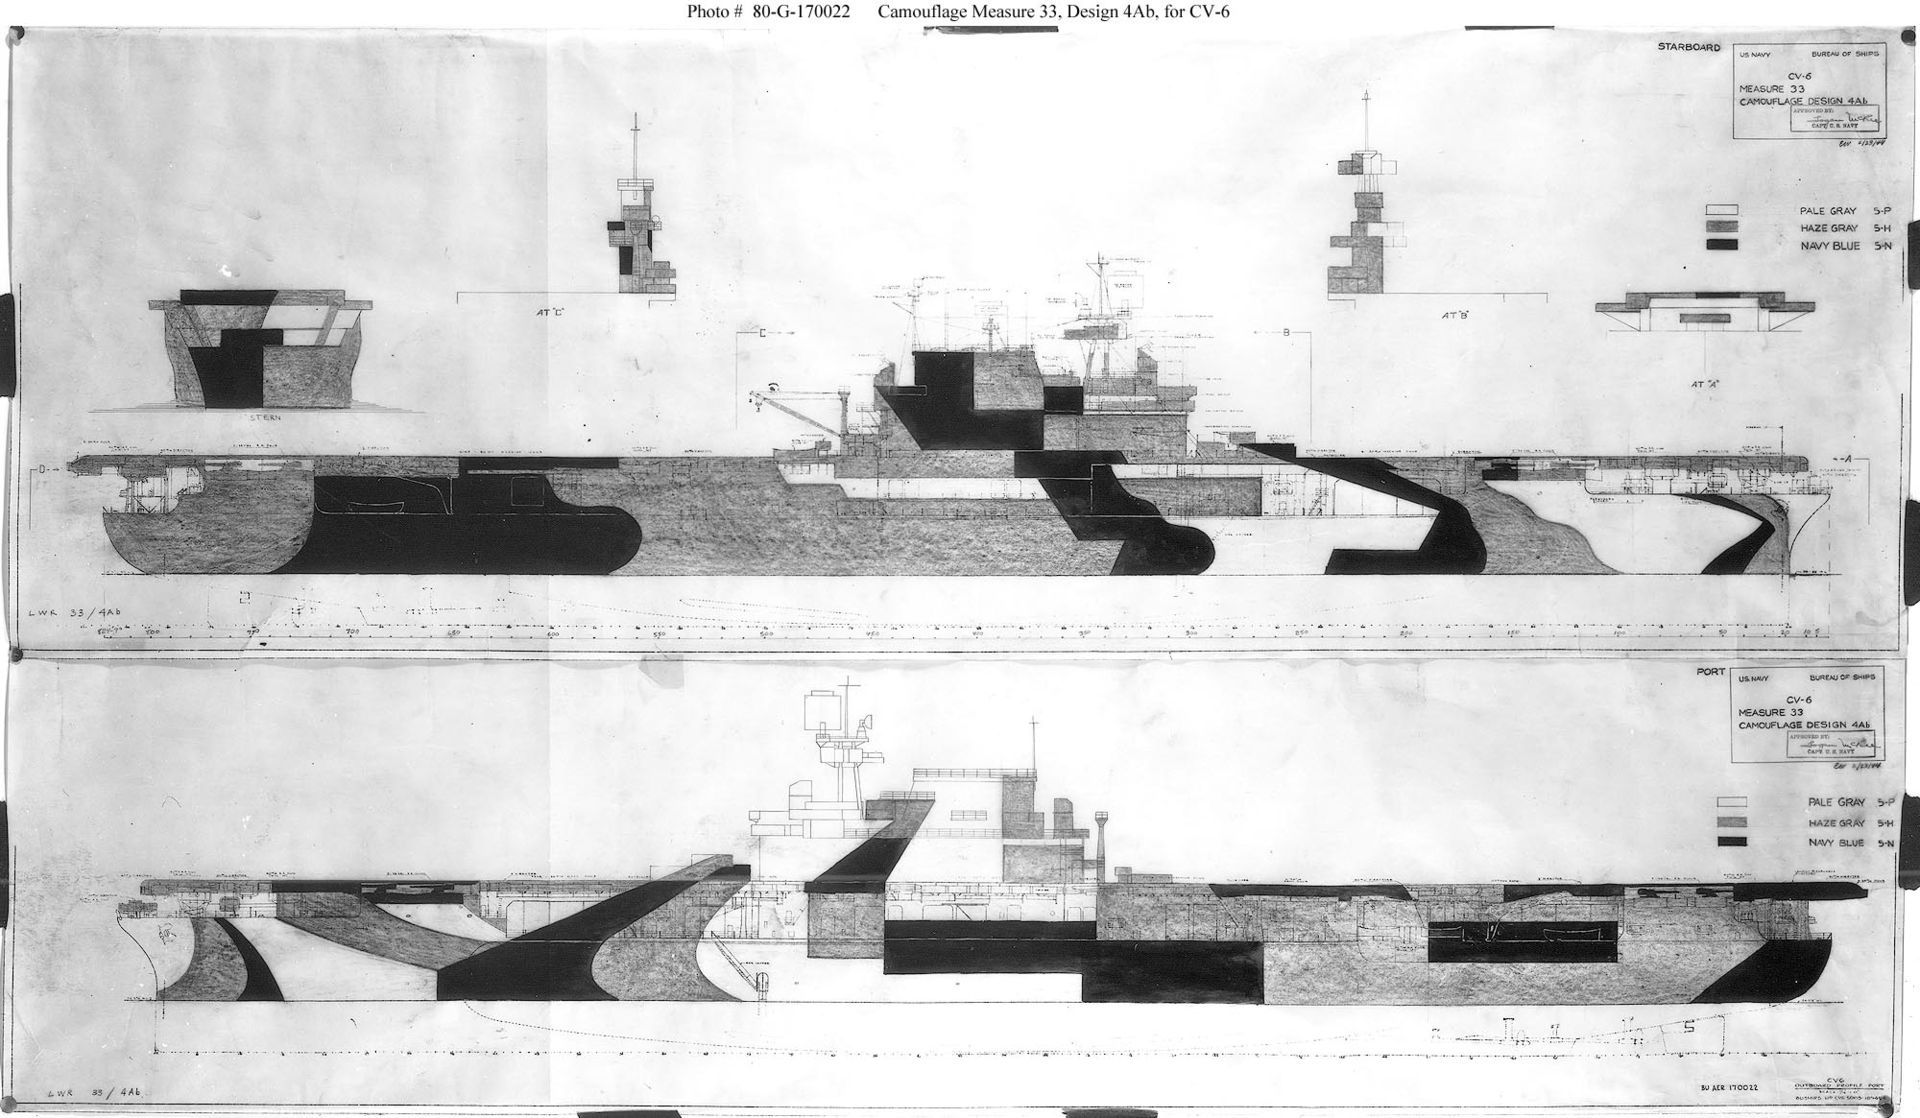
USS Enterprise (CV-6) in her very own camouflage, Measure 33, Design 4Ab, circa 1944, painted by FOlewnik on Ebard’s late war Yorktown class print from Shapeways. Ebard has an early war and a late war Yorktown class print set of 2 and there were 3 of the class made so FOlewnik got one set of each. Compare this print with the above Yorktown (CV-5) and Hornet (CV-8) early war prints and you’ll see more AA gun mounts on the late war print. Pattern sheet taken from wikiwand.com and photos of Enterprise circa 1944 taken from navsource.org and cropped and sized for comparison.




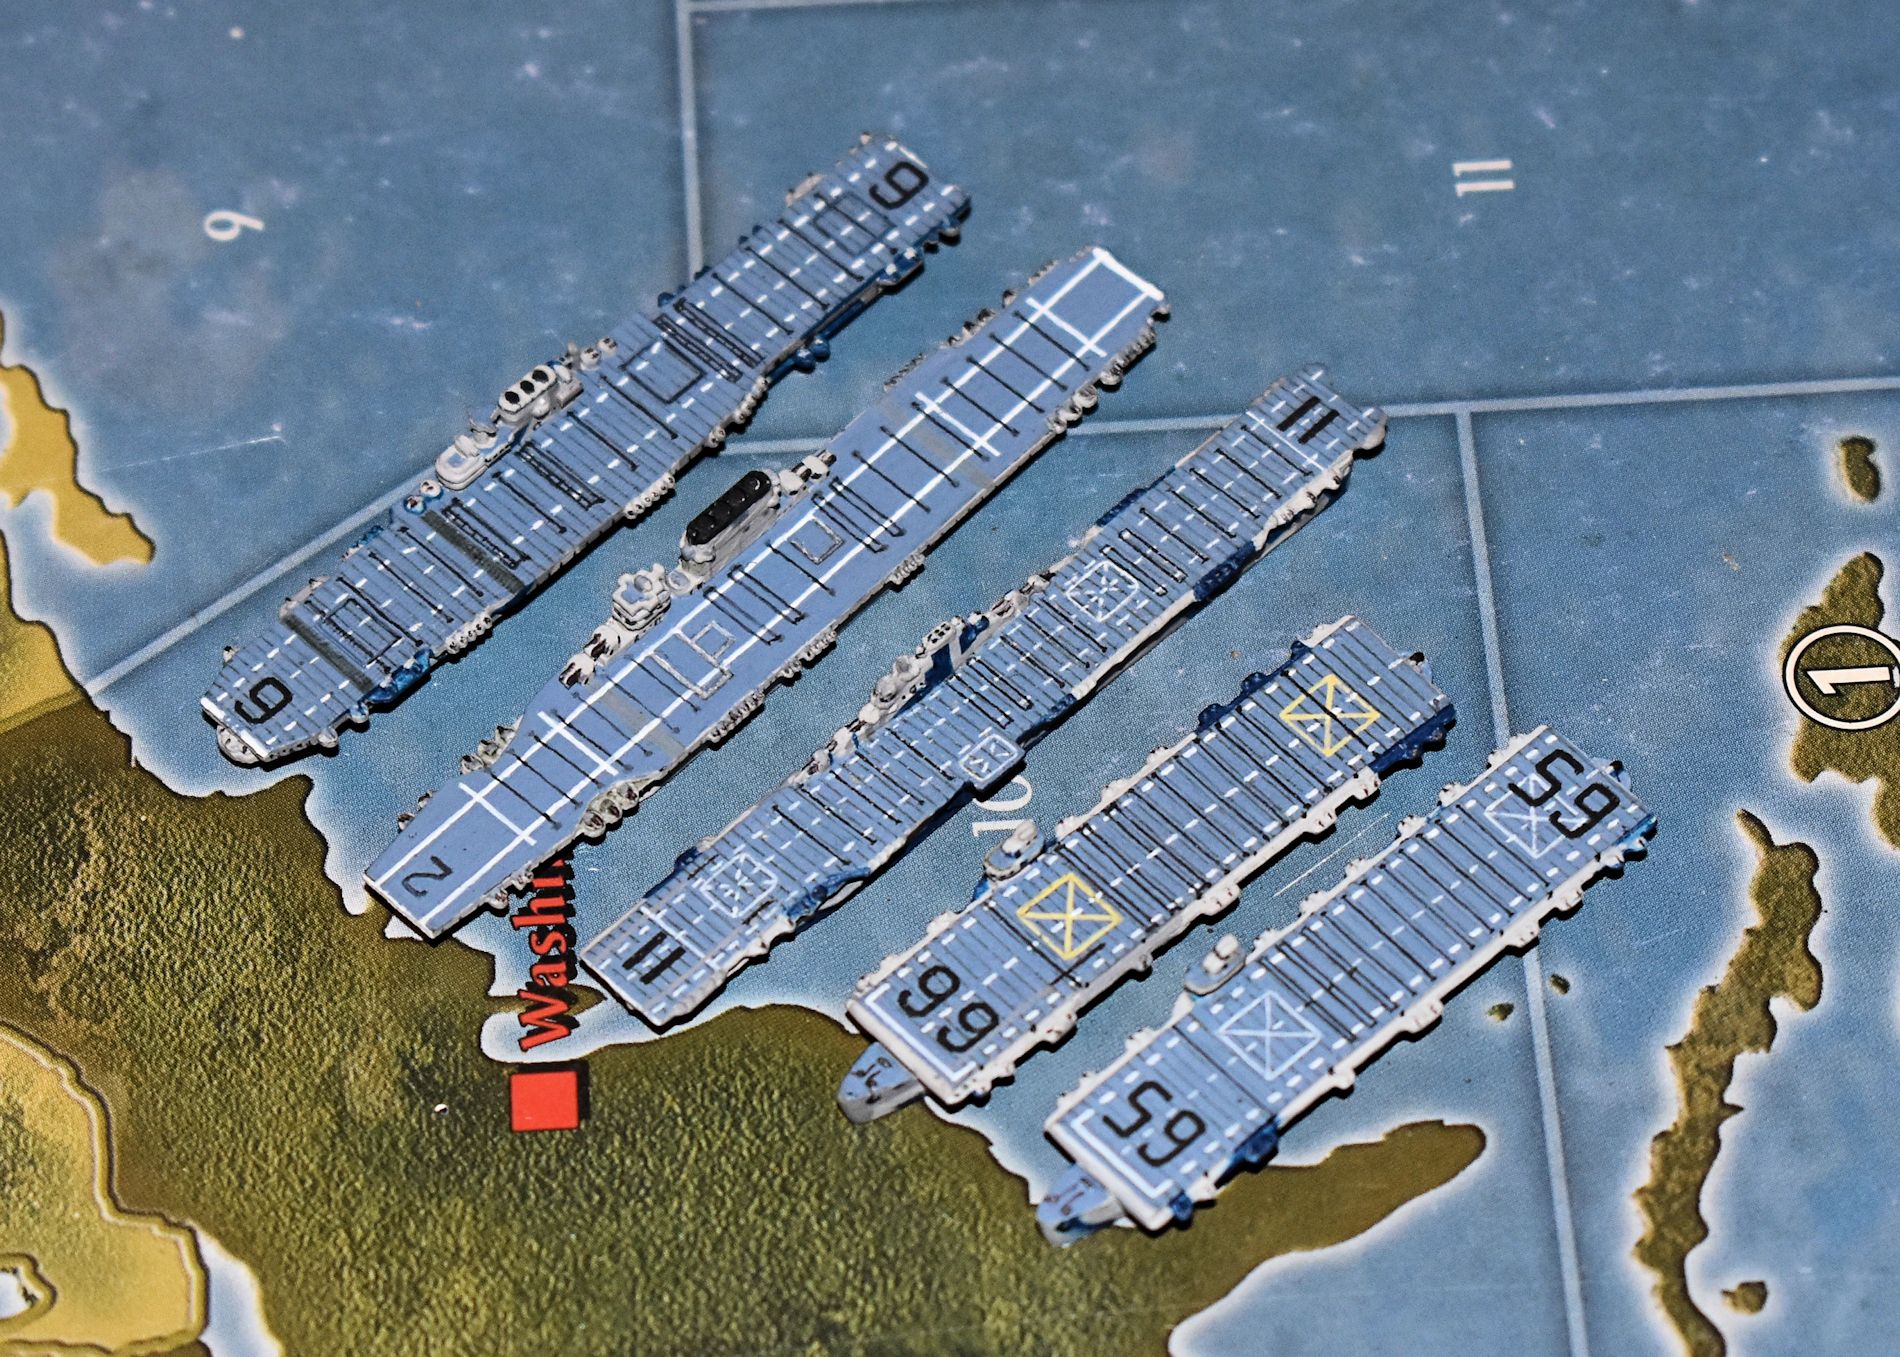
The latest group of US carriers parked at the Norfolk Naval Yard:
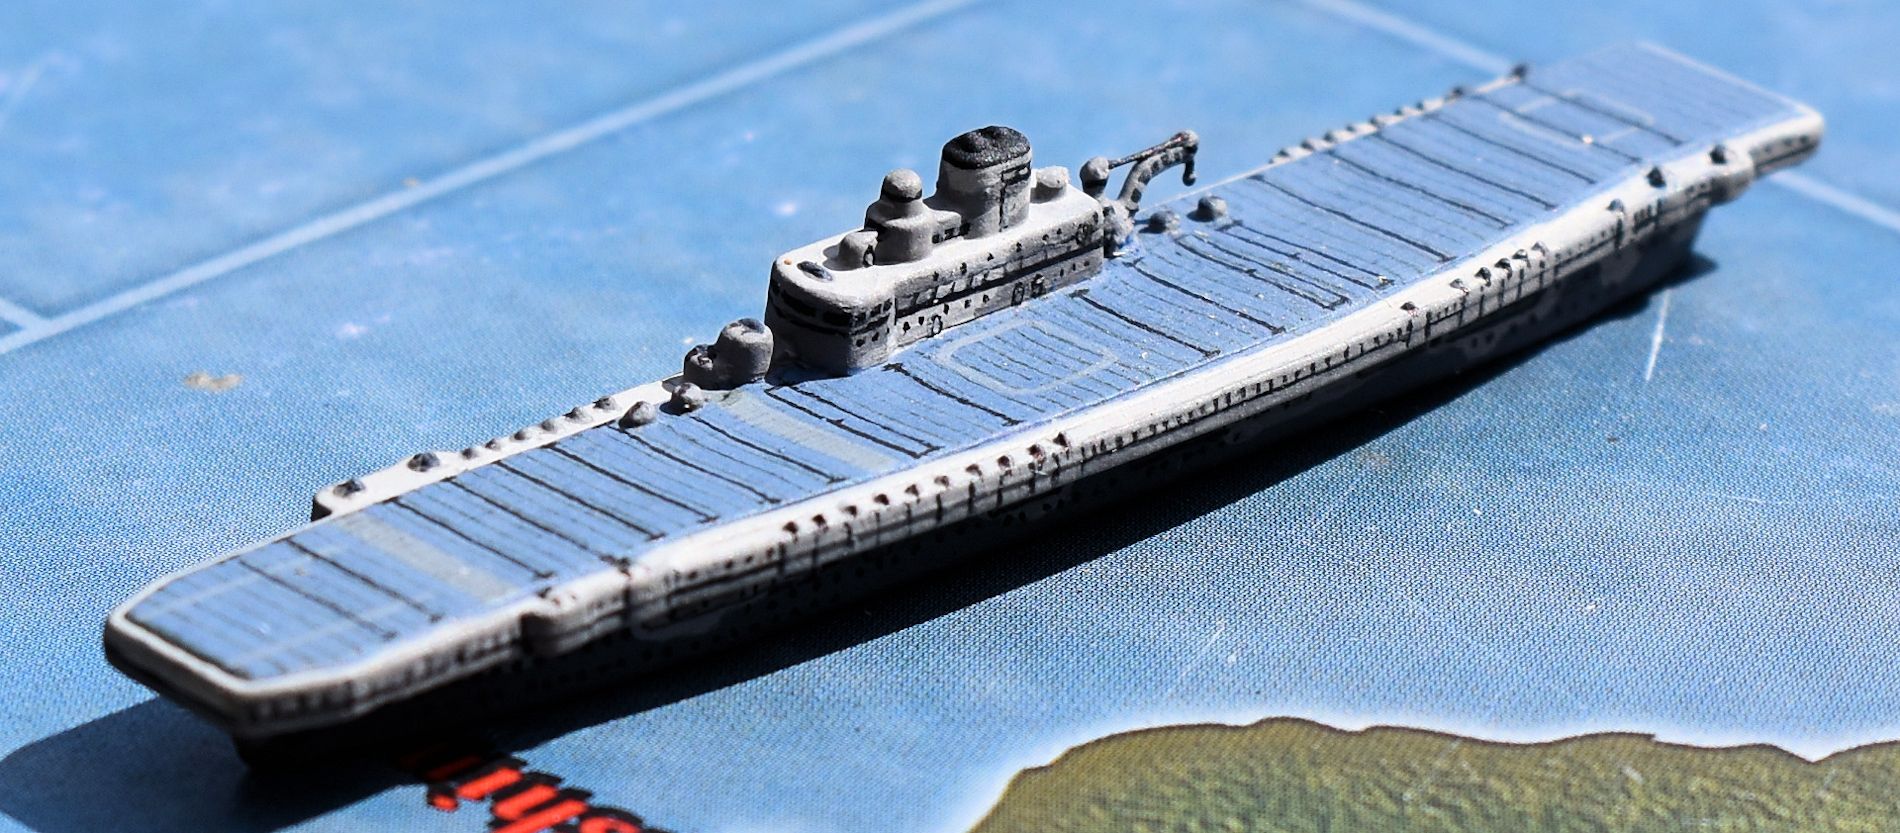
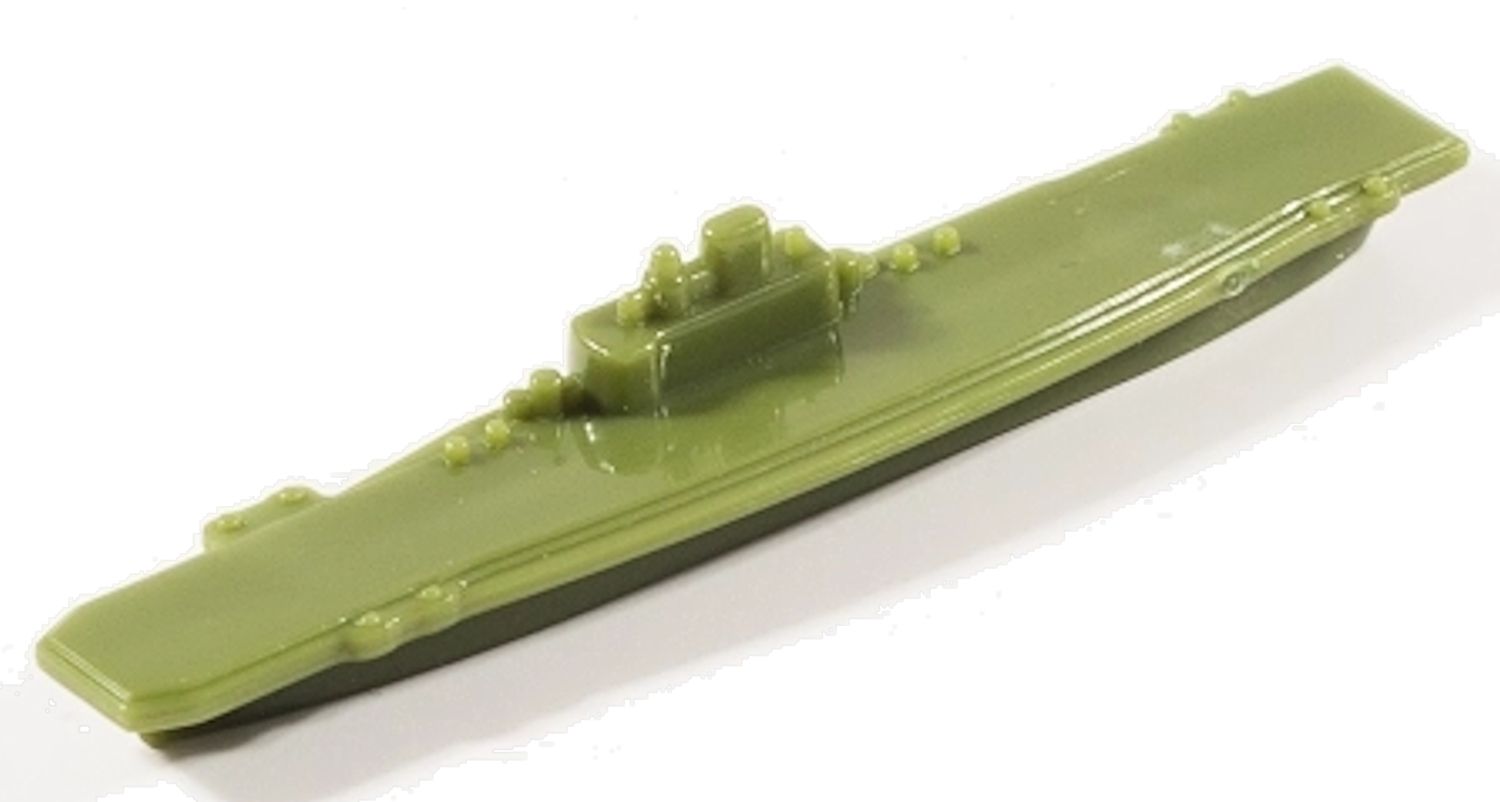
USS Wasp (CV-7), post re-fit, from an out of box (OOB) sculpt, modded and painted by FOlewnik. The OOB sculpt is supposed to be the USS Wasp (CV-7) as launched, which I neglected to take a picture of for comparison so grabbed the picture from HBG’s site. You’ll see it’s missing lots of AA guns forward of the island, along the starboard side. The sculpt is also solid plastic, which seems to sink in the center when the plastic cools after it’s made and not only leave a small gully, but it pulls the island to a port side list. We’d been playing A&A since 1985 and with the Wasp sculpt since it came out in 1999 and never noticed the leaning island. The deck had to be filled with putty and sanded before magnets could be added, a crane was added, and 46 anti-aircraft gun mounts, both 20mm and 40mm, were added. The hull was cut away fore and aft and supports added.


USS Indiana (BB-58) wearing Measure 32, Design 11D from the South Dakota Class Battleship sculpt by HBG, painted by FOlewnik. The float plane launch catapults are molded into the sculpt, so FOlewnik added the recovery crane made from wire and the GHQ scout planes. The actual ship had two different paint schemes in her first year of duty before she settled on Measure 32, Design 11D. http://www.navsource.org/archives/01/58a.htm has some really large photos of it getting its first coat of paint on 8 September 1942 at Hampton Roads, Virginia that are fantastic for their detail, but that unique camouflage didn’t look like it belonged with the previously chosen measures done on the pieces completed earlier. 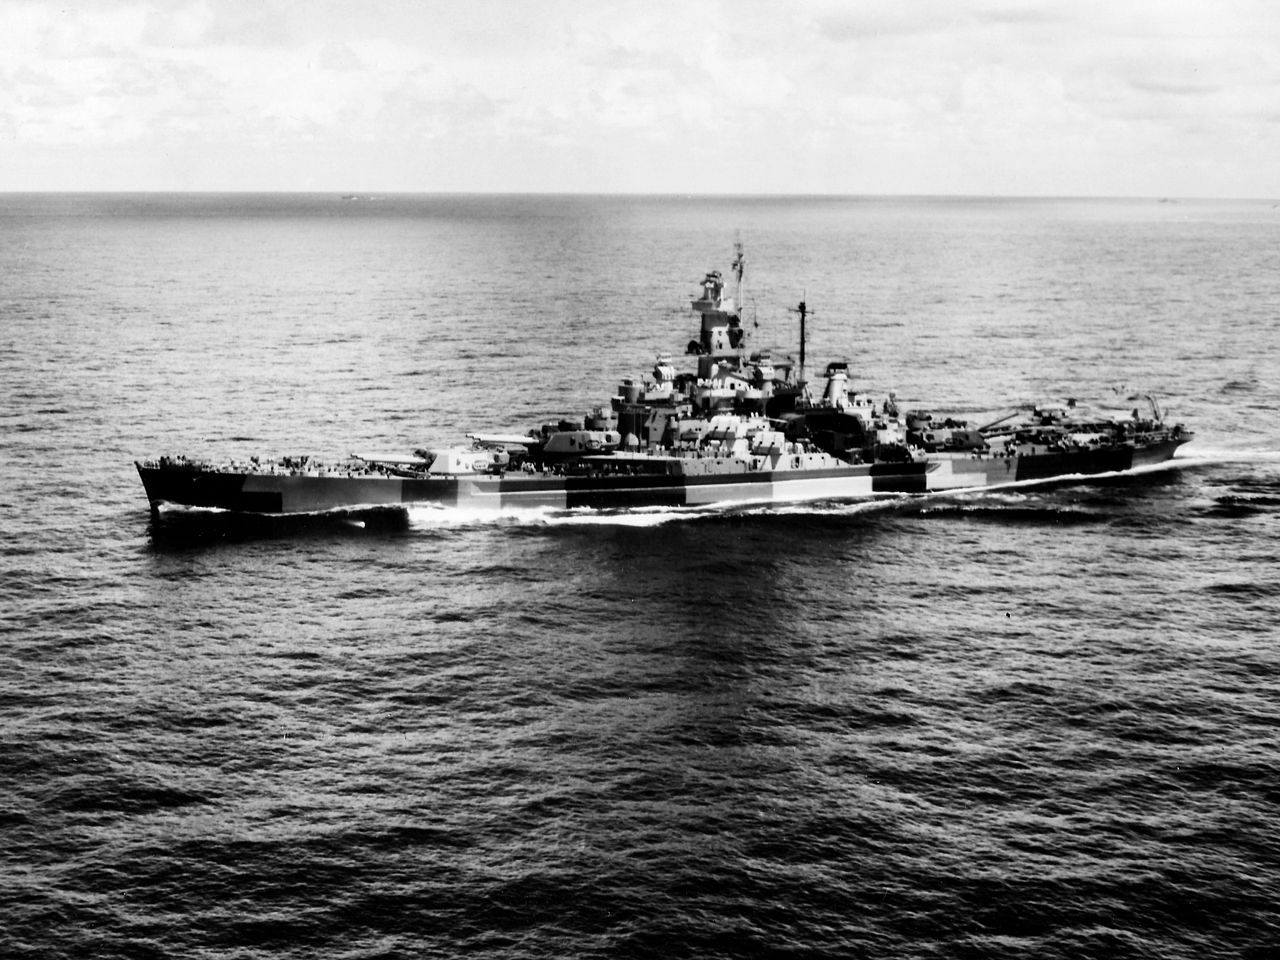


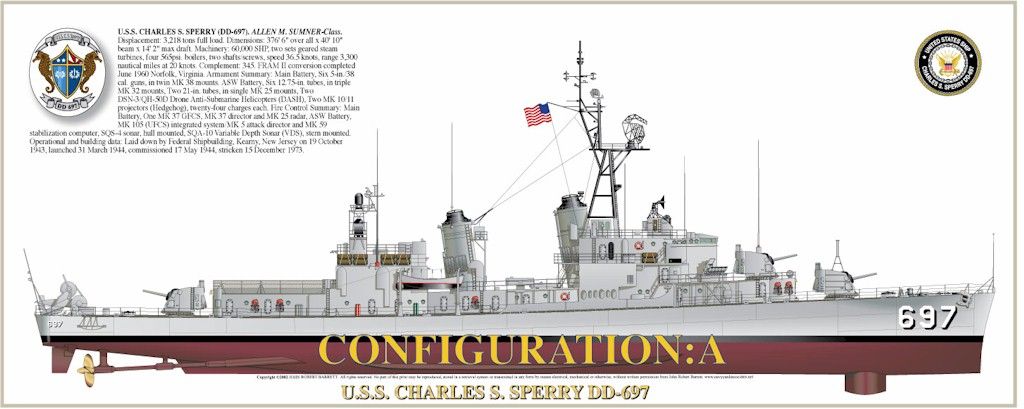
All those carriers above and the recent aircraft additions need a plane guard destroyer so here is one of GHQ’s Sumner class destroyers done as the USS Charles S. Sperry (DD-697):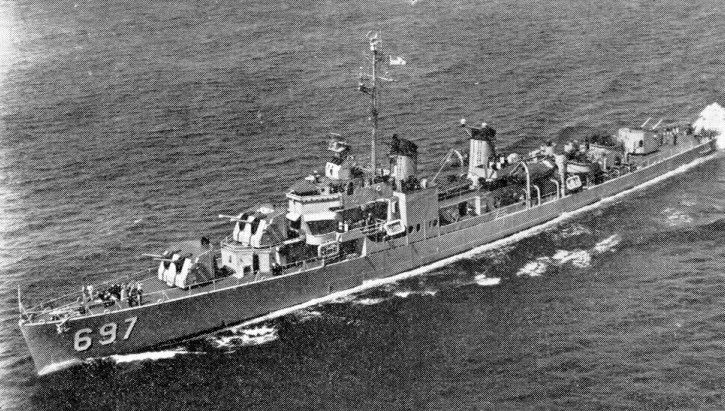


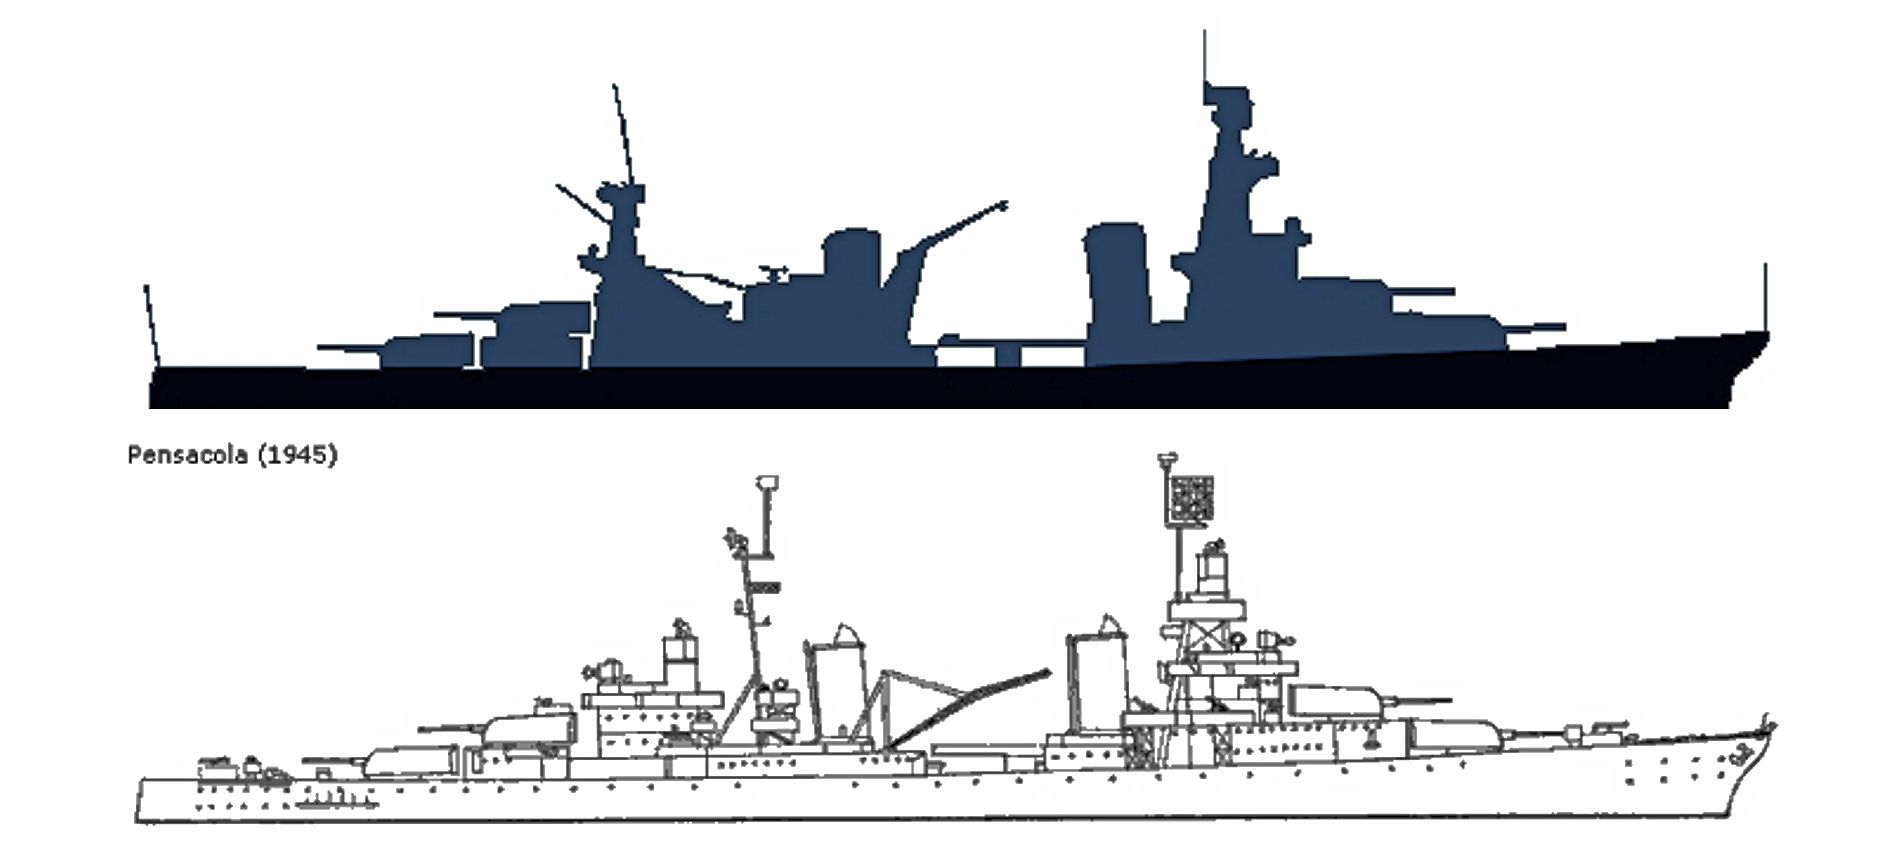
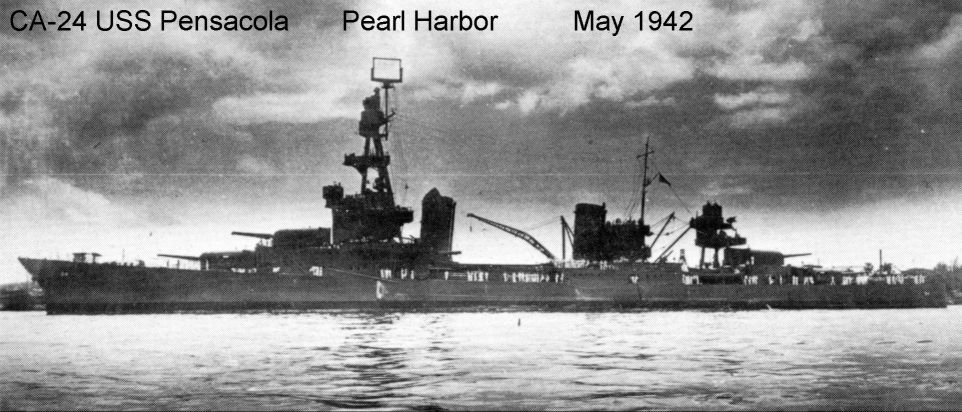
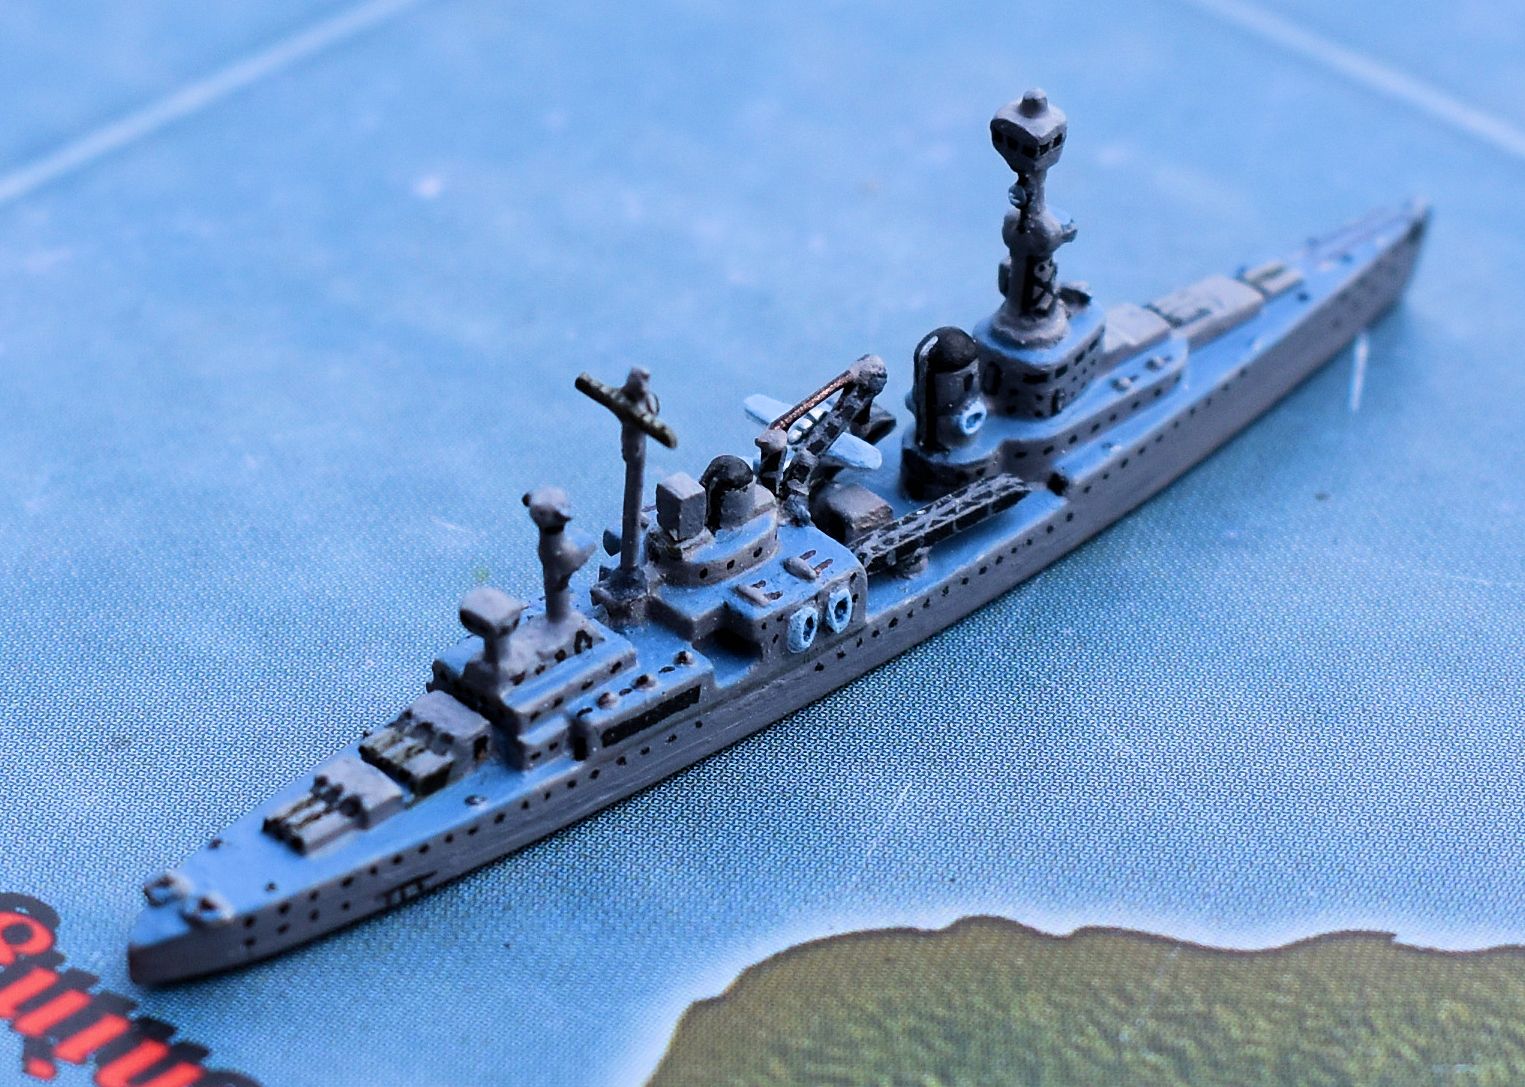
USS Pensacola (CA 24), first of her class, from an out of the box sculpt. This is FOlewnik’s last modified cruiser for the US so he took a few shots with his cell phone while he was doing it that I asked him to send to me so I could edit and post them along with the shots of the finished USS Pensacola. The actual ship herself changed a bit during the course of her life as shown in the difference between these two profiles, taken from shipcamouflage.com on the top and navsource.org on the bottom:
And this photograph of the other side, lined with sailors in their dress whites:
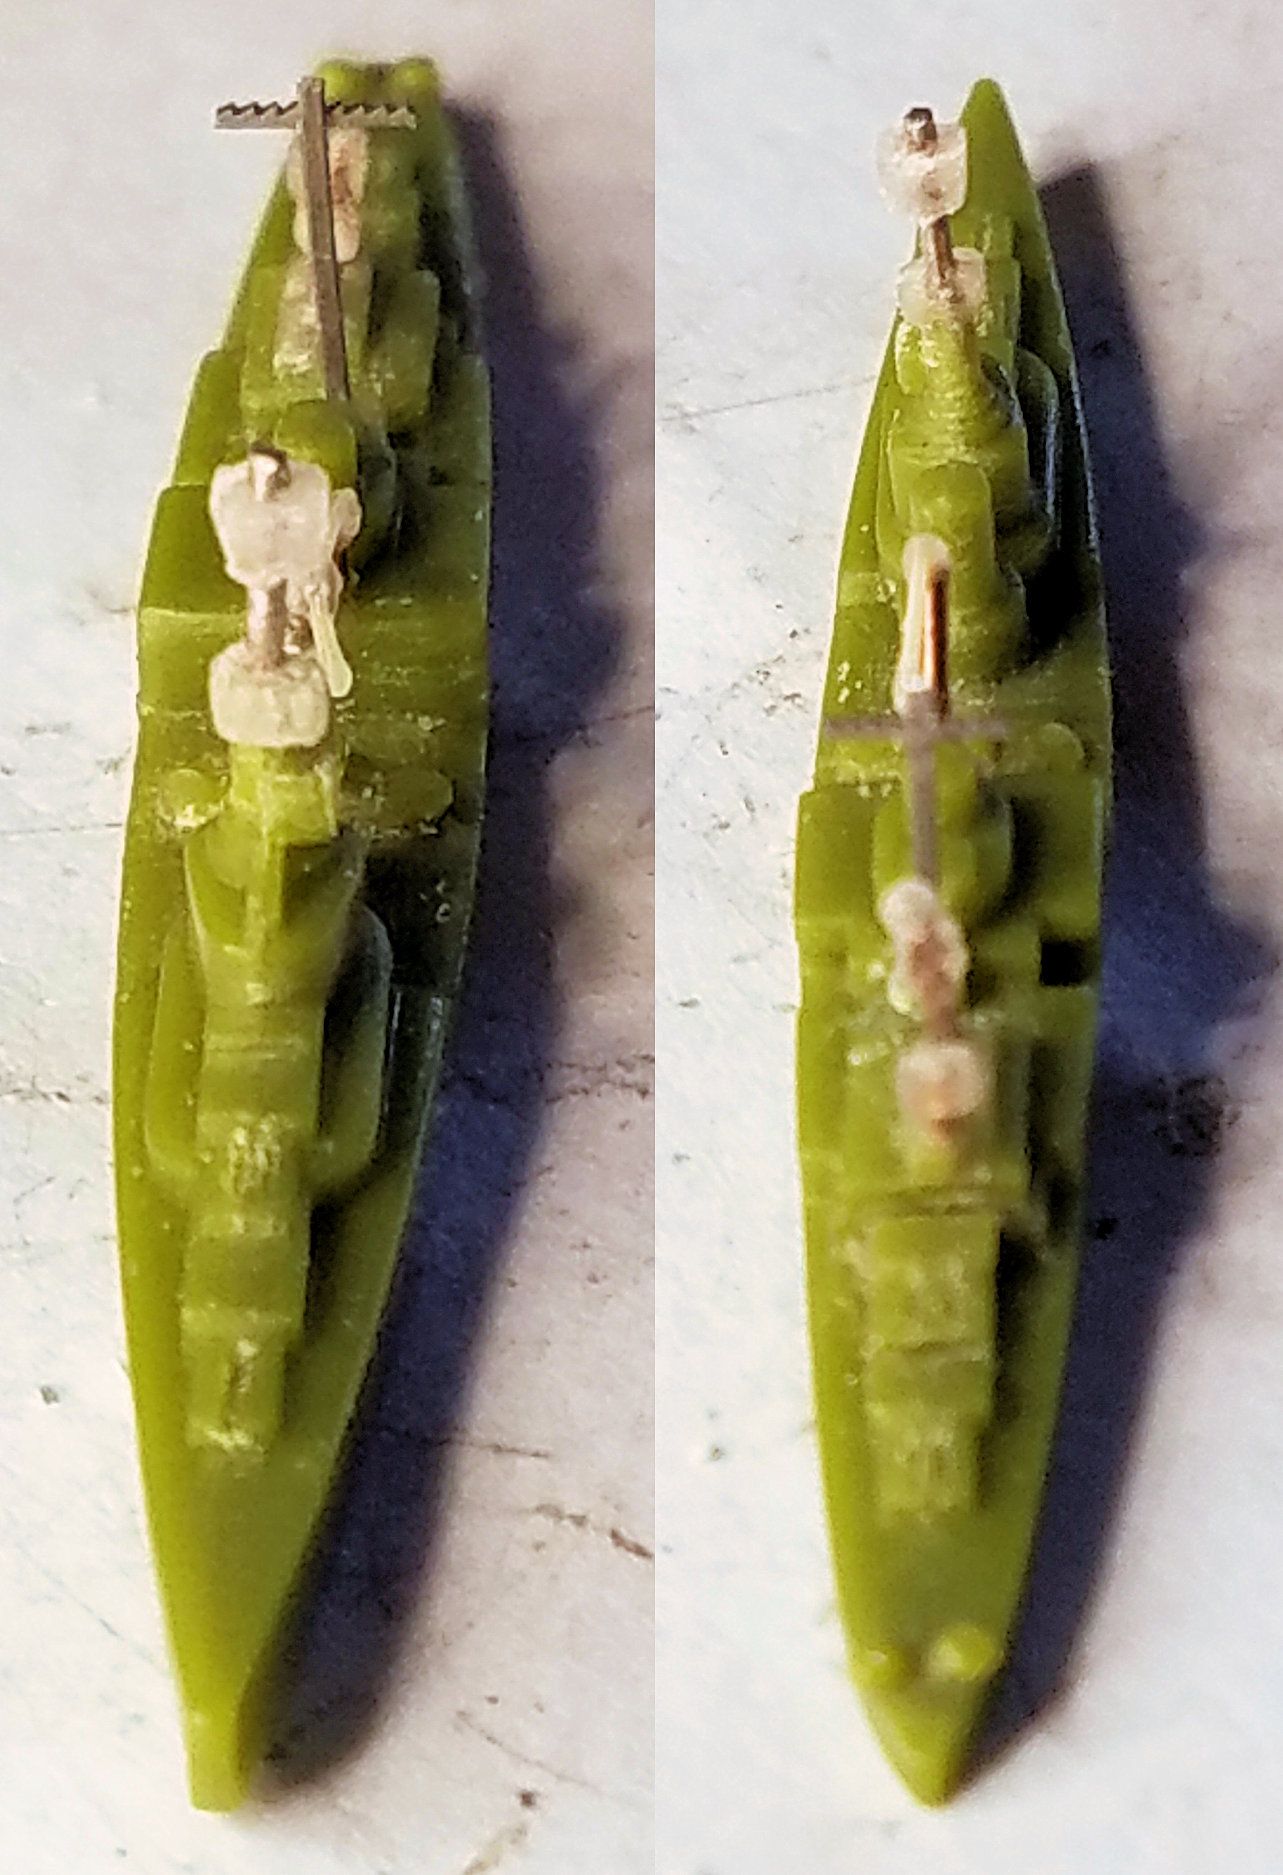
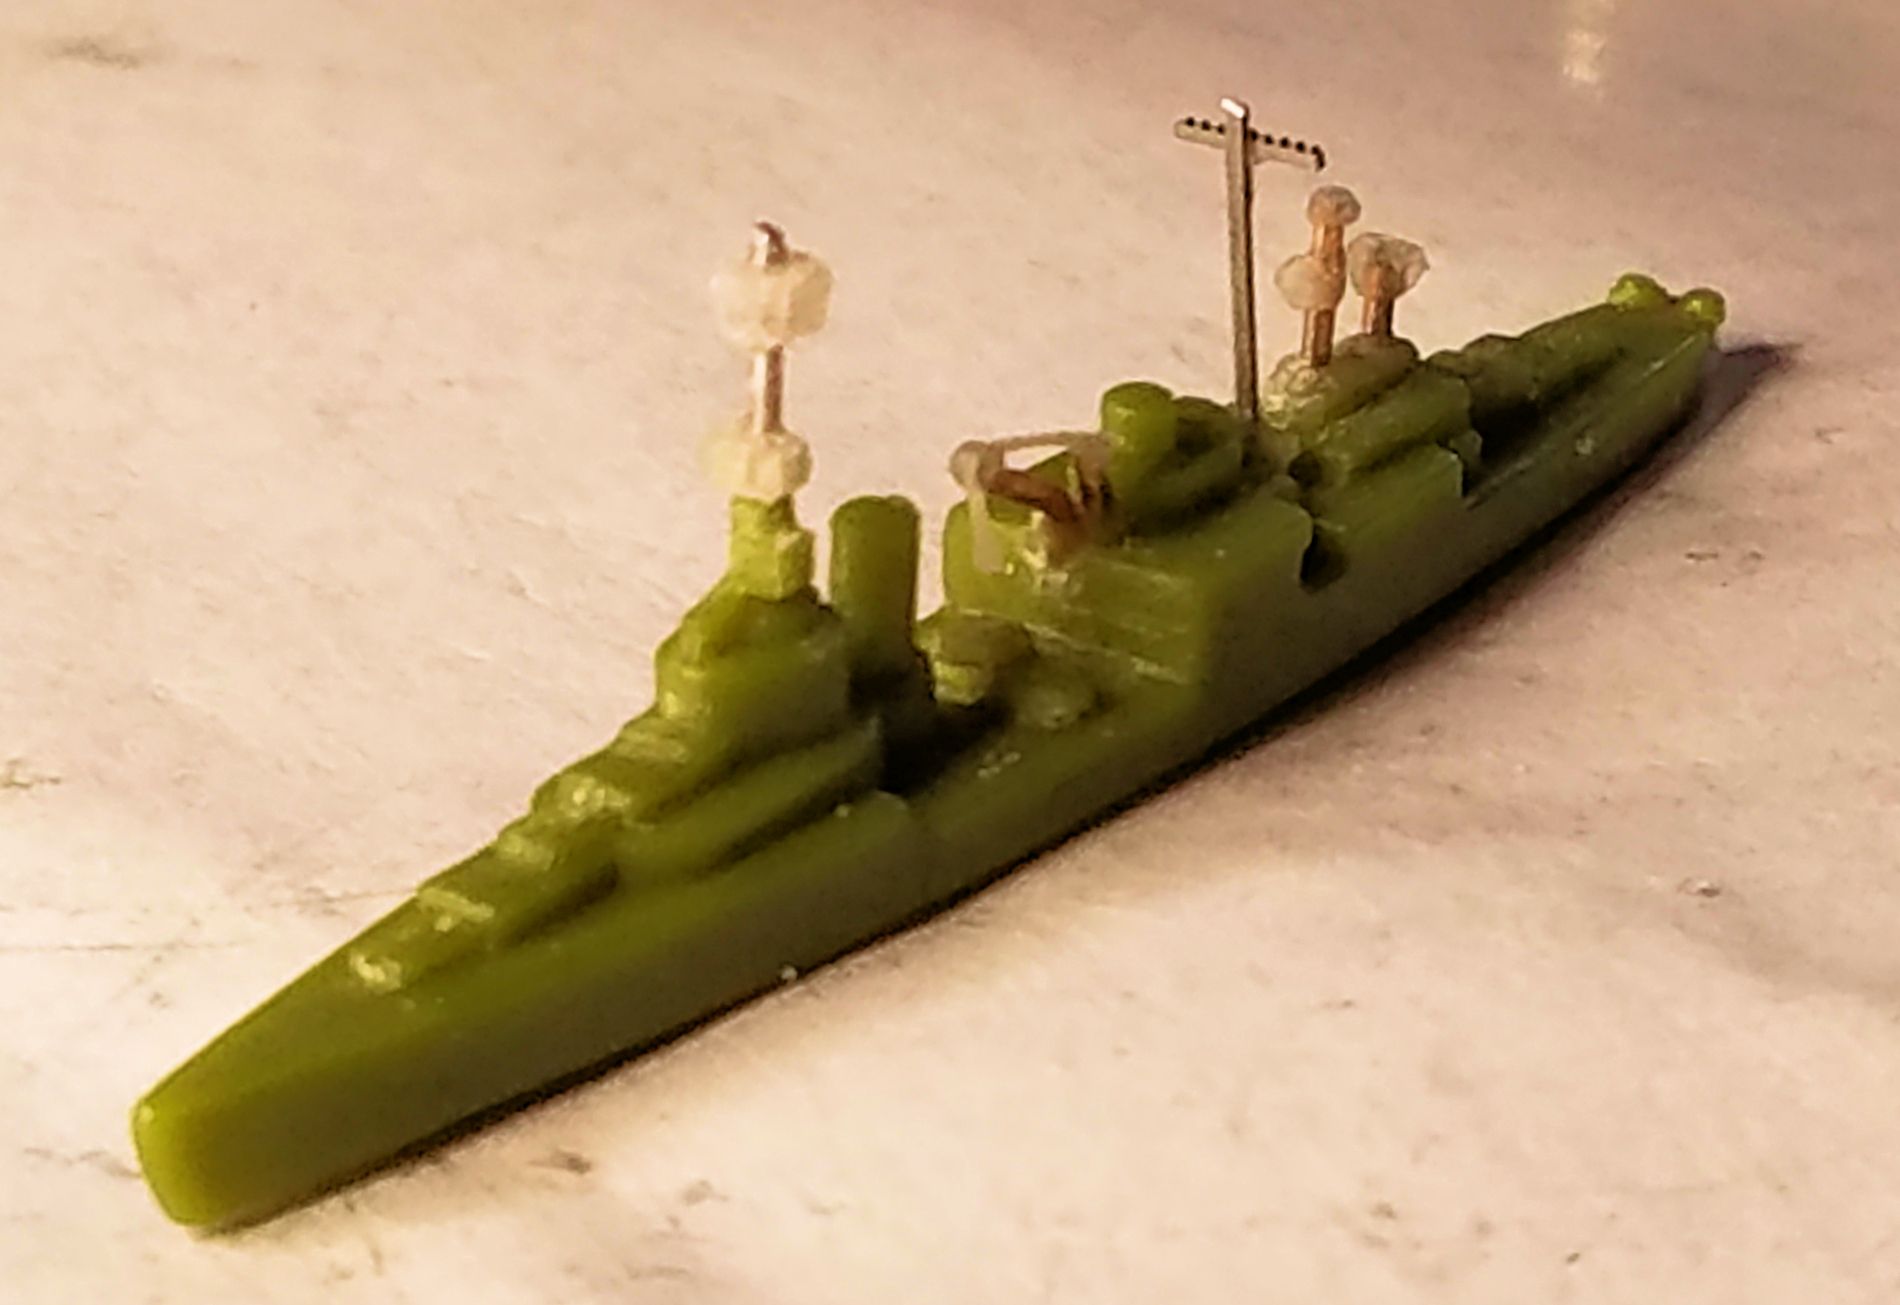
Here is the progression from plain green game sculpt to finished ship:




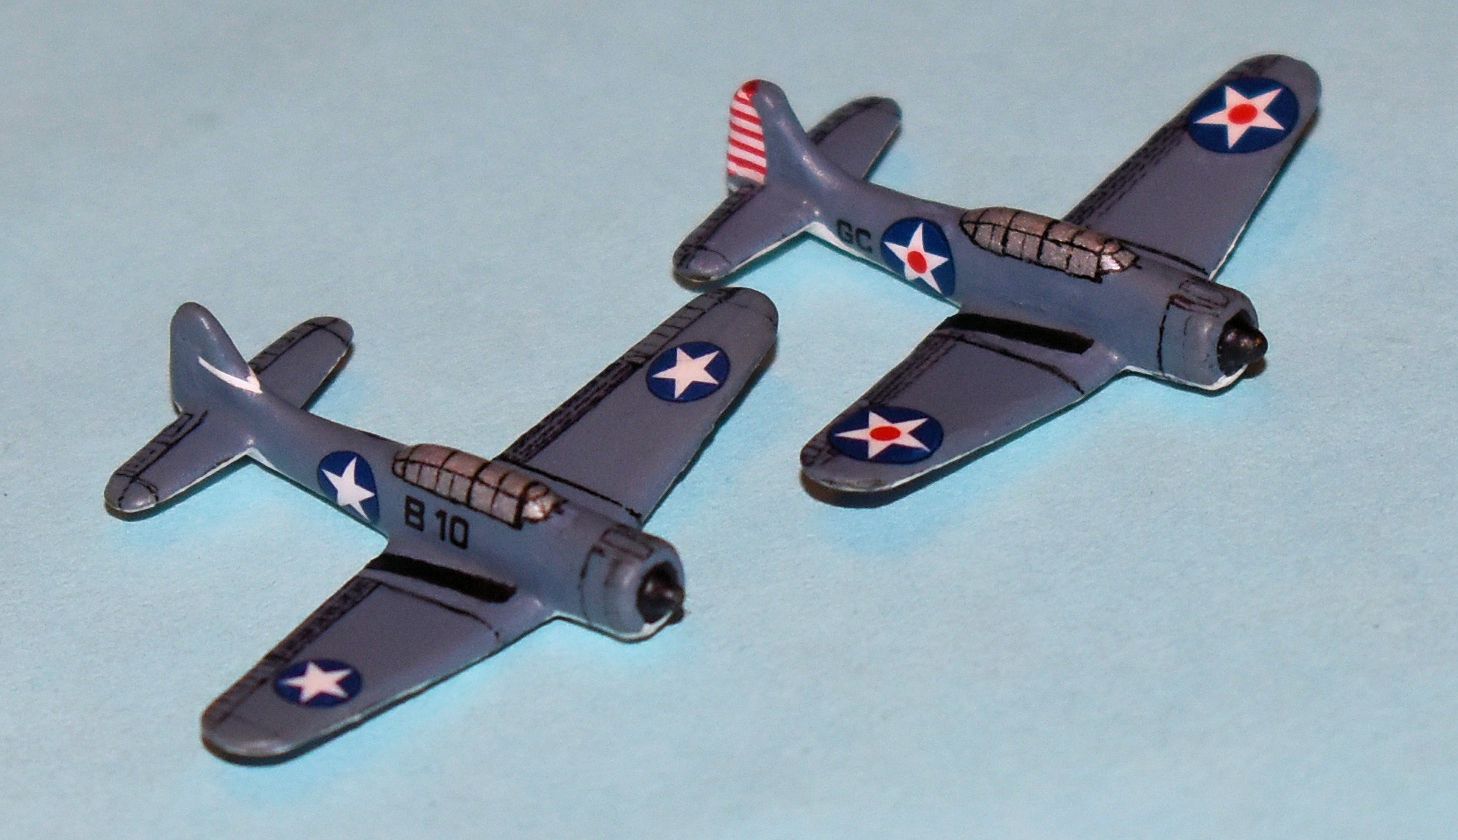
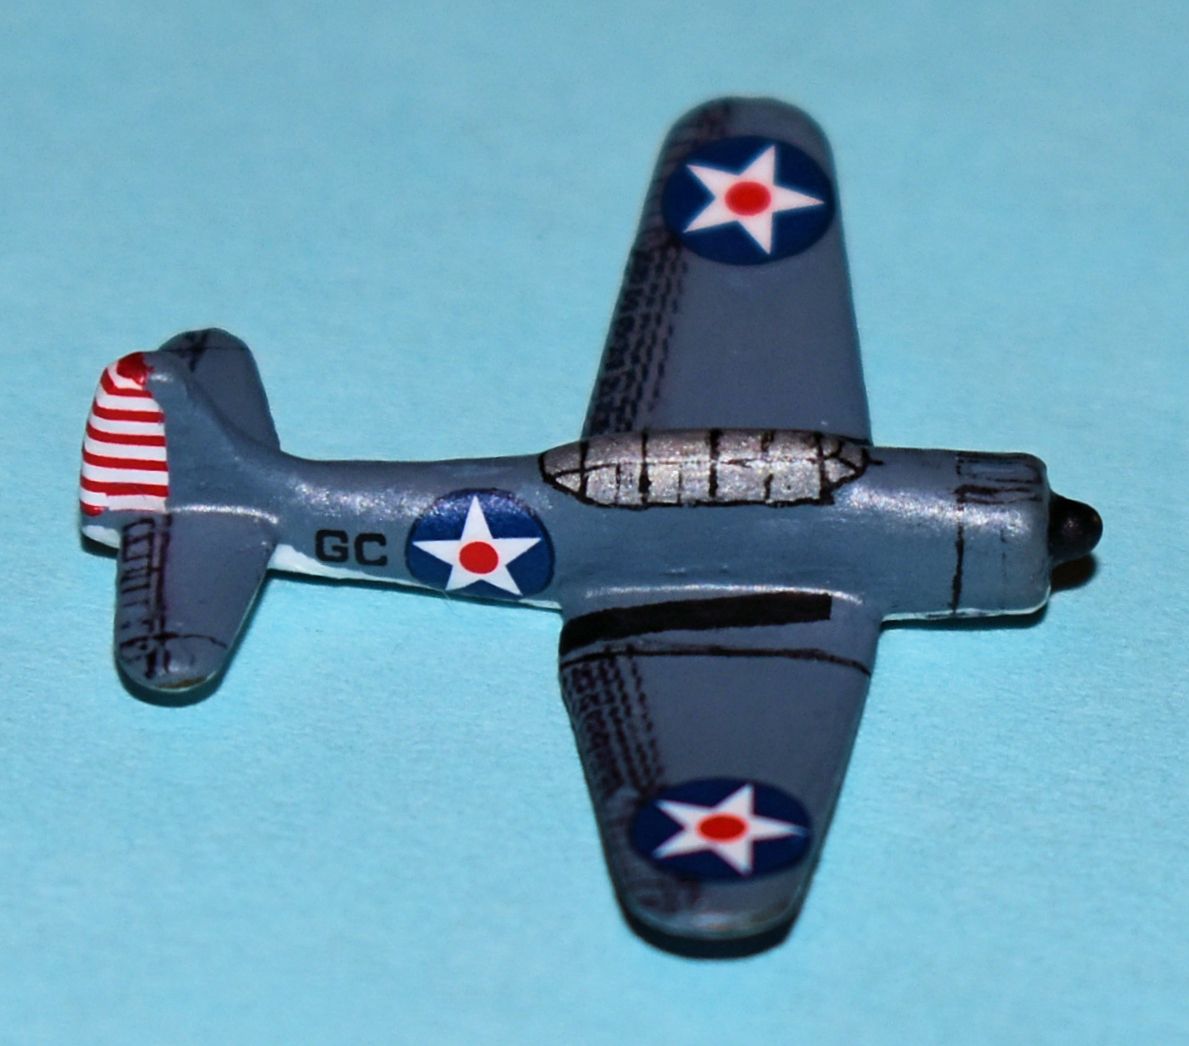
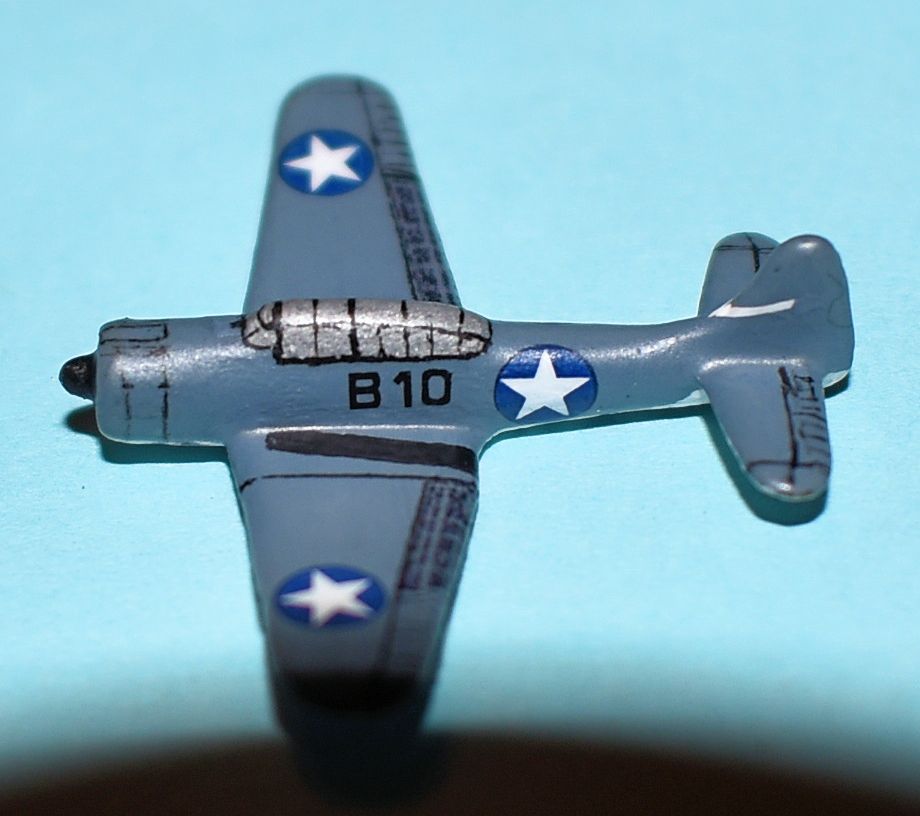
A pair of Douglas SBD Dauntless aircraft in two different sets of insignia, both from the Summer of 1942, Enterprise Air Group. “GC” on the earlier of the two aircraft is “Group Commander”, in this case either Commander Howard L. Young, Lieutenant Commander C. Wade McClusky, or Lieutenant Commander Maxwell F. Leslie. The first one, “GC”, is from the time they spent on the Enterprise (CV-6) during the Coral Sea campaign, and the second, “B10”, represents the rest of the air group as they appeared during the Battle of Midway. I relied heavily on photos in the book “The Big E - The Story of the USS Enterprise, Illustrated Edition” by Edward P. Stafford for decal placement and types.
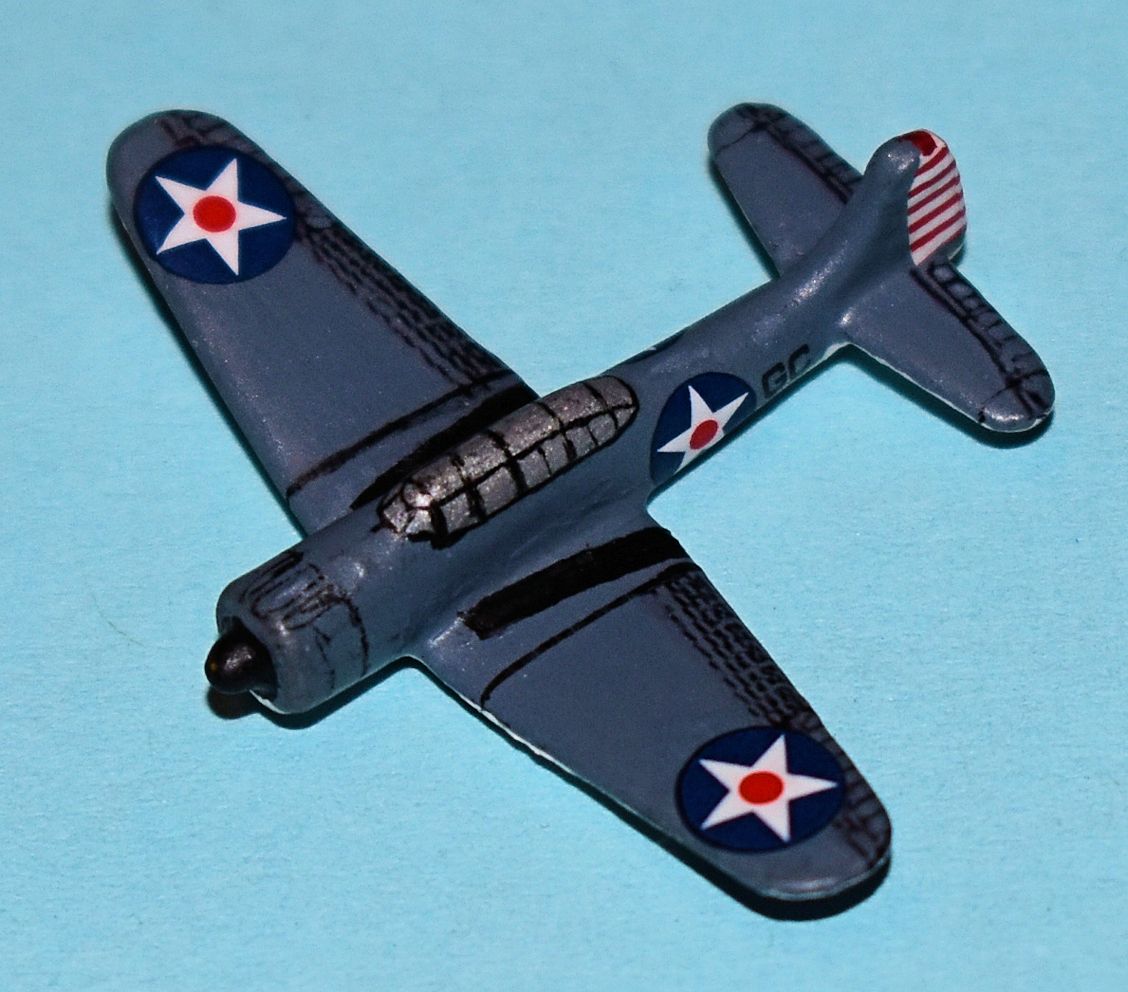
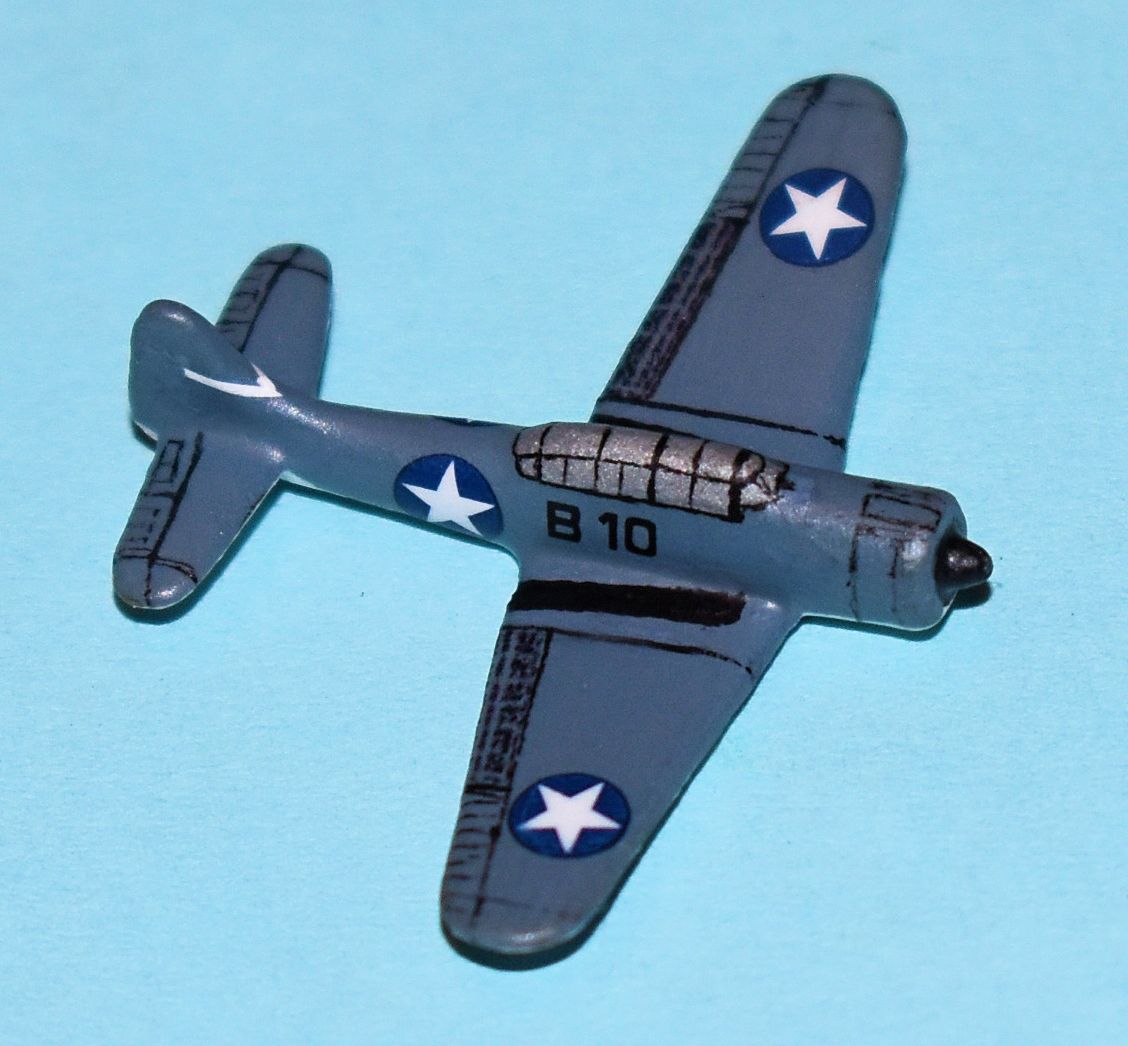
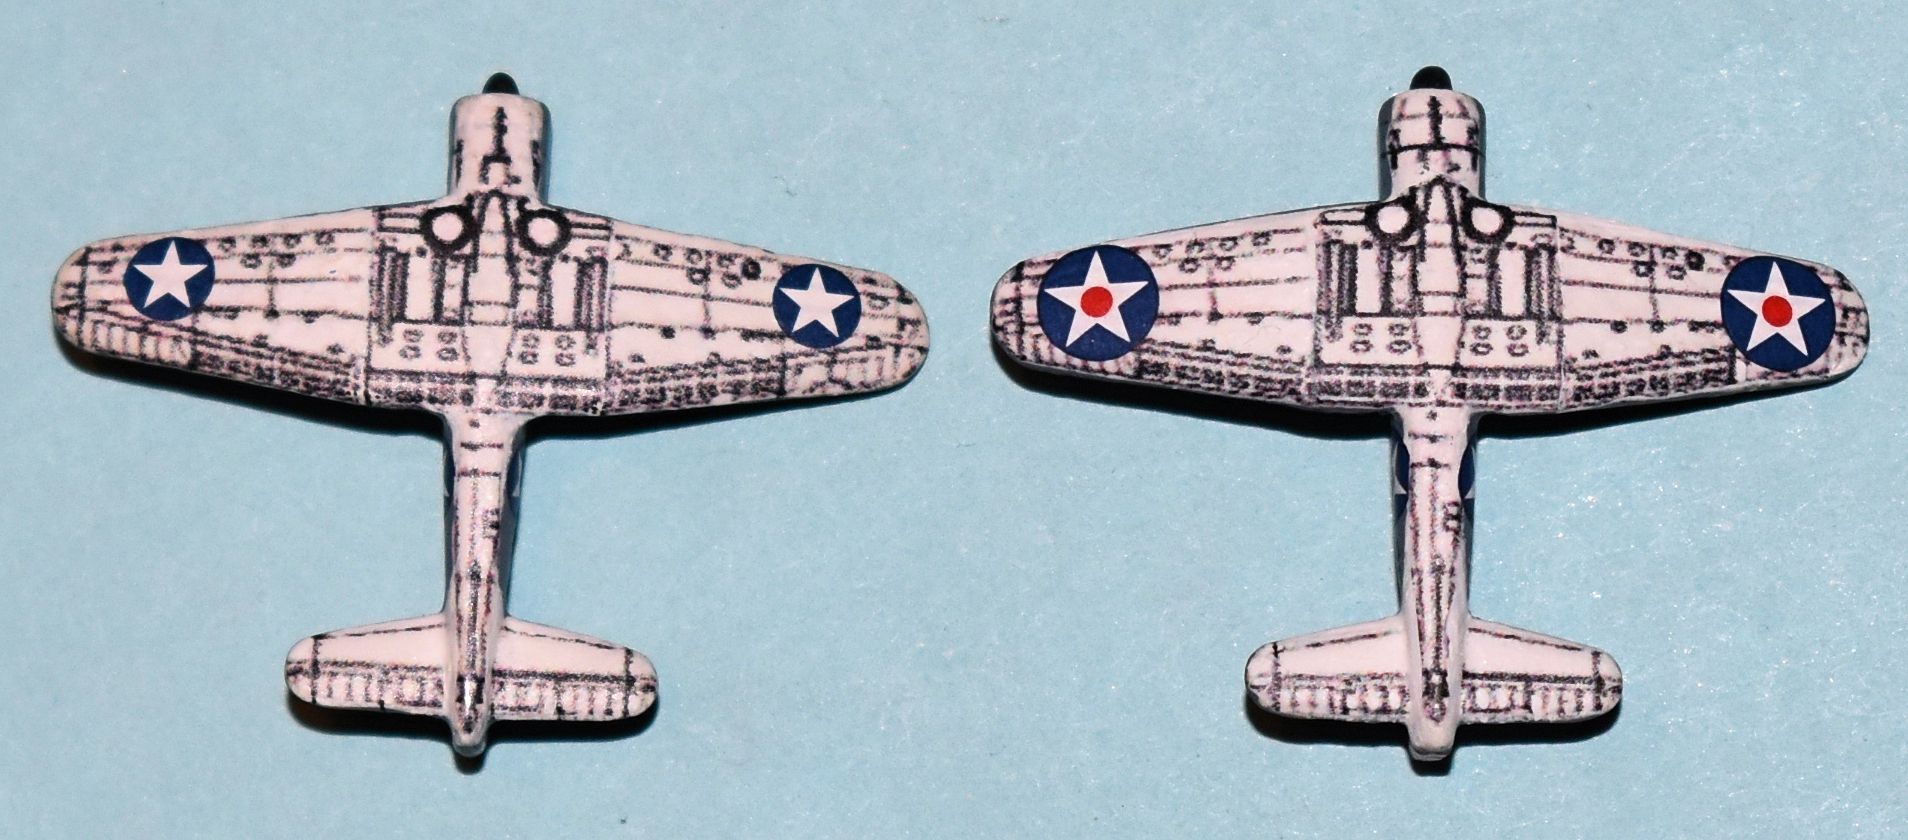
I used the home made decals printed on white background for the first decal layer on the bottom, but the tops of each aircraft are different in that the GC aircraft is mostly decal and B10 is mostly hand inked. You can tell when you see the pictures enlarged as the hand inked aircraft has cleaner lines. The home made decals were printed on my 300 DPI printer, so they could look better if they were printed on a 600 DPI or better printer but they’ll do real well for an A&A game piece.

The control surfaces on GC are all decal, but B10 is only decal on the dive flaps on top, the rest of the top control surfaces are hand inked. The cockpits are hand inked as well. The nose guns and upper engine cowl were hand drawn with waterproof ink on clear decal paper because I didn’t want to wait for a decal from the non water-proof print to dry, clear-coat it and wait for that to dry before I could use it. Here you can see the large hand drawn decal on the nose of the aircraft before lots of Micro Sol id applied. Only that section is decal- the rest of the cowl lines & exhaust is hand inked. You cal also see the dive flap and other control surface decals on the first coat of paint. The “step” area on the wing is painted:
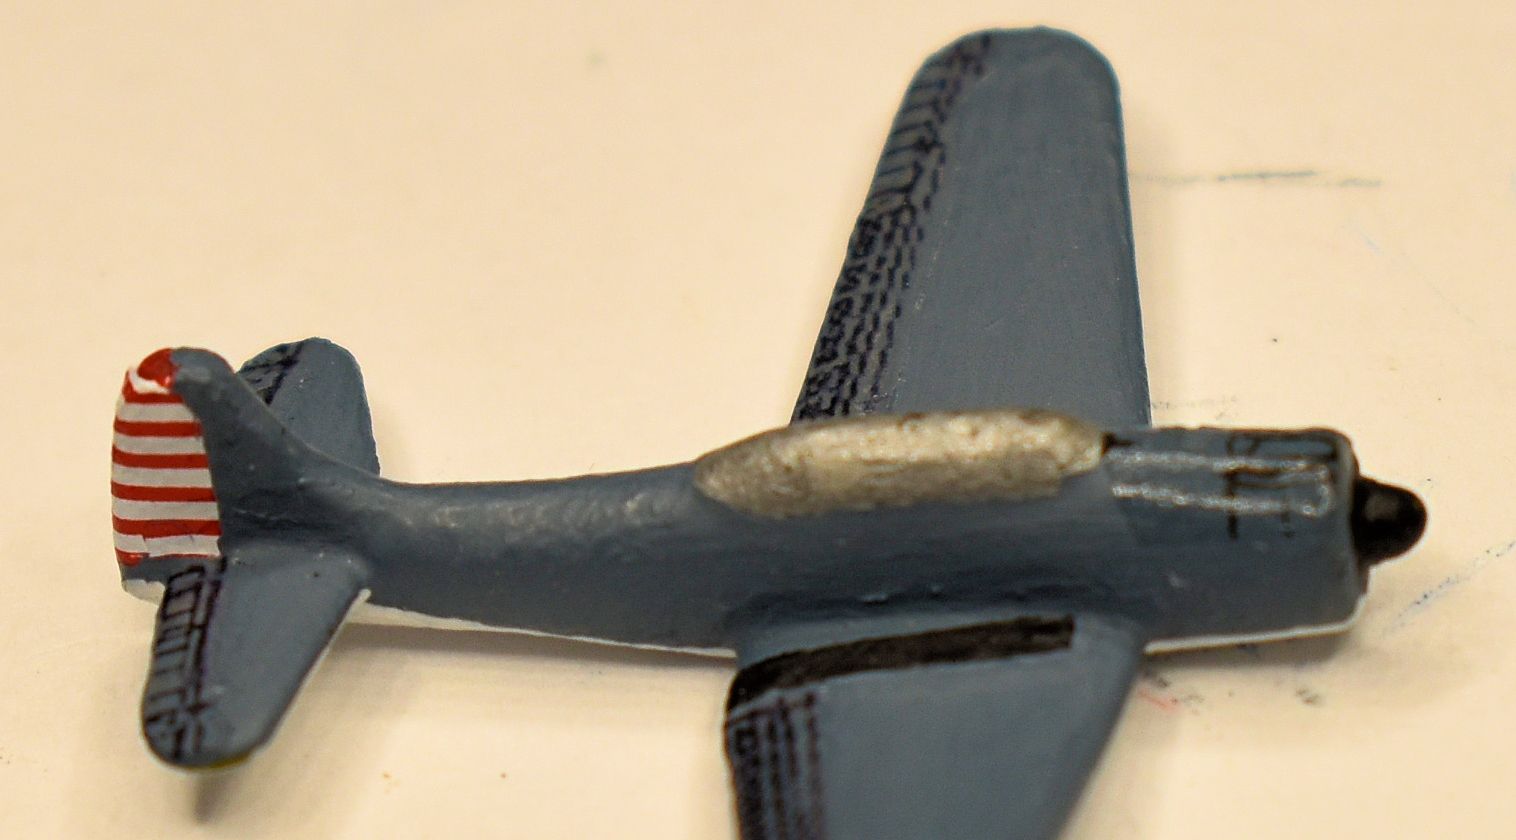
The difficult part of using home made decal is the application. You’ve essentially spray painted the top of a decal and cut it from its sheet, immersed it in water to separate it, and applied it to the plastic as soon as it would slide from the paper. The problem is that only then does the decal itself start to absorb the water, making it expand, while the painted top does not. So your home made decal will “peel” up around the edges. I learned the hard way that it’s best to apply liberal amounts of Micro Sol at this phase to help get rid of the curl and help the decal to stick to the aircraft. It didn’t matter if it was applied to clean plastic or a primed piece- lots of Micro Sol was needed. The Micro Sol also helps get rid of “silvering” on the clear parts of the decal. Of course, using the white background, I didn’t have to worry about that, but the decals on top are clear, so I had to use extra care to make sure they didn’t silver. It didn’t matter- some did anyway. As you can see from the picture, I cut sections of the bottom decal from the sheet rather than the entire thing at once. This made it much easier to apply.

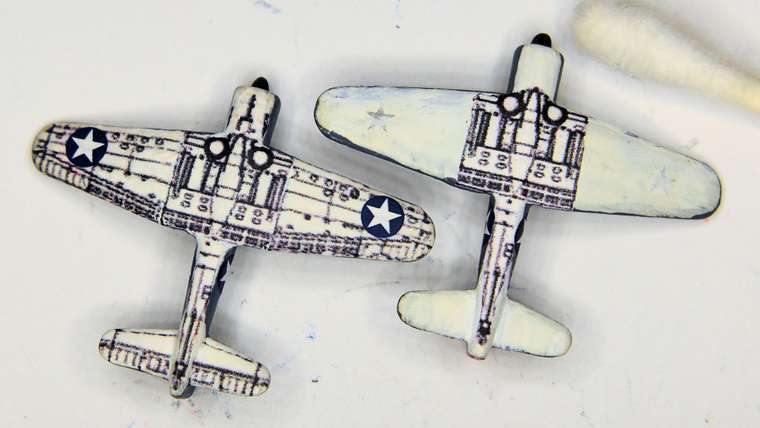

On the picture above, you can see some silvering beneath the clear decal on the dive flaps of each aircraft. If you don’t print with waterproof ink, you can’t poke a pin hole in the decal and add Micro Sol to get rid of the silvering or you run the ink beneath the protective spray, ruining your decal after its been applied. Another thing I learned the hard way. Fortunately, they make 20/0 brushes so those mishaps can be easily cleaned up. I have to say it was easier to match upper and lower control surface lines when inking by hand, since all I had to do was line up my point on top with the decal on the bottom and match them at the edge. Getting the decal to do that was much more difficult, so the rest are getting hand done with only dive flap and engine cowl gun decals on top with the full white decal on the bottom and no stripes on the tail or red dots in the middle of the stars. They may look good, but they are a pain in the rear end!

Amazing work!
Wow! And here I thought I put a lot of detail in my ships. Can’t wait to see these on the Enterprize. Great job Doug.
@DMcLaren
Good stuff. The perfect tools for sinking those pretty flat tops.
I’m beginning to understand how this up close photography accents mistakes never seen on the board.
As to the silvering, I noticed on the pic of the nose decal that the paint surface looks dull, one thing I’ve learned about decals is they prefer to lay down on a shiny smooth surface. The irregular surface is trapping air pockets under the film.
I’m personally using Pledge gloss floor finish. Dries fairly quick, levels well without killing surface detail.
@Mr-Kell - Thank you! I’ve heard of using Pledge on larger scale models but never thought it might work on something smaller. Thanks for the tip- I’m doing that on the next one. And a hearty “Indeed!” on the close up photography. I started photographing FOlewnik’s ships with a better camera and it gave me a little more confidence to push my comfort level. Makes me look forward to doing more Stukas, too.
And thank you to everyone else as well. I have to pass those along to a lot of guys that came before me and gave me the inspiration to try new things to see if they work.
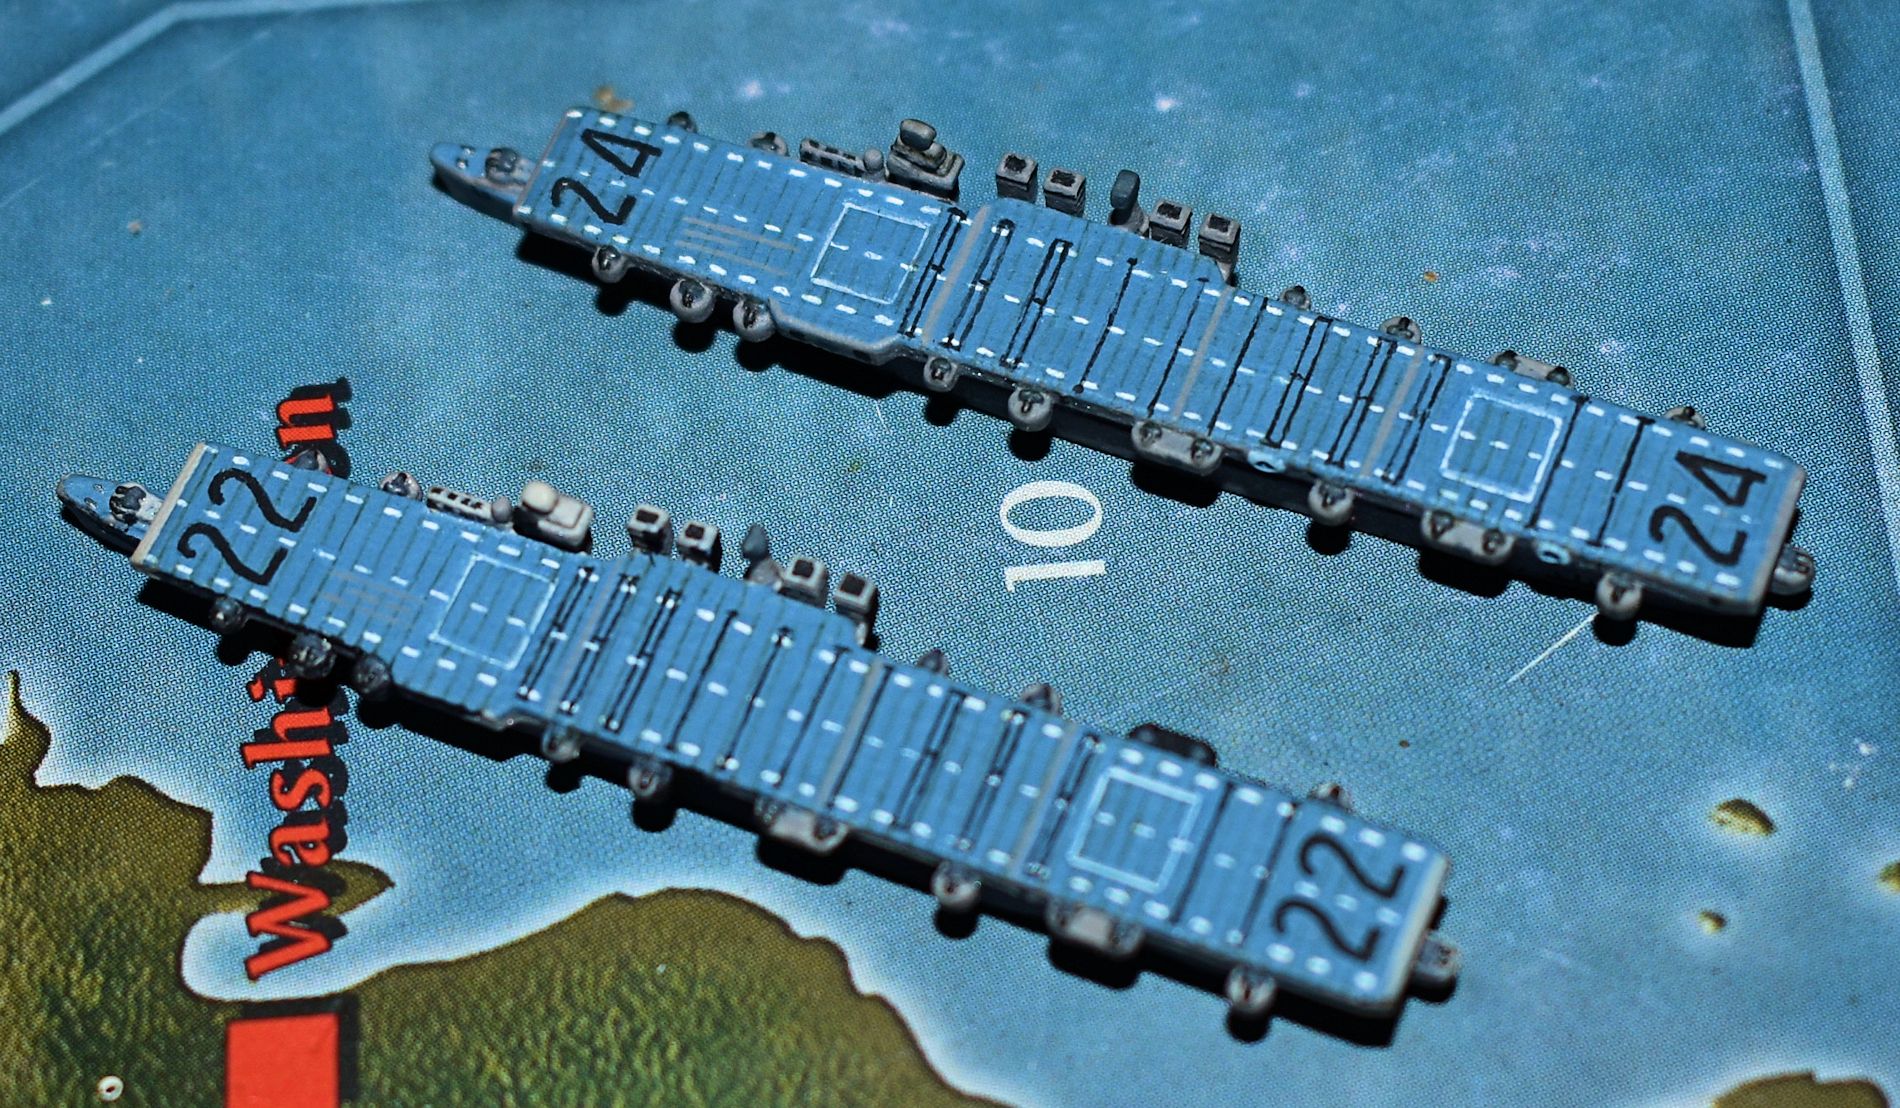
I was able to catch up with FOlewnik this past week and get pictures of the latest finished ships of the US Navy- three light carriers and six destroyers. Let’s start with two light carriers of the Independence Class that started as cruiser hulls but were completed as aircraft carriers and reclassified as a “Small Aircraft Carrier” and designated as “CVL”, 15 July 1943, the USS Independence (CVL-22) and the USS Belleau Wood (CVL-24). I have to say I really like these Shapeways prints by Ebard for their detail, and I think FOlewnik does a fine job adding a bit more with pigment.


Next up is the USS Bismarck Sea (CVE-95), from a Casablanca class carrier sculpt from Historical Board Gaming:


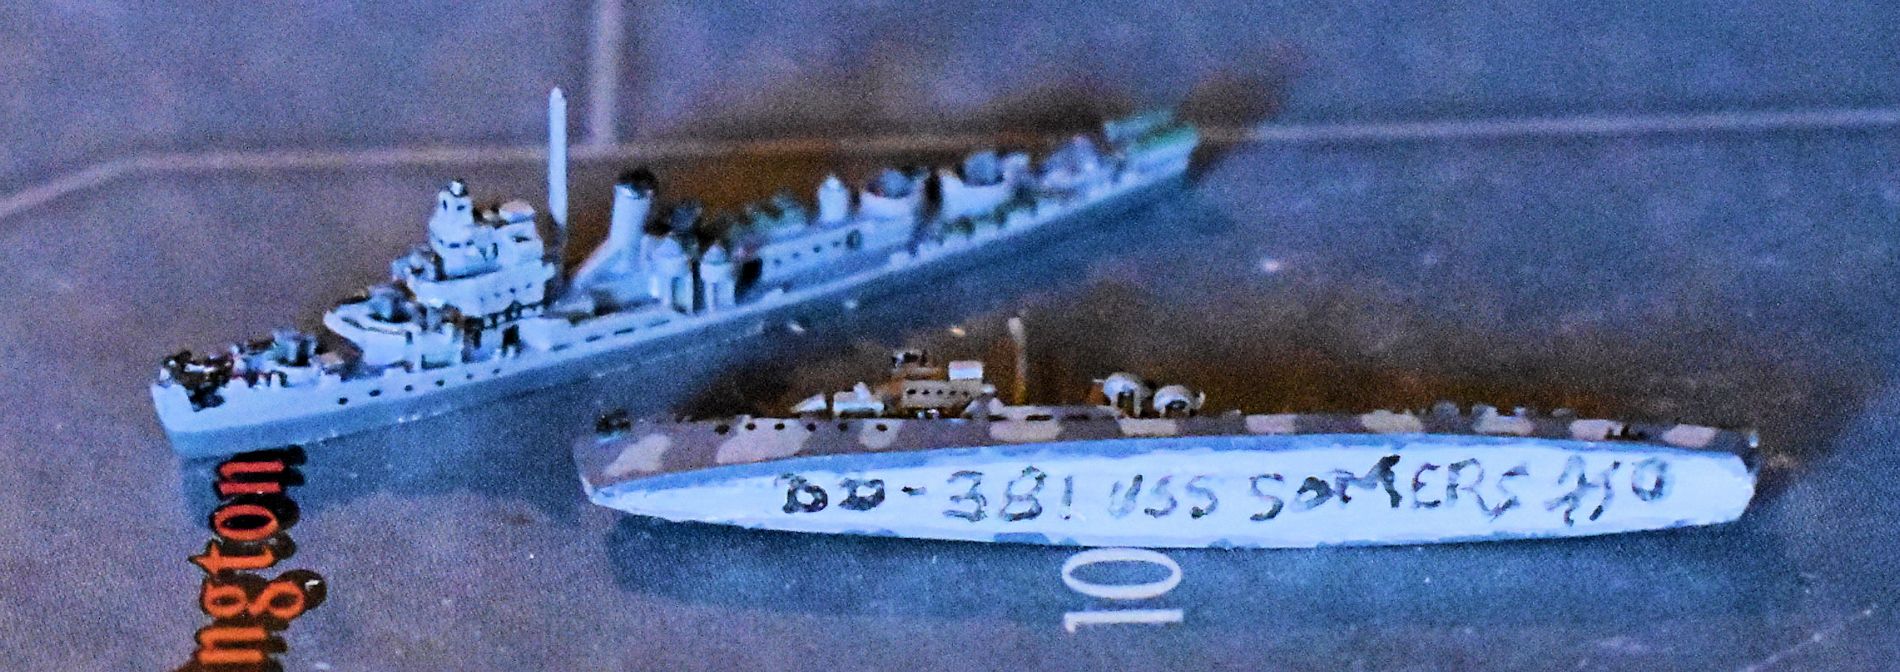
Now on to the destroyers from GHQ. I’ve mentioned before that they’re pewter so they’re costlier than plastic pieces, but the detail in them is just great. Here are two Somers class ships, FOlewnik painting them as the USS Warrington (DD-383) wearing Measure 2, and the USS Somers (DD-381) herself in Measure 12:


Below at left is the Sumner class USS Cooper (DD-695) wearing camouflage Measure 32, Design 3d, and on the right is the Fletcher class USS Foote (DD-511) wearing Measure 32/18D:


The last two destroyers for this post are Benham class USS Sterett (DD-407) wearing camouflage Measure 12, and Bagley class USS Bagley (DD-386) painted in Measure 32, Design 1d:


Overhead shot of the group:

Wow ! Those look Great ! Glad they’re protecting Washington from those u-boats : )
Excellent work!! I sure wish I could afford something like that!! It is just nice to see on the board… So much diversity.
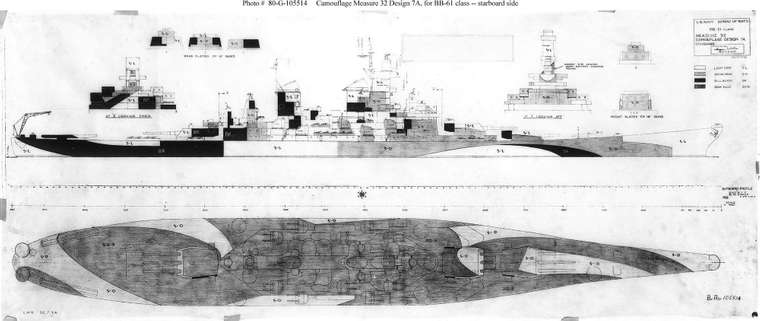
More US Navy by FOlewnik. I forgot to take pictures of the bottom of these ships (where FOlewnik writes the name of each), so the only ones I know for sure are USS Henley (DD-391), USS Lang (DD 399), USS Quincy (CA 71) and the heavily modified USS Iowa (BB-61). I’ll start with the heavily modified USS Iowa. FOlewnik added several AA gun mounts over and above the usual launch catapults, scout aircraft, and recovery cranes. If I recall correctly, the AA guns were cut from a GSC Akagi carrier, but I’ll have to have FOlewnik check in with his comments to confirm that. The camo sheet came from Navsource, but then I noticed this on it’s description: "Drawing prepared by the Bureau of Ships for Camouflage Measure 32, Design 7A intended for battleships of the Iowa class (BB-61 / 66). No ship is known to have worn this scheme. " No known ship, eh? So this is technically the first and I’ll have to have FOlewnik identify which it is.


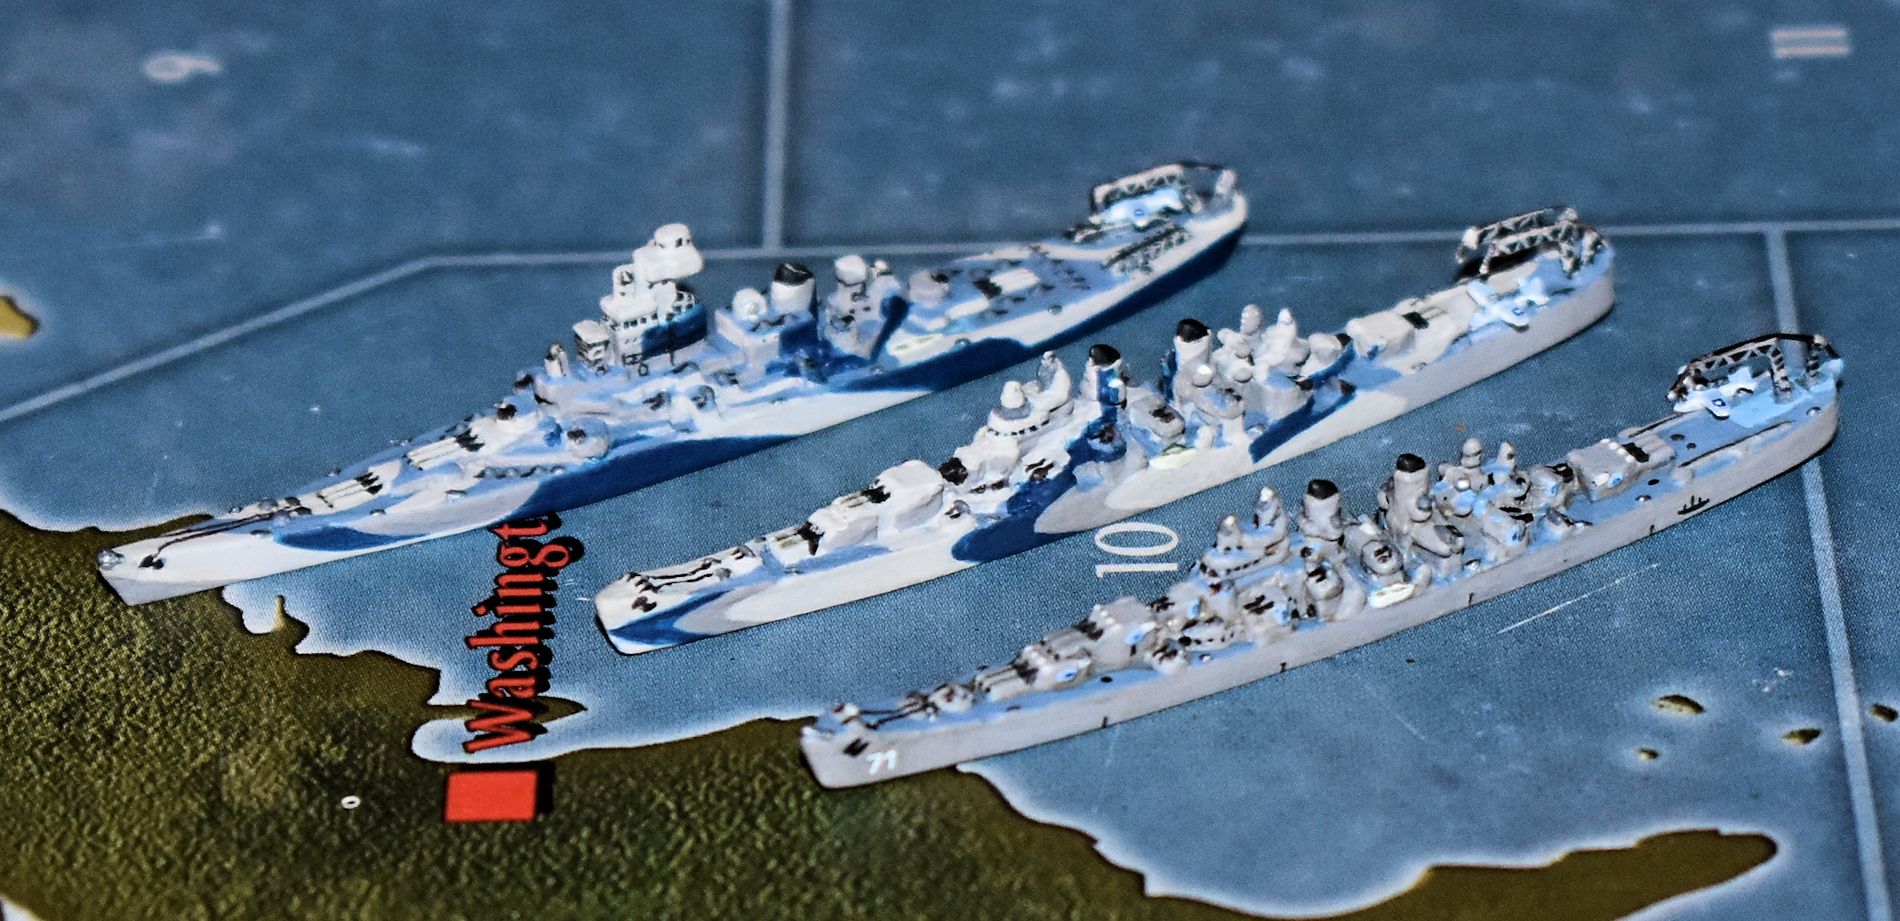
This HBG sculpt Baltimore class cruiser is the USS Quincy (CA 71). Originally laid down as the St. Paul, she was re-named Quincy on Oct. 16, 1942 in honor of the original cruiser USS Quincy (CA 39) which was sunk by Japanese gunfire during the Battle of Savo Island on Aug. 9, 1942. This sculpt was “cleaner” than the others in that, like a “proof” coin, much more detail was visible in this piece than the others. FOlewnik told me that prior to painting this particular piece, he never noticed there were so many life boats molded into the sculpt.


This one I’m not sure about- a Baltimore class cruiser never wore Measure 33, Design 22D, originally designed for destroyers. But Measure 33, Design 22D WAS modified for use on Atlanta-class antiaircraft cruisers, and was used on the Atlanta class USS San Juan (CL 54, excellent large picture here: http://www.navsource.org/archives/04/054/0405409.jpg) and the Oakland class USS Flint (CL 97).


Here’s the three of them together:
The Benham class USS Lang (DD 399) and the Bagley class USS Henley (DD-391). Very similar layout to each, as seen in the overhead view. The Henley was sunk by Japanese Submarine RO-108 off Finschafen, New Guinea, on Oct. 3, 1943. An account can be read on the Naval History page here: https://www.history.navy.mil/research/histories/ship-histories/danfs/h/henley-ii.html. The Lang had a very active and successful war, being awarded 11 battle stars for World War II service. FOlewnik chose to paint her in Measure 21, Design 1D.


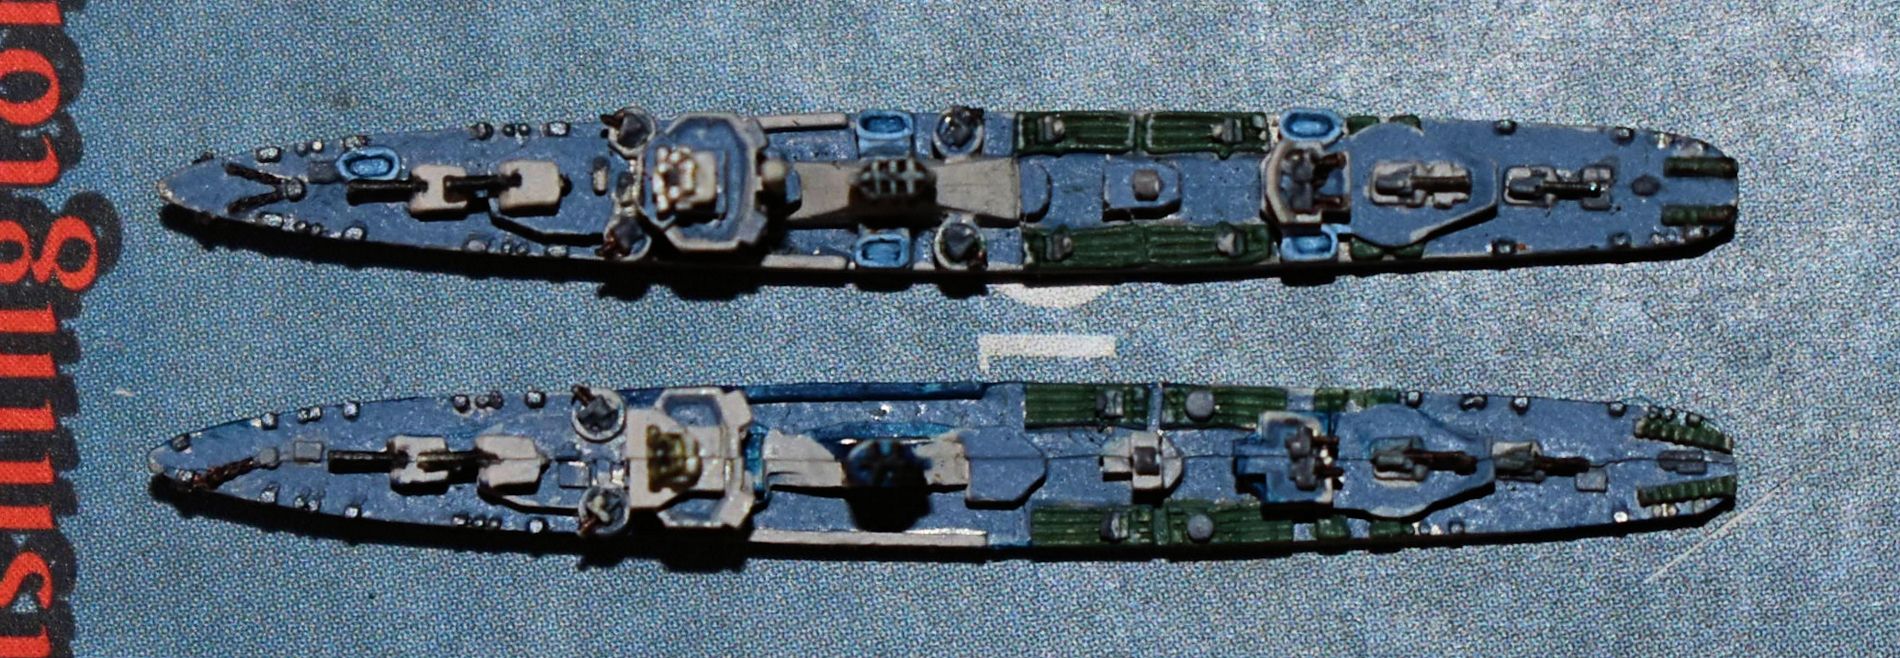

FOlewnik’s USS Franklin (CV-13), from the HBG Essex class carrier sculpt. This sculpt, like the USS Quincy above, was “cleaner” than the other Essex carriers we’d bought in that, like a “proof” coin, much more detail was visible in this piece than the others. So to show the extra details, FOlewnik chose to go with the late war Measure 21 camo (i.e. “haze grey”), as the Franklin was in January '45, after repairs from a kamikaze attack suffered the previous October. It may be hard to tell from the pictures, but several different shades of grey were used to add depth and highlights to the fine details in the sculpt. Of all the Essex class carriers he’s done so far, I think this is FOlewnik’s best. He even did the hull numbers by hand.


Do you have a wide shot of alot of these ships in a game situation. Id like to see how you did Germany/Italy/Japan. Every pic is US ordinance
We started with the Japanese navy pieces for this post. Perhaps you may wish to start from page 1 and see them. We have not yet gotten to Germany or Italy yet, with the small exception of a few Luftwaffe pieces shown earlier.
More ships of the US Navy by FOlewnik. Starting with the light cruiser USS Omaha (CL-4), the USS Farragut (DD-348) looking sea-worn, and the heavy cruiser USS Saint Paul (CA 73). Omaha and St Paul are HBG sculpts and the Farragut is GHQ.


Three more US DD’s but I lost my notes and don’t recall which ships these are. Their camouflage patterns are meant to go with those of other pieces to form task forces of similar camouflage measures. All GHQ pewter pieces here:


The most recent finishes together:


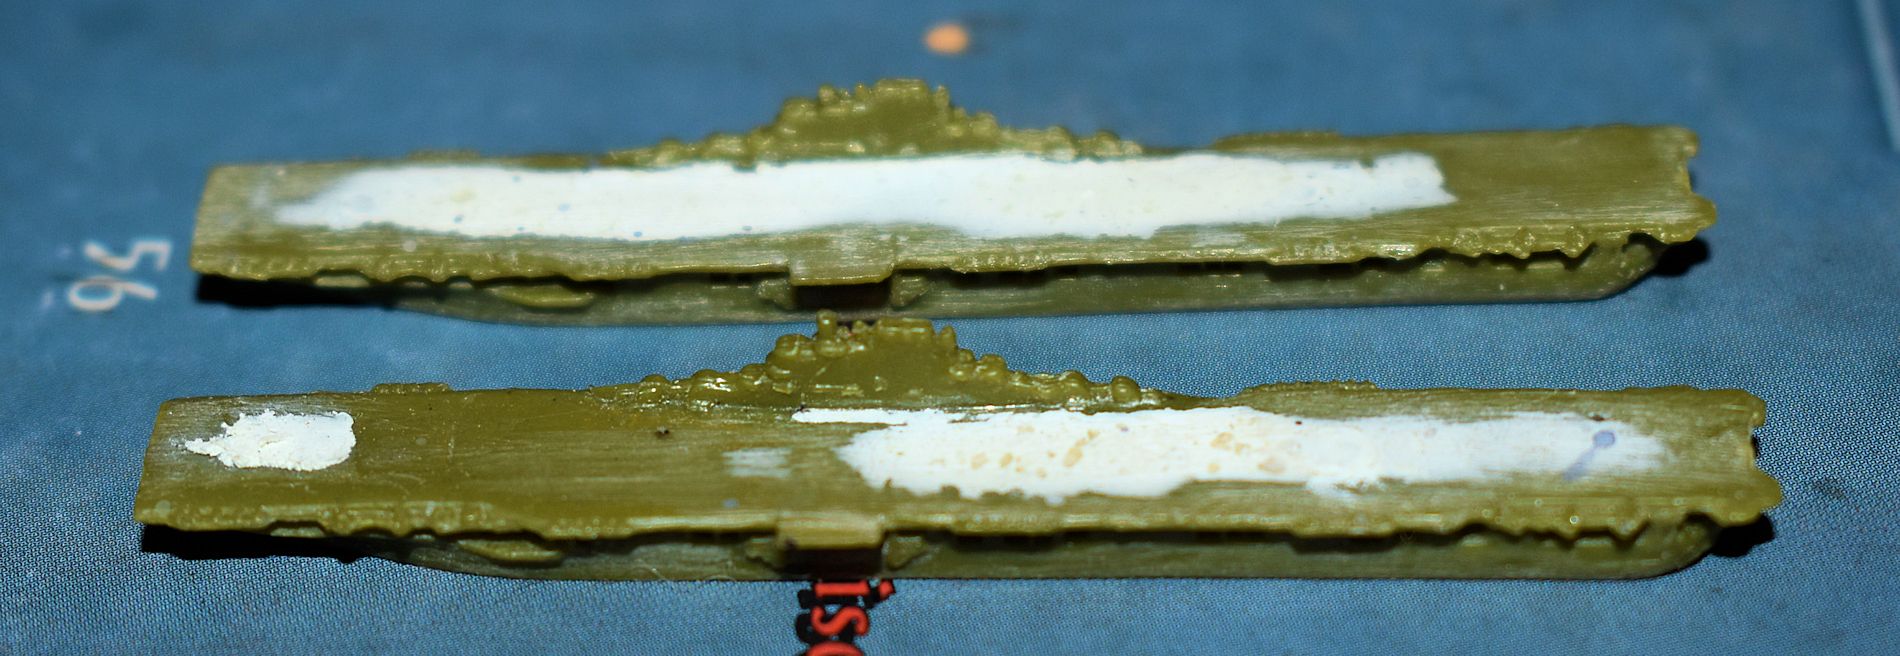
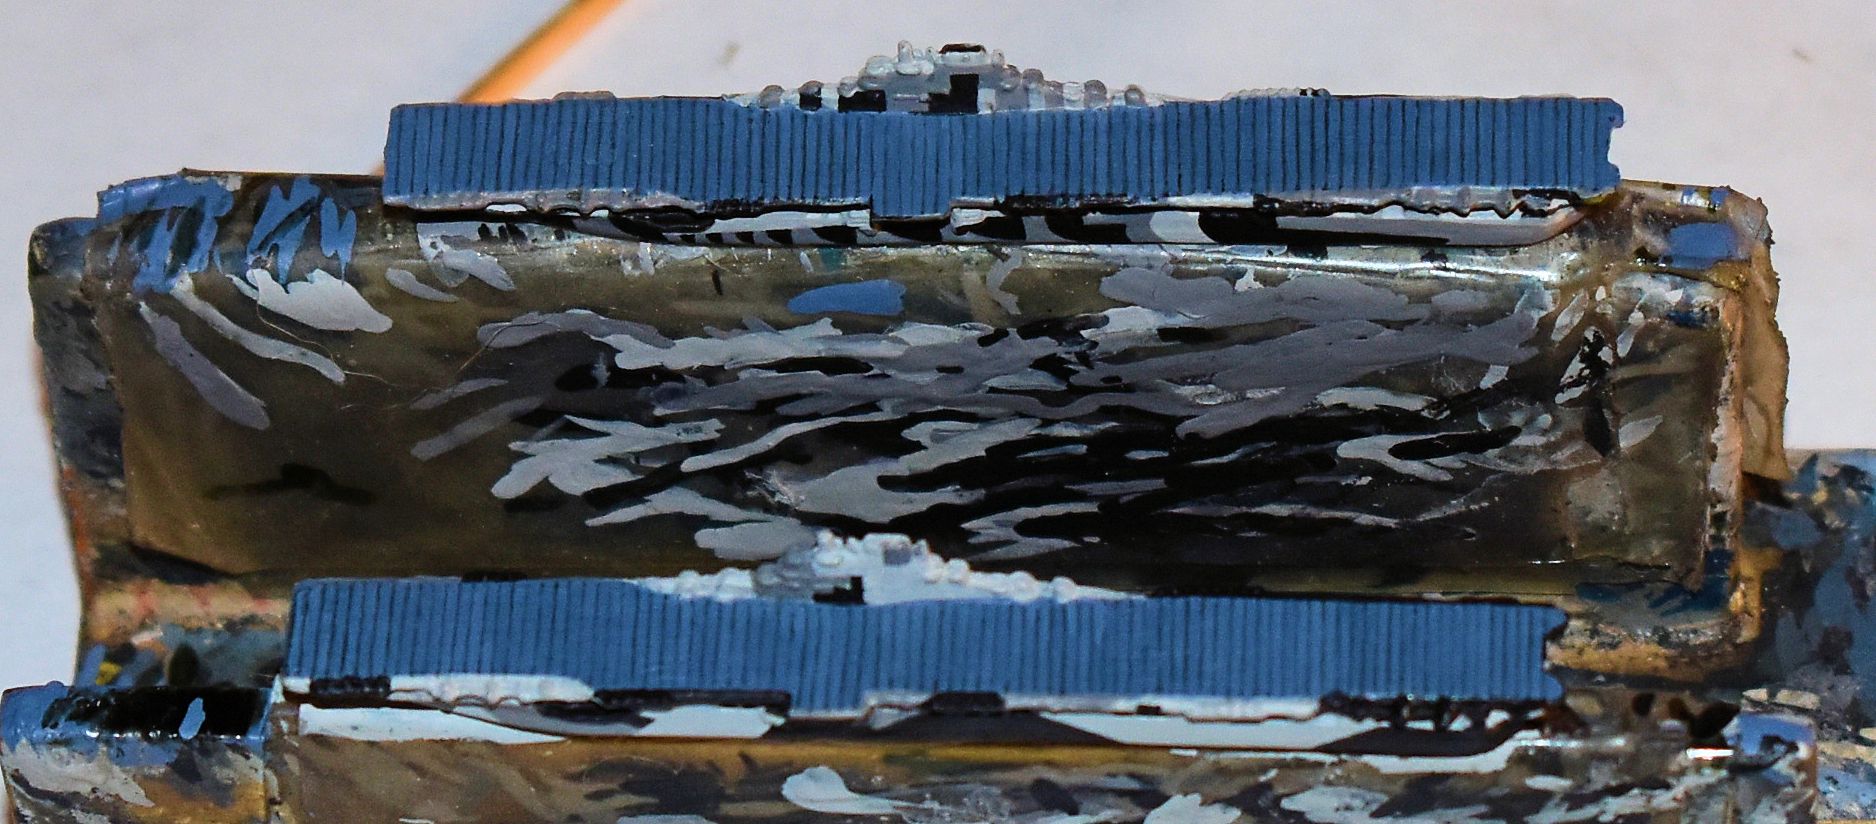
Four more HBG sculpt Essex class carriers are in progress. Although these sculpts have a lot of detail, their decks are usually not 100% flat and must be leveled before magnets are added and the piece is painted. Here we see two in progress with the putty applied and mostly sanded level. In the second picture, you can see the amount of detail that goes into the carrier deck at the start. These lines are all hand painted (of course!) and the rest of the deck is painted over it so that these lines fade into the background.
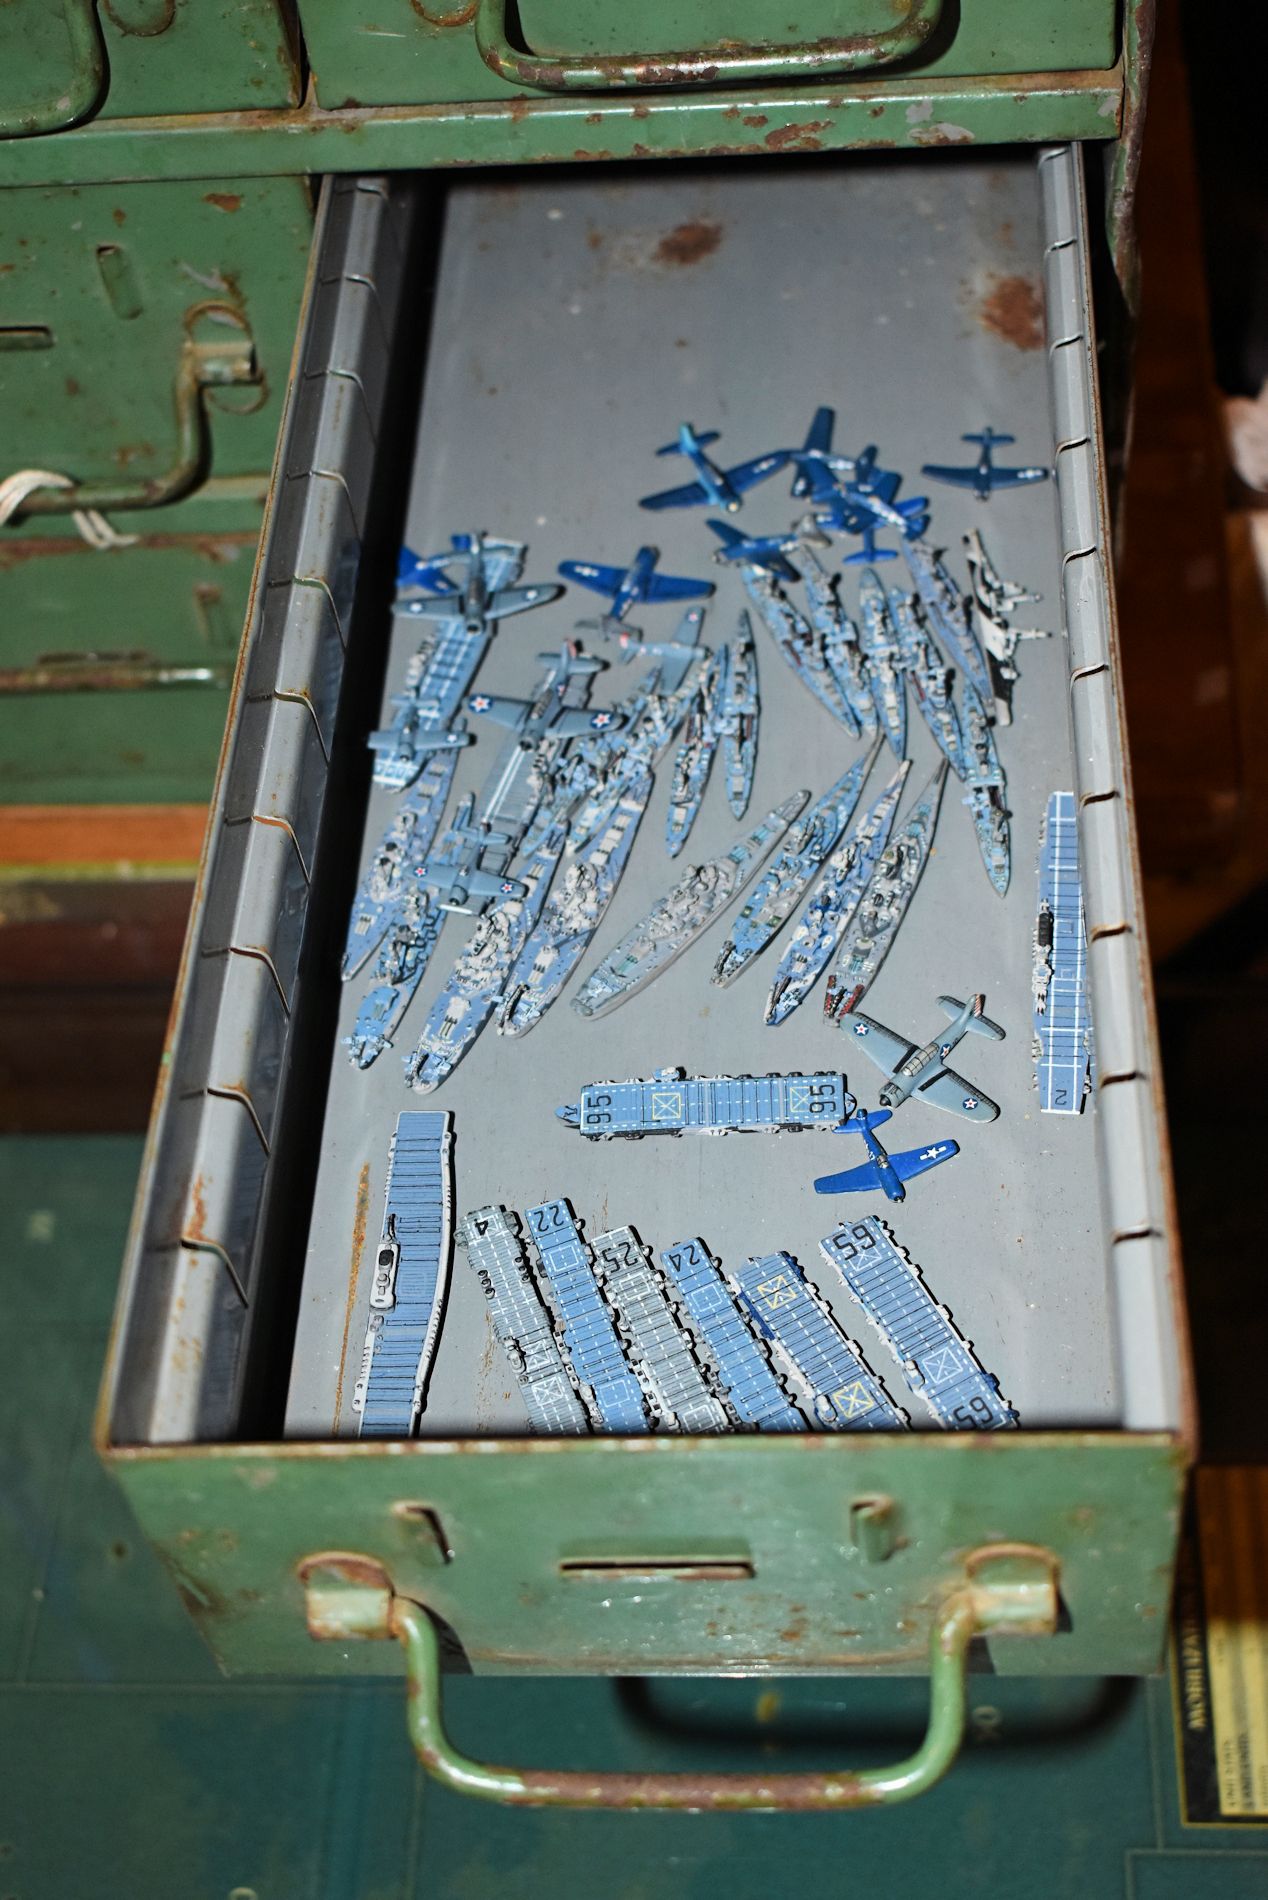
A look at the storage drawer filling up with carriers, battleships, cruisers, and Naval Air (light cruisers and DD’s were elsewhere):
Thank you for the positive feedback! I forgot to say that in the previous post, and it’s very important that I do. It’s very encouraging and motivating to get good feedback, and we certainly appreciate it. The above mentioned four Essex class carriers are complete, a long with several other ships of the US Navy, so its time to update the thread. Just ships by FOlewnik in this post. More aircraft are almost done but I haven’t put magnets in them yet (so not really done), so no aircraft pictures this post.
We’ll start with the two “odd men out” of the HBG sculpt Baltimore Class Heavy Cruisers. Why “odd men out”? Because in the below picture we have on the left, the USS Unnamed Baltimore Class Cruiser Wearing Measure 31a, Design 9C, and on the right is the USS Columbus (CA 74), which wasn’t commissioned until June 8, 1945. The cruiser with the long name is wearing a design that was never used, but was taken from a period design found at https://www.wikiwand.com/en/World_War_II_US_Navy_dazzle_camouflage_measures_31,_32_and_33:_cruisers. The USS Columbus is wearing a Measure 12 Modified designed by FOlewnik to match the pieces we’ll be using for the US Atlantic fleet. These will get aircraft added, but at the time of the photographs the decals on the wings of the aircraft were drying.


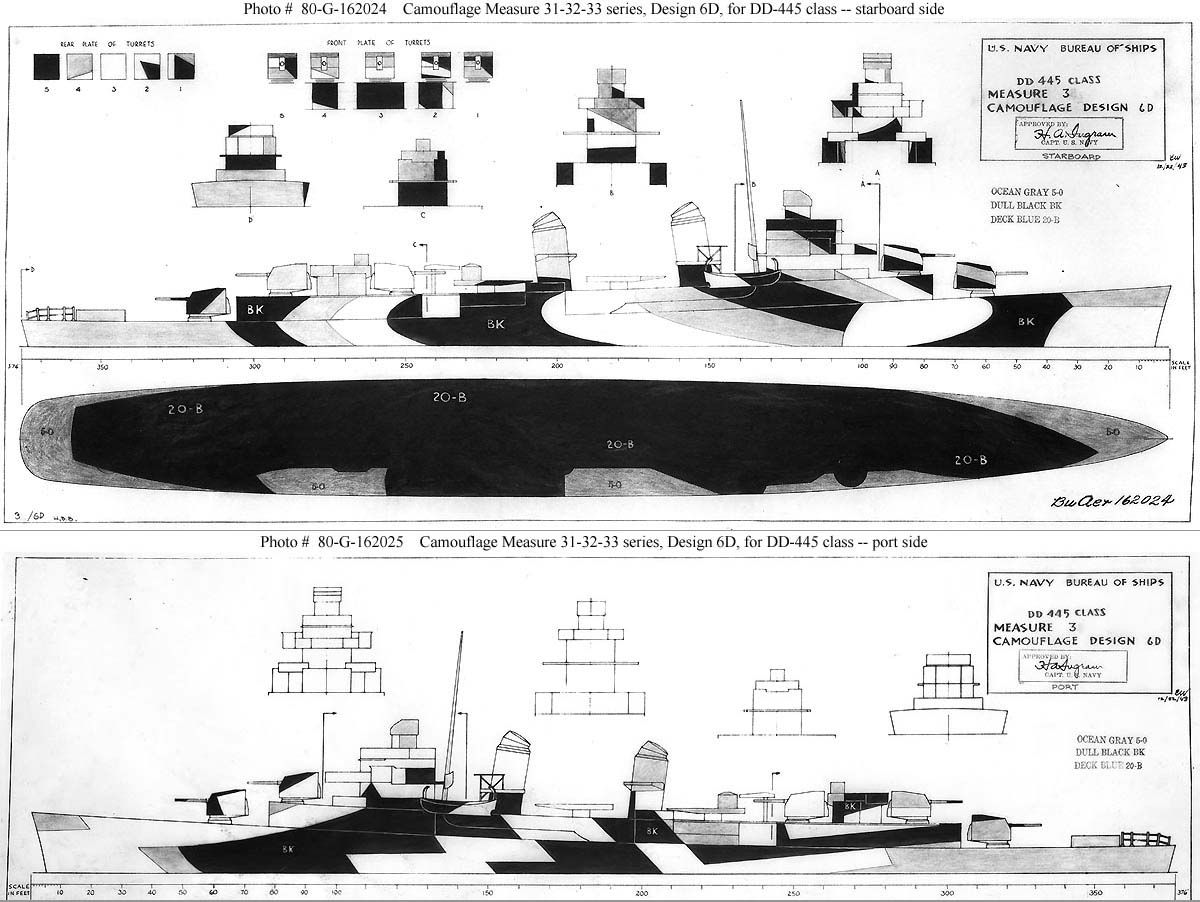
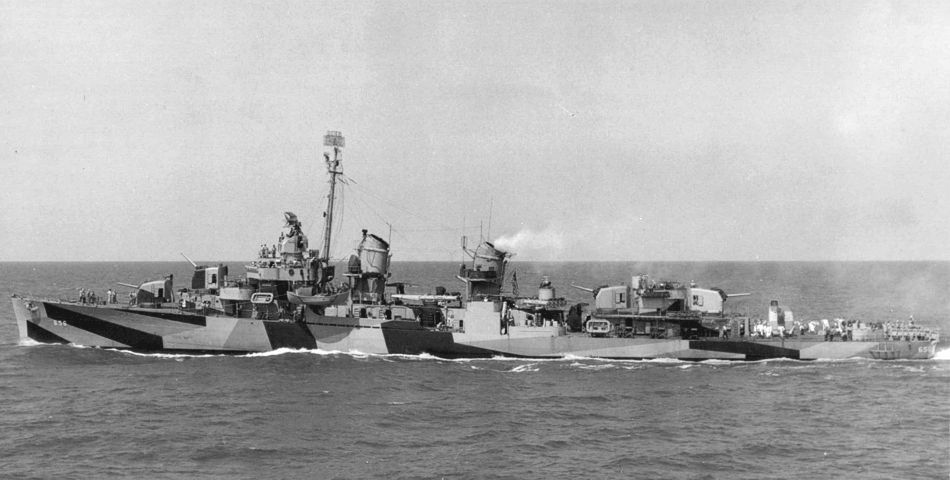
Next up are some metal destroyers from GHQ. Below on the left, the very brave USS Johnston (DD-557) painted in MS-3_/6D as it looked when it was “Sunk by Japanese Warships off Samar October 25 1944,” and next to it is USS Van Valkenburgh (DD-656) painted in camouflage Measure 31, Design 9d. All Wartime photos taken from Navsource.org, a great resource for US Navy history buffs.


Below, the real USS Johnston shortly before her final battle, and the official design sheet:

A great wartime picture of the USS Van Valkenburgh, which is the same on both sides:
Now on to these two. From GHQ, USS The Sullivans (DD-537) painted in Measure 1, and the HBG sculpt light cruiser USS Marblehead (CL-12) who always wore Measure 2 throughout the war. If I can get FOlewnik to put the Shamrock on the first stack of The Sullivans when he puts the scout aircraft on the Marblehead, as seen in the below wartime photograph, I’ll come back and edit the post.


The post previous to this post showed four Essex Class sculpts from HBG getting prepped and started with a base coat. Those are now completed and I had too much fun playing with them and the aircraft (that are complete so far) while I was taking photographs. I’m pretty sure I didn’t make any wooshing sea or aircraft noises or FOlewnik would have laughed at me. I was tempted though, and here’s why:


Above we have the first of the Long Hull Essex Class, USS Ticonderoga (CV-14) on the left looking as she did after her April 1945 refit from suffering a Kamikaze Attack on January 21, 1945, and USS Bunker Hill (CV-17) on the right. The Bunker Hill is wearing Measure 33, Design 6A, of which Navsource says, “Her port side camouflage pattern was the most intricate design applied to any carrier.” One glance can confirm that!

The final two Essex Class carriers are the USS Essex (CV-9) herself, and the USS Bennington (CV-20). The Essex is wearing a unique pattern, Measure 32v6, Design 10D, adapted from a destroyer pattern specifically for the long hulled Essex. The Bennington is painted in Measure 32, Design 17A.


Finally, some group pictures just for fun:


Thank you for checking out the post! If you liked it, please click the little heart. I’m trying to figure out why our post is only rated with a 2 when it seems it should be a bit higher if the other likes are any indication.