That’ll do it - and after you have used your playing pieces for a while, you’ll see if you need to spray a new layer of matt varnish.
2-3 layers - each layer thinly sprayed - and dry 24 hours between each layer.
You units will last a lifetime:+1:
It’s amazing how realistic a sculpt small enough to fit on a quarter can be made to look with a good paint job!
Talk about perfect timing. I have been looking at multiple sources to decide how to go about painting mine. I think I am going with the “Red Tails” after looking at all of yours.
Hey guys! I’m selling my fully painted 1942 set over on the Marketplace; in the process of preparing the set for sale, I took photos of all of the pieces. They are the pieces that I began painting as a beginner, so you can see the development of the quality over time. I thought you might like to see them for ideas, questions, laughs, etc. If for no other reason, A&A painters love photos!
Here is the link to my Flickr page, where you can see them all. http://goo.gl/SbKgLZ
Happy Wednesday!
Looks awesome! Um…how much for the whole set!
Hey Redleg, I sent you a PM. If anyone else is interested, you can look in the Marketplace subforum for the information.
Are we doing the deal? I’ve sent 3 PMs with no response. All I need is your pay pal stuff and I can pay in full. Awaiting a yes or no so we can either move forward or I can move onto something else…
Are we doing the deal? I’ve sent 3 PMs with no response. All I need is your pay pal stuff and I can pay in full. Awaiting a yes or no so we can either move forward or I can move onto something else…
Sorry for the lack of response - I have been busy the last day or two. Thanks for your patience - I just got back to you.
I just went through this whole thread again and on top of being inspired by the pieces I bought from you to get back into painting…I can see that I may have lost a step or two in the last 15 years lol…The pieces you’ve demonstrated on this thread are just amazing and I’m hoping that I can get to that level eventually. As you can see from the thread I started, I am painting again…but I sure have a long way to go before I get to your quality of work. Well done and just know that you’re quality of work is now on my front sight post!
I just went through this whole thread again and on top of being inspired by the pieces I bought from you to get back into painting…I can see that I may have lost a step or two in the last 15 years lol…The pieces you’ve demonstrated on this thread are just amazing and I’m hoping that I can get to that level eventually. As you can see from the thread I started, I am painting again…but I sure have a long way to go before I get to your quality of work. Well done and just know that you’re quality of work is now on my front sight post!
Thanks RedLeg! Practice is certainly the best way to improve - you’ll find that you learn from experience; you’ll become familiar with your paint’s viscosity and characteristics, you’ll get a better eye for detail, and you’ll develop your own style. If you want to save your Global pieces until you get to a level you’re happy with, you could get some of HBG’s cheap factory decline pieces for practice.
If you ever have any questions, let me know!
The ships of the Kriegsmarine have finished their time in the drydocks and are ready to cruise the Atlantic!
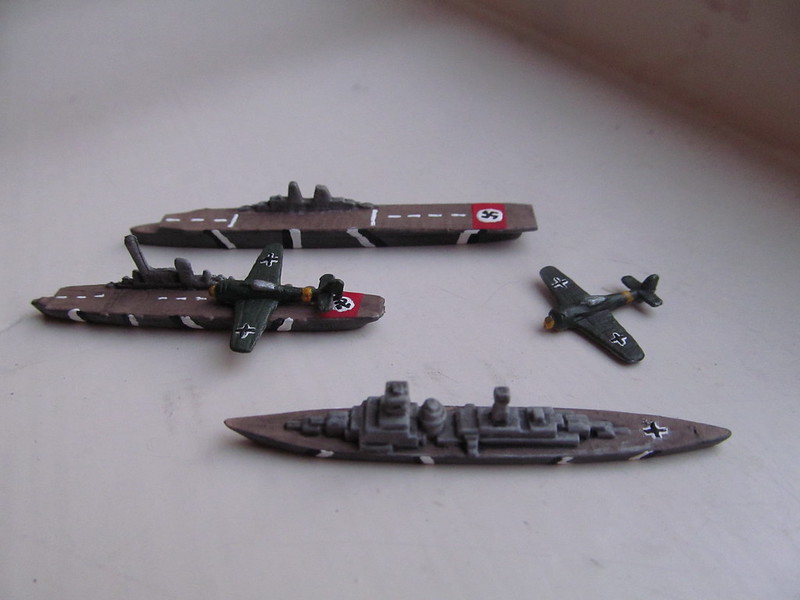
Battleships
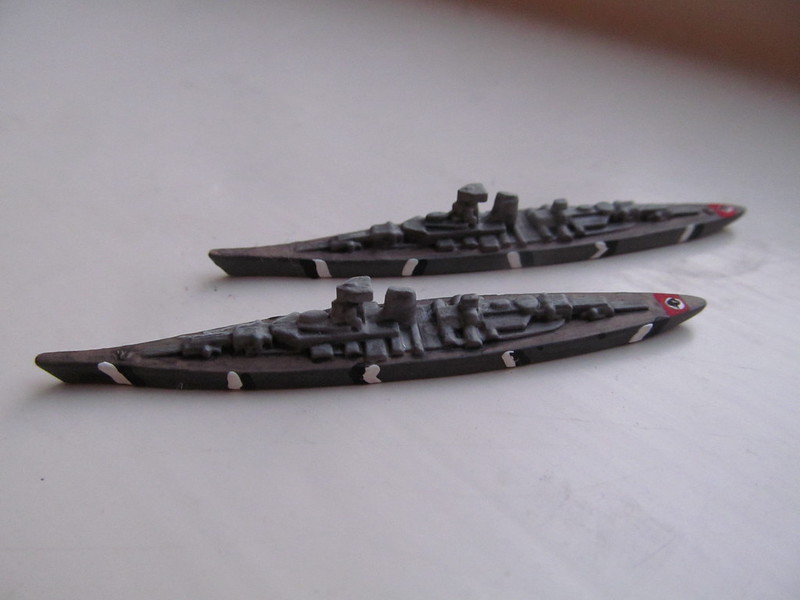
Aircraft Carriers - front are HBG Light Carriers, rear are OOB.
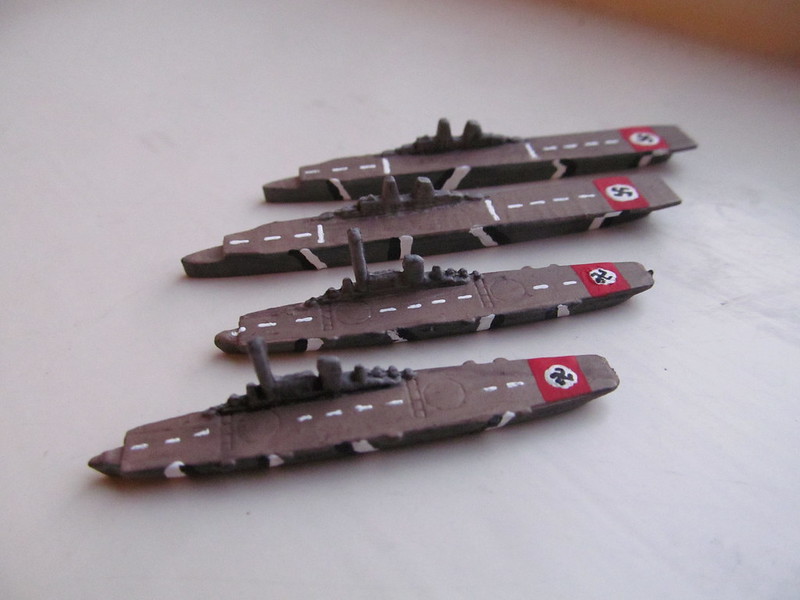
Cruisers - my personal favorites.
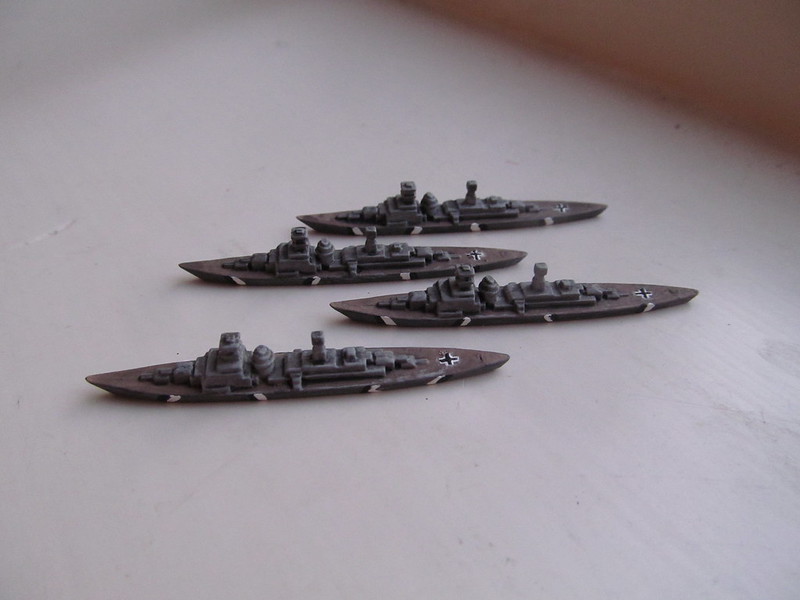
Destroyers

Transports
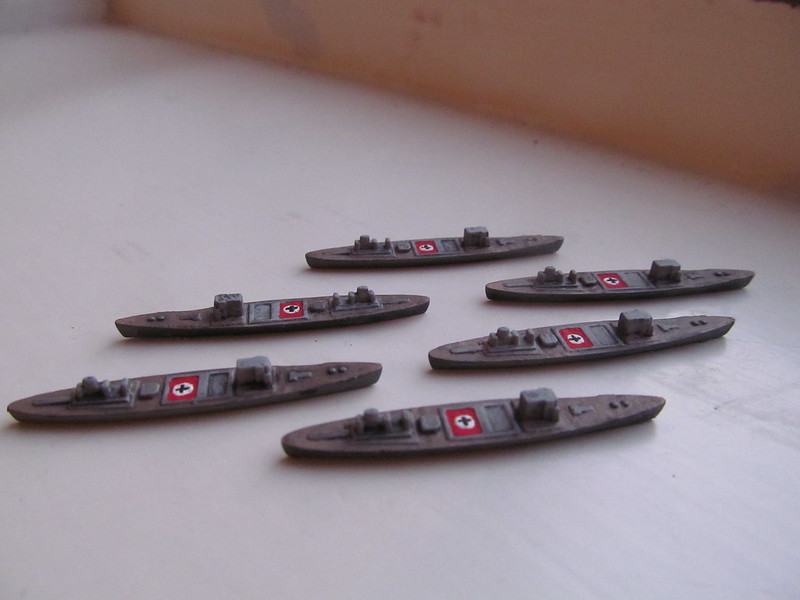
Those are awesome, my friend! They look like they are ready for a fight! :-D
I thought I would take a before and and after shot of the navy to show you what a difference an inkwash will make. While these are not my best work, I think they still serve the purpose!
The shot below is the ships before an inkwash. At this point they just have a coat of primer, one or two base coats for the deck, hull, and superstructure. Notice how flat the piece looks; it looks fine, but it’s not what it could be.
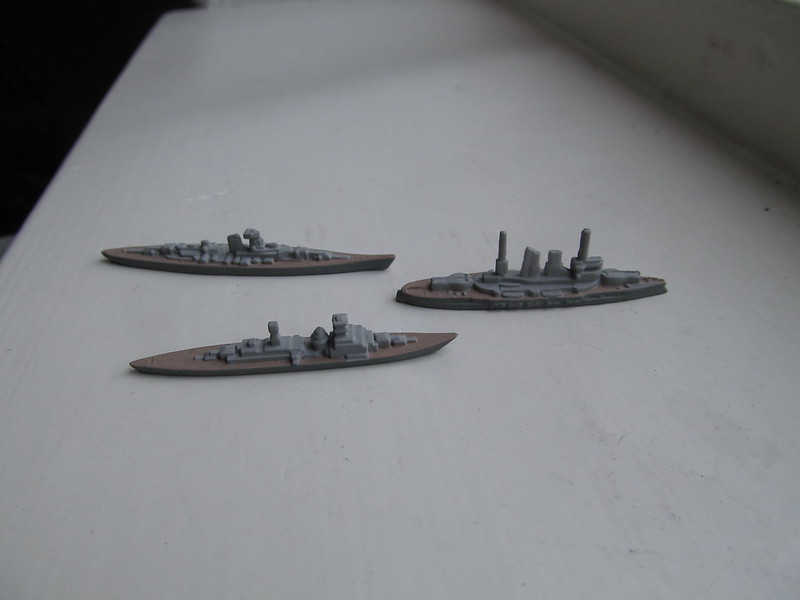
This next shot is after an inkwash. It makes the crevices pop, and you get a much more three dimensional piece, especially from a few feet away on the gaming table. I recommend that you also give it a good drybrushing to make it look even better. Of course, some of it is subjective; you might prefer it to be more of a flat, fresh paint look rather than a battle-worn look.
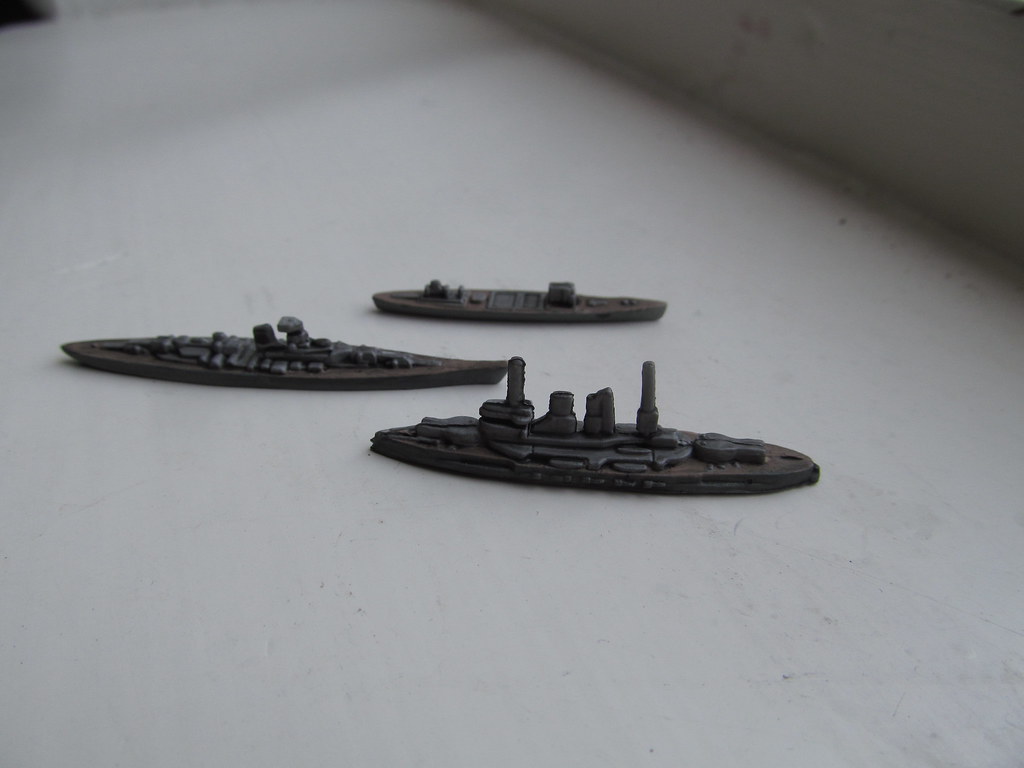
Yeah, I can tell a big difference, just by you putting the pictures, side by side. It does look better!
For those of you interested in my storage solution for my pieces, wait no longer. Below is a picture of my custom build storage box.
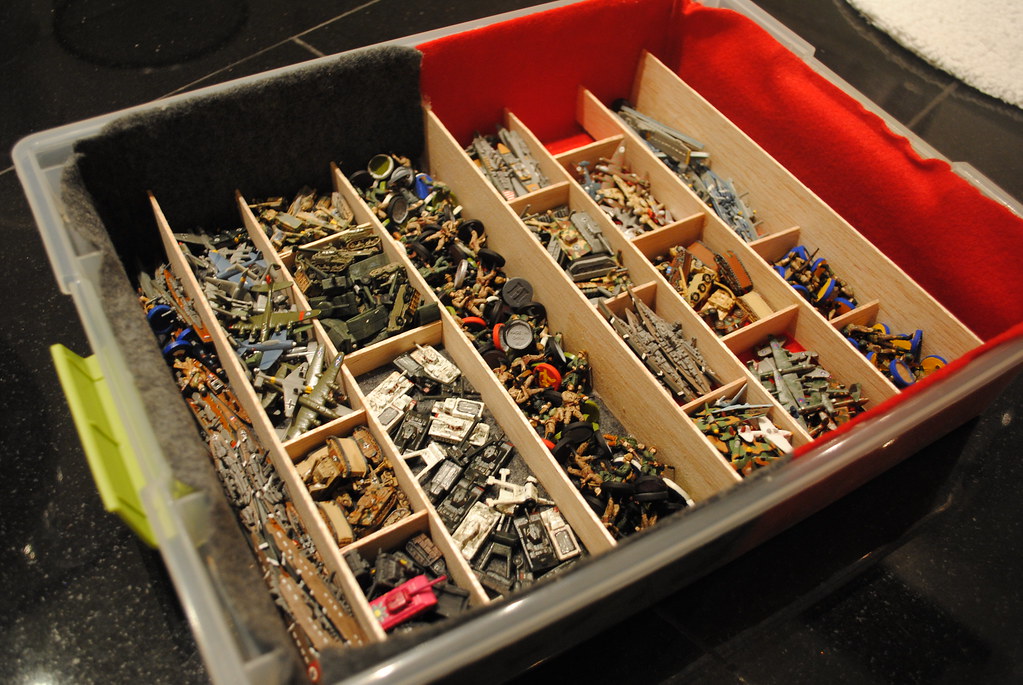
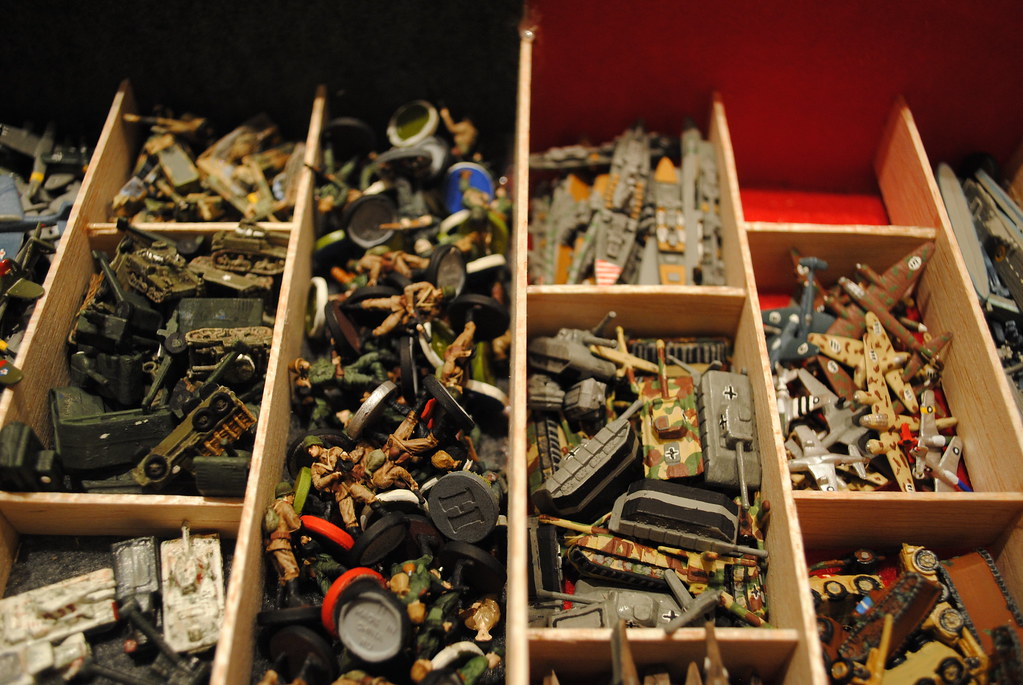
This is only one of three that I was planning on building. Each box would hold one nation on each side; this one was originally constructed for the Germans and the Japanese, which is why I used the black and read felt. The Axis Powers!
I only ever got around to building one, but I will need to build two more pretty soon, as this one is too full at the moment.
The materials I used:
Plastic container with snap on lid (Target)
Long strips of balsa wood (Michaels)
Sheets of felt, cut to size (Hobby Lobby)
Hot glue
Exacto knife
The rest is pretty self explanatory. You just measure how big you want the individual sections to be, cut the balsa wood to size, glue the felt down, glue the balsa wood down, and you’re done.
I’ve found that it works pretty well for my storage needs, because it keeps the pieces secure and non-scratched because of the felt. My original idea was to see if I could fit in a second level, like a removable tray, but I scratched that idea. I also wanted to spray paint the boxes black and then paint or put a sticker of the national insignia on the box to make it look really professional. You can take the idea and run with it - you guys are creative.
Post your storage solutions here, or let us know how you keep your pieces safe and sound!
Man that is a lot of painted pieces! I like the idea of felt. Nice job on your storage, :-)
What are you painting next? :-D
What are you painting next? :-D
Your Japanese military. I don’t have time to do anymore painting before I move, so the paints are all away for a few months.
hey spitfire these pieces are awesome! zooming in on some of your storage boxes you infantry men look highly detailed!
I like your color scheme for the American carriers too. Question do you use like a ink wash or something to get out details in the hands and face of the men? Ive seen a few of these impressive details from a few guys on here, just curious what guys do…… look so much better than just the flesh colored blob of a head that my guys have lol
What are you painting next? :-D
Your Japanese military. I don’t have time to do anymore painting before I move, so the paints are all away for a few months.
LOL, got you! :-D