All right guys! I finished the Chinese infantry.
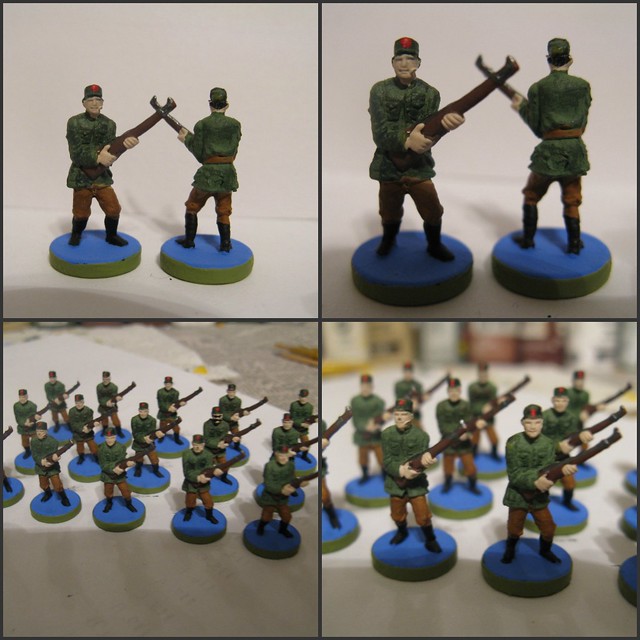
I finished the boots with a straight black. I used a thin point brush to get in between the legs on the inside of the boots. Afterwards I had to go back over the base a little bit to cover up any stray lines from painting the boots. That’s why it’s important to make sure you can replicate a pretty similar shade again when you first mix the base.
Then I just fixed up the uniforms with a straight dark green (that’s another bonus of using 2 coats of different colors… you can touch up with one straight color without mixing it and it doesn’t look bad)
For the base, I needed a green, but more of a bright, pastel colored green, not a dark forest or army green. So I mixed some blue and yellow (come on, back to the basic color wheel- 1st grade :lol:) until I found a shade I liked. Then you just apply it to the base and wick off any extra that sticks over the top of the side of the base with your finger.
Then you wait for it to dry, sit back, survey your pieces, make any changes you want, and be proud of yourself! :-D
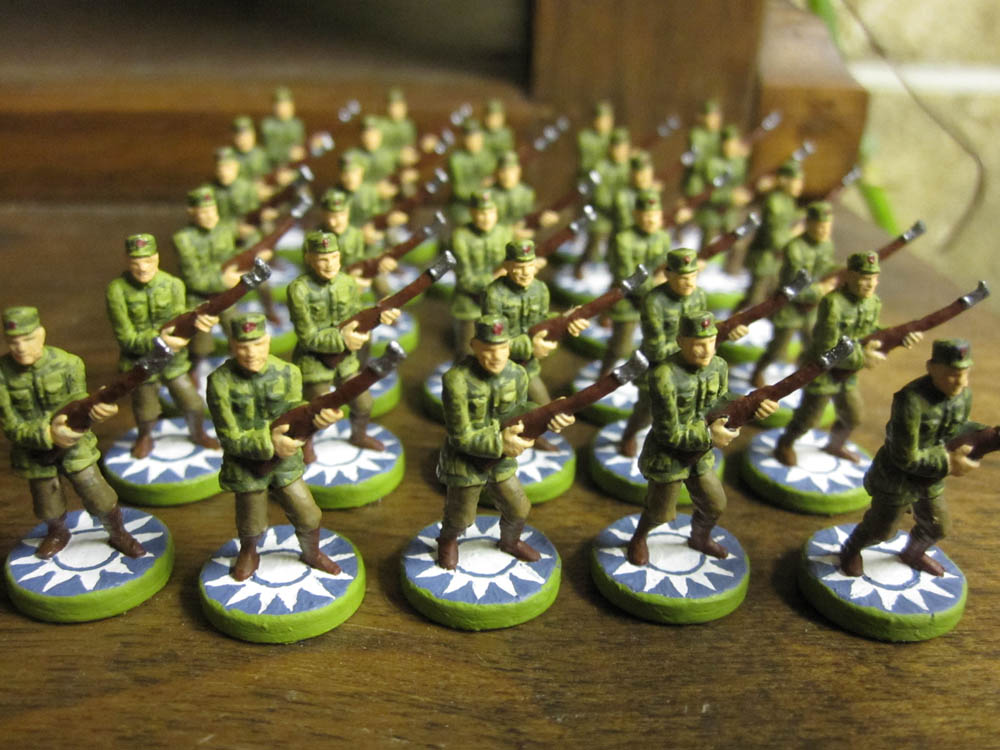
Here are the pics of the final infantry.
One of those guys has a face defect-poor guy. must be hard missing half your jaw.
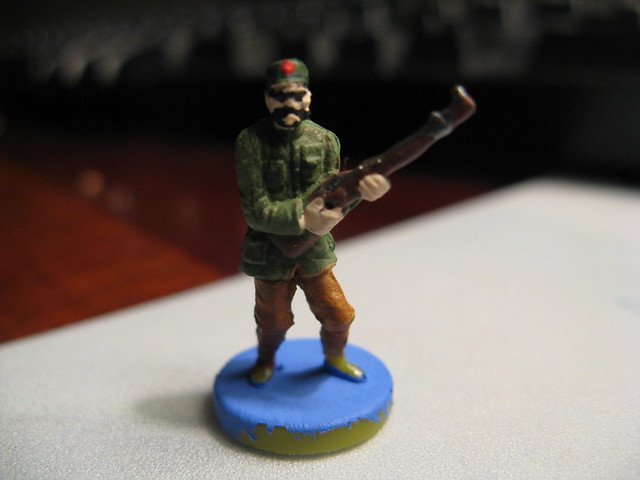
Every once in a while you have to have some fun as well. So here is an infantry piece with some “accesories”… Taliban infantry, Chinese Rambo…take your pick. haha. He looks a little messy, but I fixed him up later, don’t worry!
Hope you guys found this helpful! I’ll be doing some more pieces in the near future.