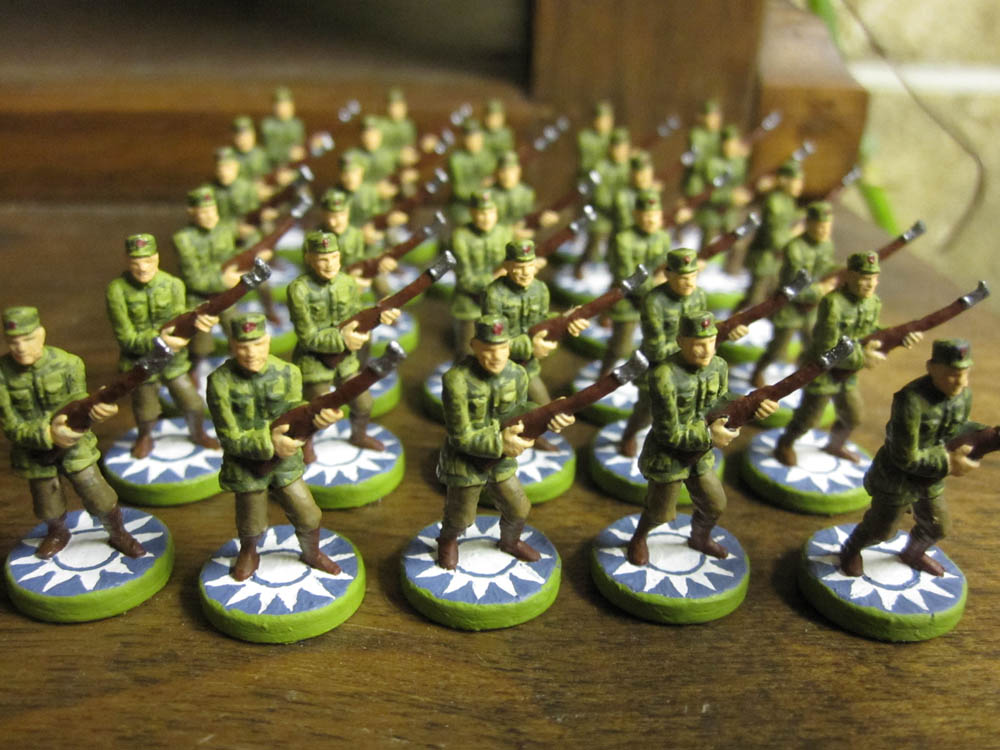
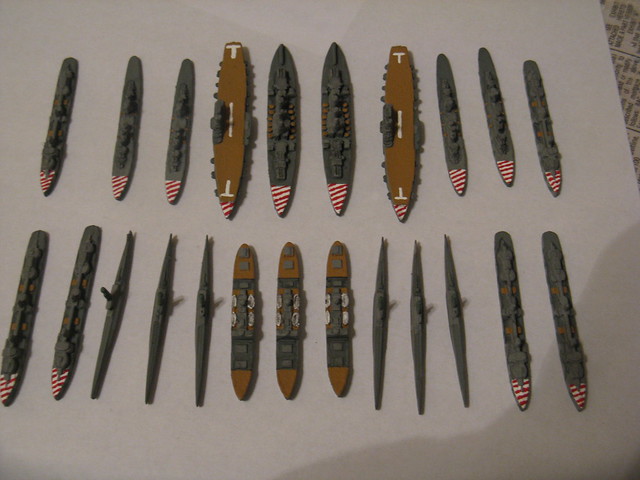
The FMG ground forces are finished!!
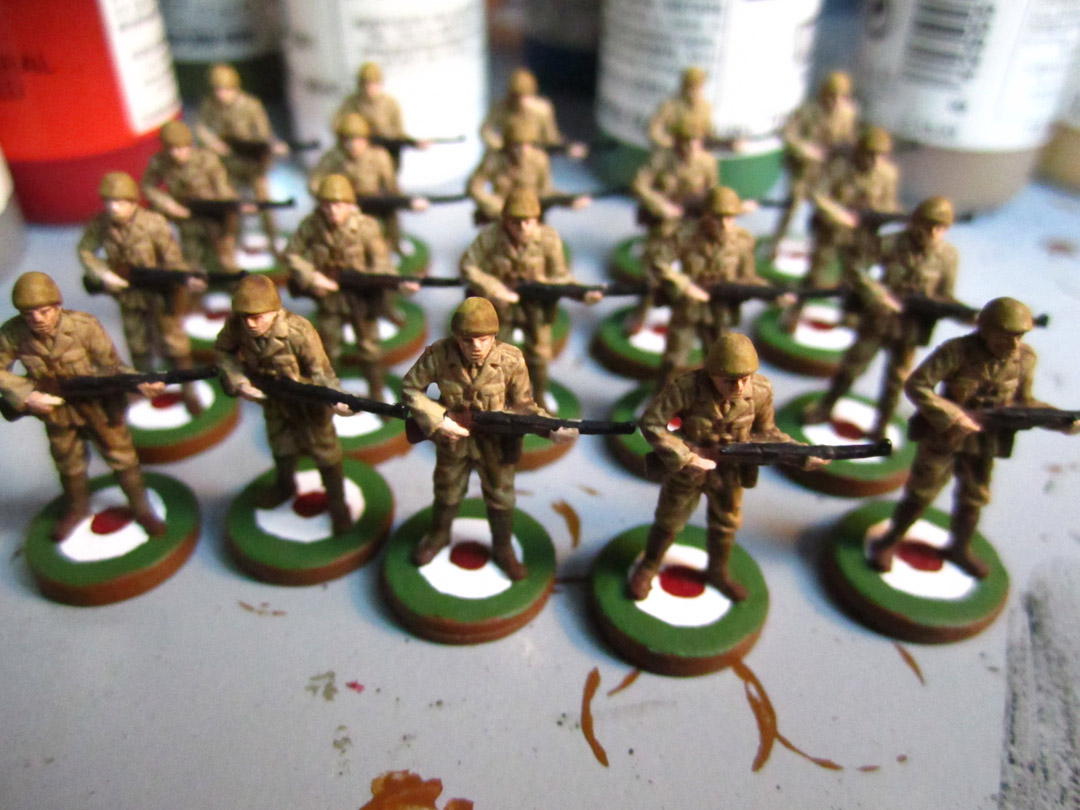
After the pieces were given a sand/camel color base coat, I did 2 or 3 coats of a brown inkwash, just because it kept coming out a little too light for my tastes. The first thing I did after that was the tires of the arty and mech inf and the tracks of the tanks. The tires were pretty difficult to perfect with even circles, but after a but of tweaking I got it to the desired look. I used the sharpened skewer, as a brush isn’t stiff enough to get the tight cracks and smooth lines. As you can see, especially on the arty, there were stray black paint marks, but I went over those later with either a sand color or a gunmetal gray for the mechanics of the artillery (Does the silver on the arty look good? I tried it out just for kicks. Let me know if I should do it for the European Italian units).
I didn’t really like how plain the tanks were, so I painted the things on the back (they appear to be barrels, but they may be bundles of supplies) brown to add some interest and variety. For the mech inf I painted the jug of gasoline, the entrenching shovels, and the headlights/mirrors on the front to add the same variety. (they were part of the piece, but its optional to paint them)

A quick note on the treads (Frame 3). I don’t know how well you can see the grey, but it shows up more in person. If you did this by hand, painting each individual line it would take forever. So basically what you do on anything with clearly defined or raised parts is…yep, you guessed it, drybrushing. I painted the tread brown, then selected a relatively stiff brush, and got started. Get the brush tip wet with some pain, then dry it almost completely off on a paper towel until you can barely see any paint coming off. Then do a rapid back and forth motion over the length of the treads…if you don’t see it at first, give it a sec and keep doing it- it will show up surely enough. By having little paint and doing it quickly you are ensuring the paint only comes off on the raised surfaces… ideally the tip won’t touch the depressions in the treads at all, only the raised parts.
Next it was time for the division and platoon markers. I did this because it
1. Fills up the empty space on the side of the piece
And
2. Gives the pieces more character in my opinion. It is cool to see the different pieces with its own unique something. You may find yourself cheering on your HQ “black and white stripe” mech inf in the battle for Alexandria because it has withstood the enemy fire- it is now an veteran piece to be counted on! :-D
Here is the site I used. Great site for painting ideas- its a miniatures WWII battle site, but its great for this too. http://www.flamesofwar.com/Default.aspx?tabid=110&art_id=856&kb_cat_id=27
Add the platoon markings, do some touch up, add the Italian flag on the back (merely for identification) and voila!! You’re done. They turned out fairly well if I do say so myself. Keep in mind when you’re painting your own pieces (I need to remember this often!! :-)) that perfection isnt the goal. If there is a slight problem that you can’t quite fix, leave it. The piece should look good from table view (2 ft or so), so it doesn’t have to be an unblemished product. Do your best work, and appreciate it. I can see some flaws in my pieces right now, but it’s not a big deal in the end. They look good from far away, and we’ll have fun with them.

Comments and questions appreciated!! Thanks for reading.
-Spitfire38