I forgot air units get two dice in convoy raiding, good reminder haha
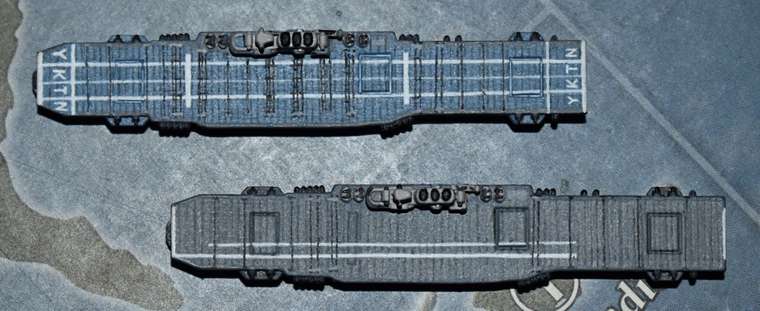
Custom carriers from OOB's and painted pieces
-
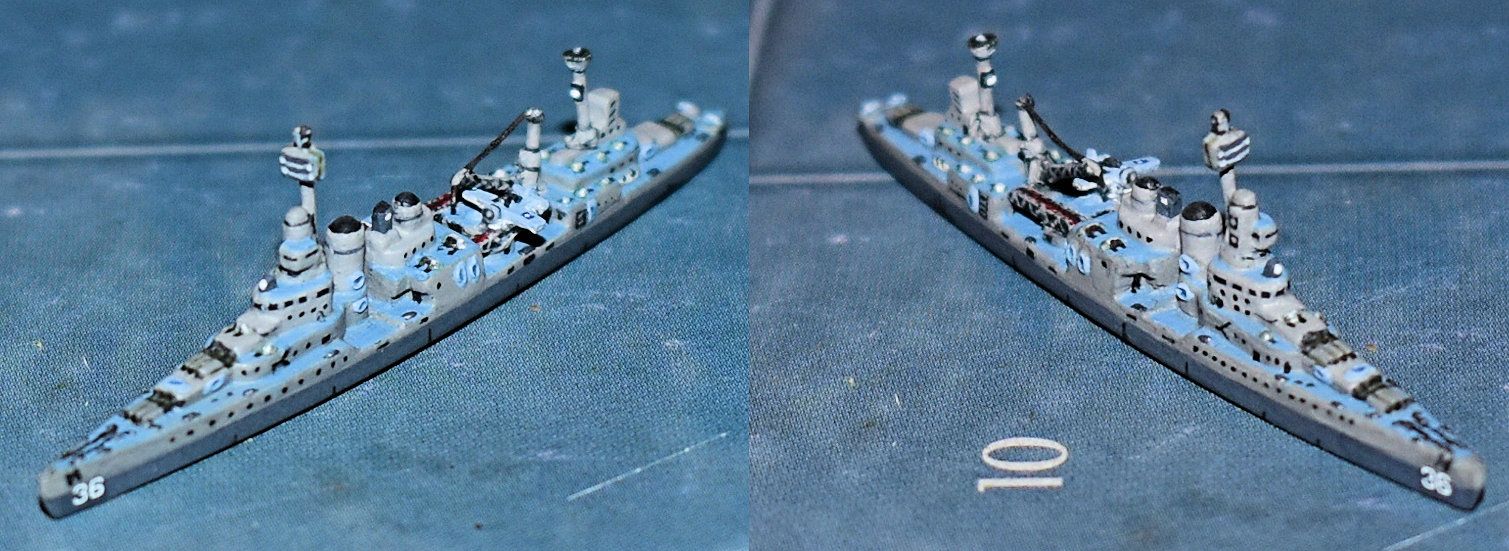
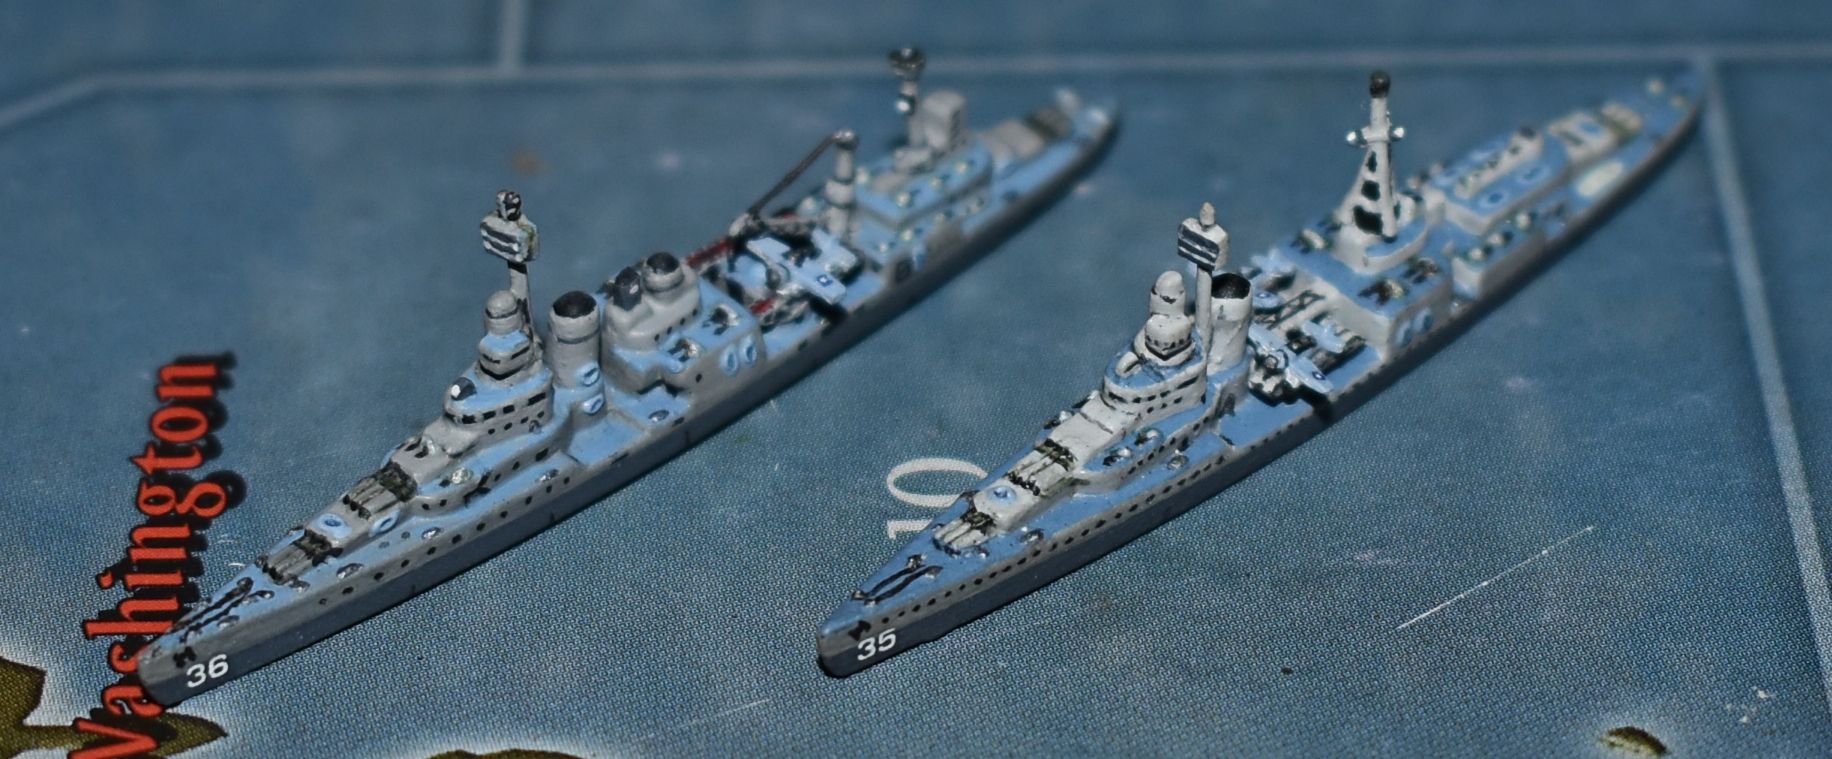
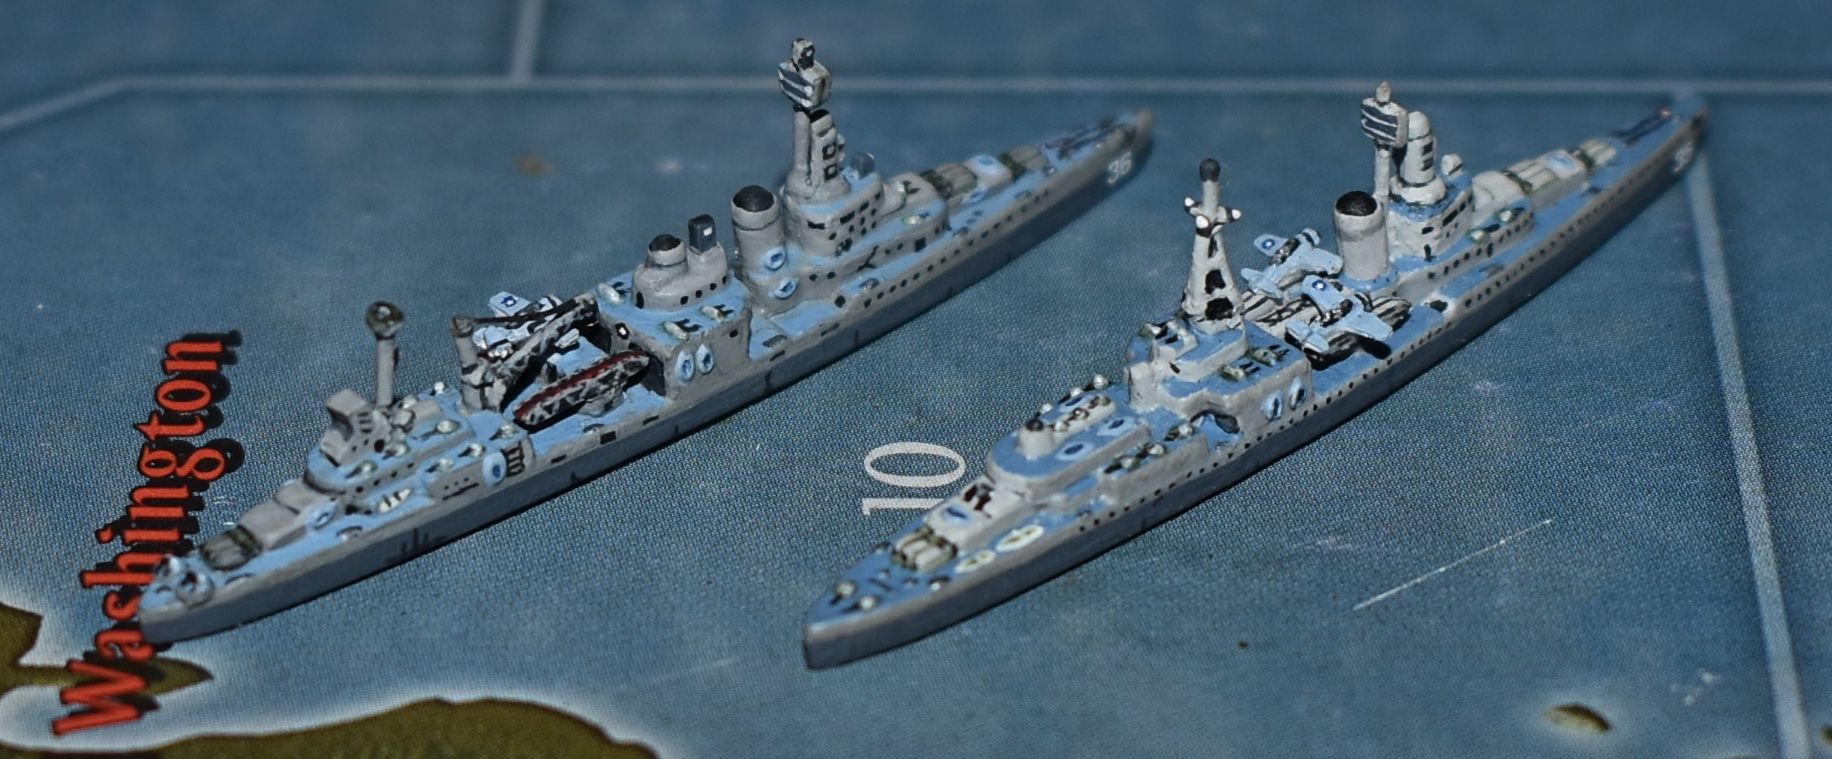
Incredible amount of detail; I’m very impressed. As a point of trivia, the portholes about which Harvard3X1 was asking are a feature to look for when comparing cruiser designs because they’re a potential tip-off about how well armoured a particular cruiser is. DMcLaren’s custom paint job correctly shows Indianapolis as having a single row of portholes (also called scuttles) located high on the hull. If you compare photos of Indianapolis with the Deutschland-class heavy cruisers (a.k.a. pocket battleships), you’ll notice that the Deutschlands have two rows of scuttles and that the second row is quite low, about halfway between the waterline and the deck. This showed that the armoured belt of the class did not extend very far up above the waterline.
-
@Harvard3X1 When FOlewnik was doing the Japanese carriers in the beginning portion of the thread he was using a black 005 pen from a set by Picma Micron available at Michael’s in the US. On the IJN subs he used a brown 005 pen for deck details. After having difficulty keeping the row straight due to the difficulty of seeing exactly where the rounded tip of the pen will land on a piece somewhere down the line, he switched to a 20/0 brush and has been getting better consistency. On the USS Raleigh above, the portholes are in dark grey so those had to be brushed. The dark grey works well with the two camo colors and looks better than switching between black on the light camo and grey on the dark, since its more consistent.
@CWO-Marc It’s actually FOlewnik’s custom paint job on the ships. I do the regular size aircraft (no way I want to mess with those tiny little things! Decaling the wings is bad enough!) and the decals, where needed on the ships (scout aircraft wing roundels, hull numbers, country flags & numbers on the IJN subs). And thank you for the compliment- your customizations were a big inspiration to us so it means a lot.
-
@DMcLaren thank you for the insight. I’ll have to re examine my painted vessels for my Global 1940 after I complete soldiers. its a lot of work but your have established and set the bar for finished work. Freaking Amazing… I already know I’m working under a magnifying lens to ensure my units are painted in detail…but even then the ships are on another level of
detail… -
@Harvard3X1 FOlwenik says thank you for such a great compliment. He can’t seem to get a working password on the new forums here despite many attempts.
-
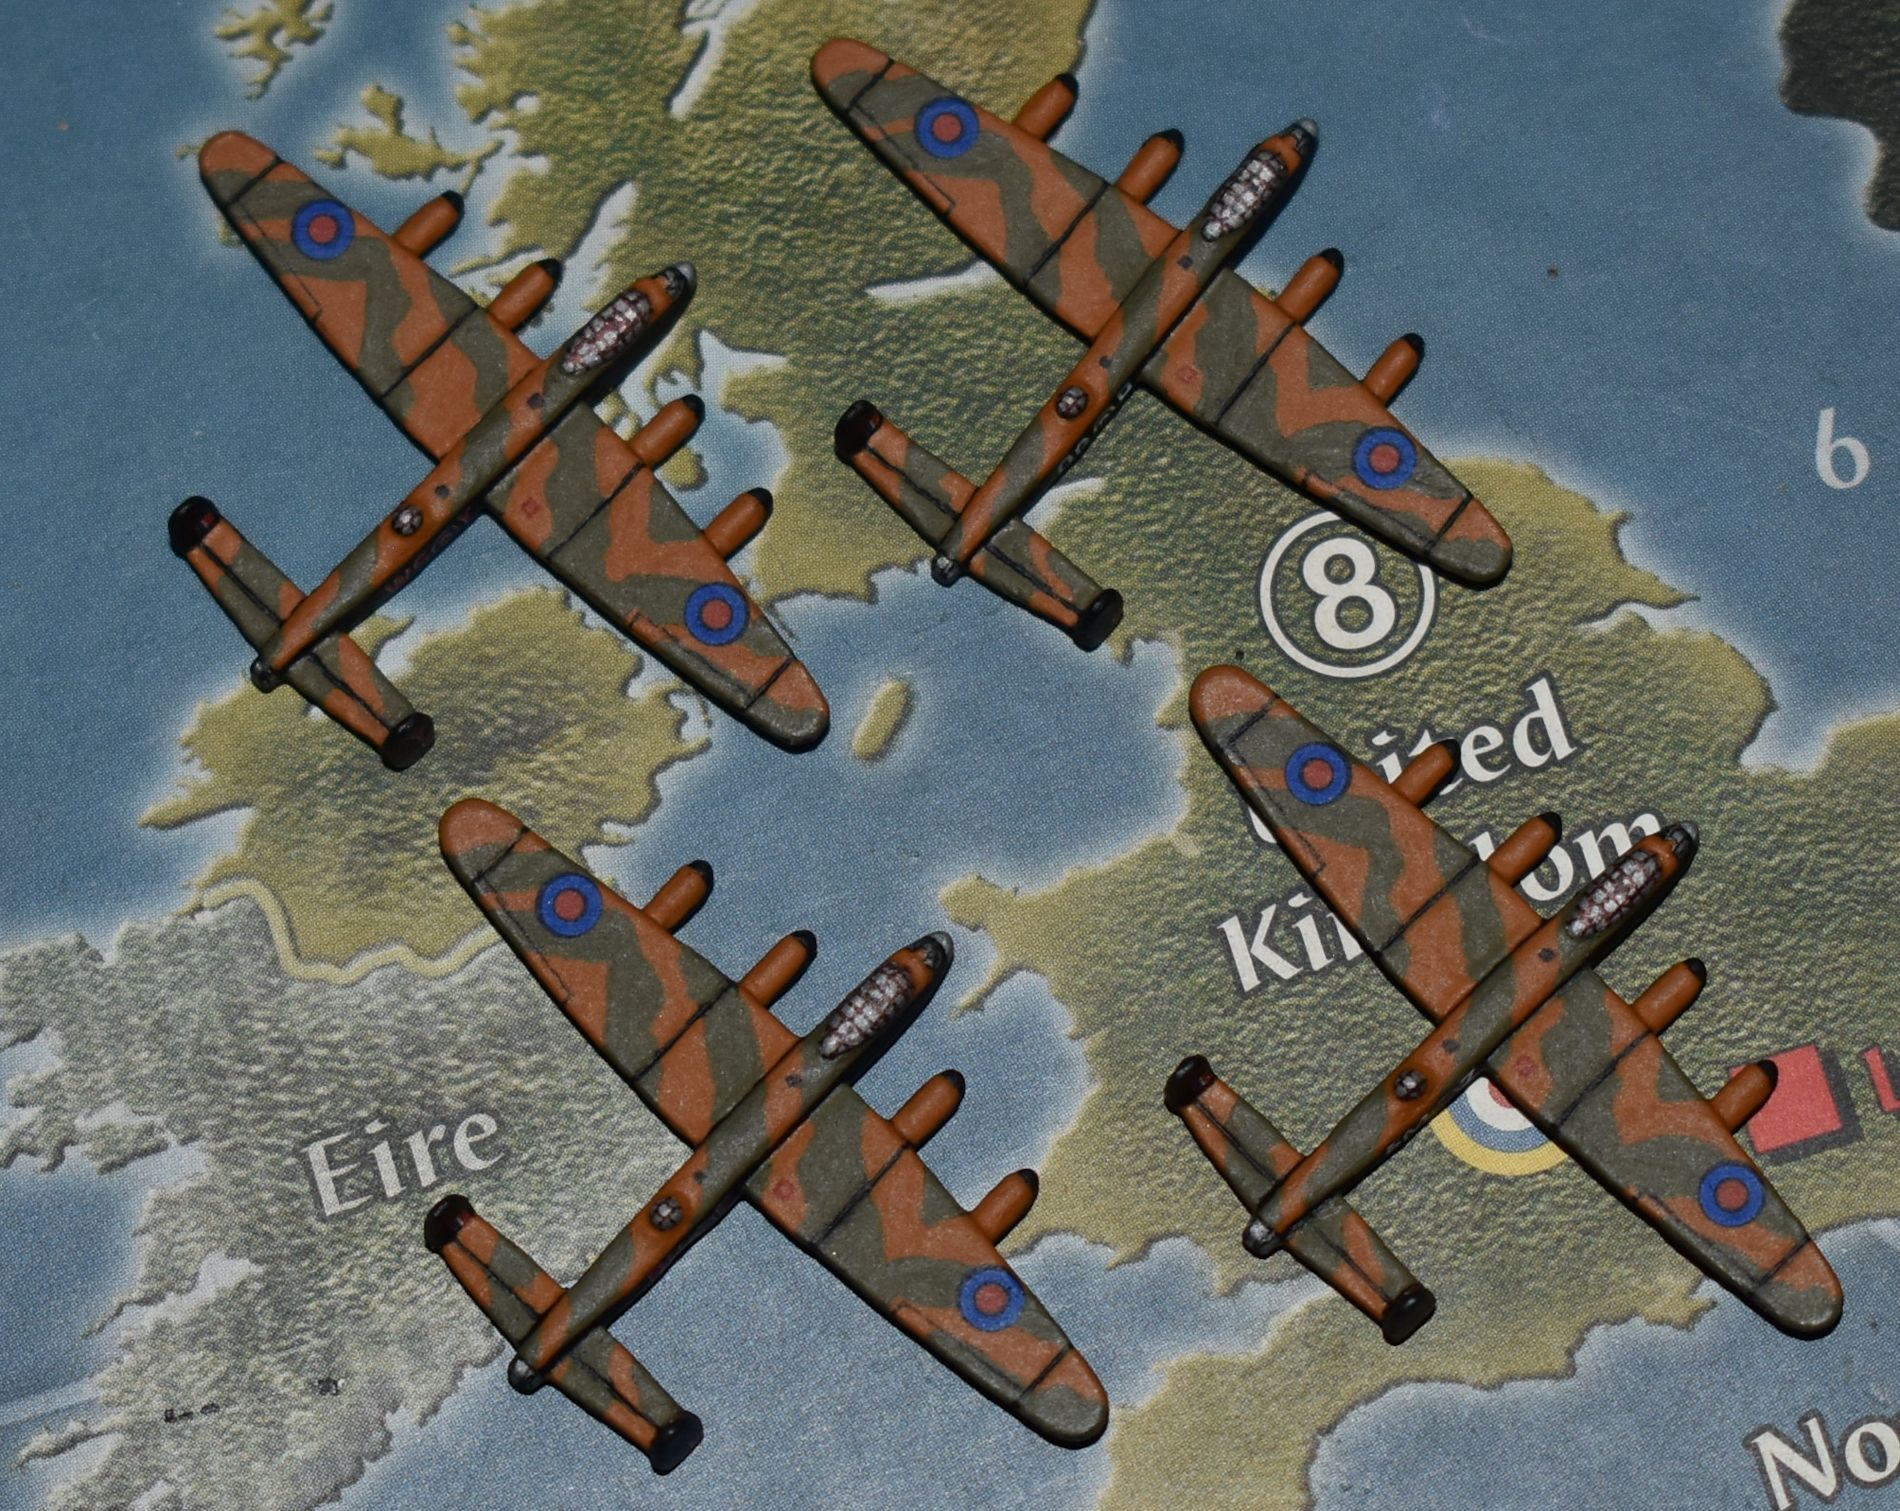
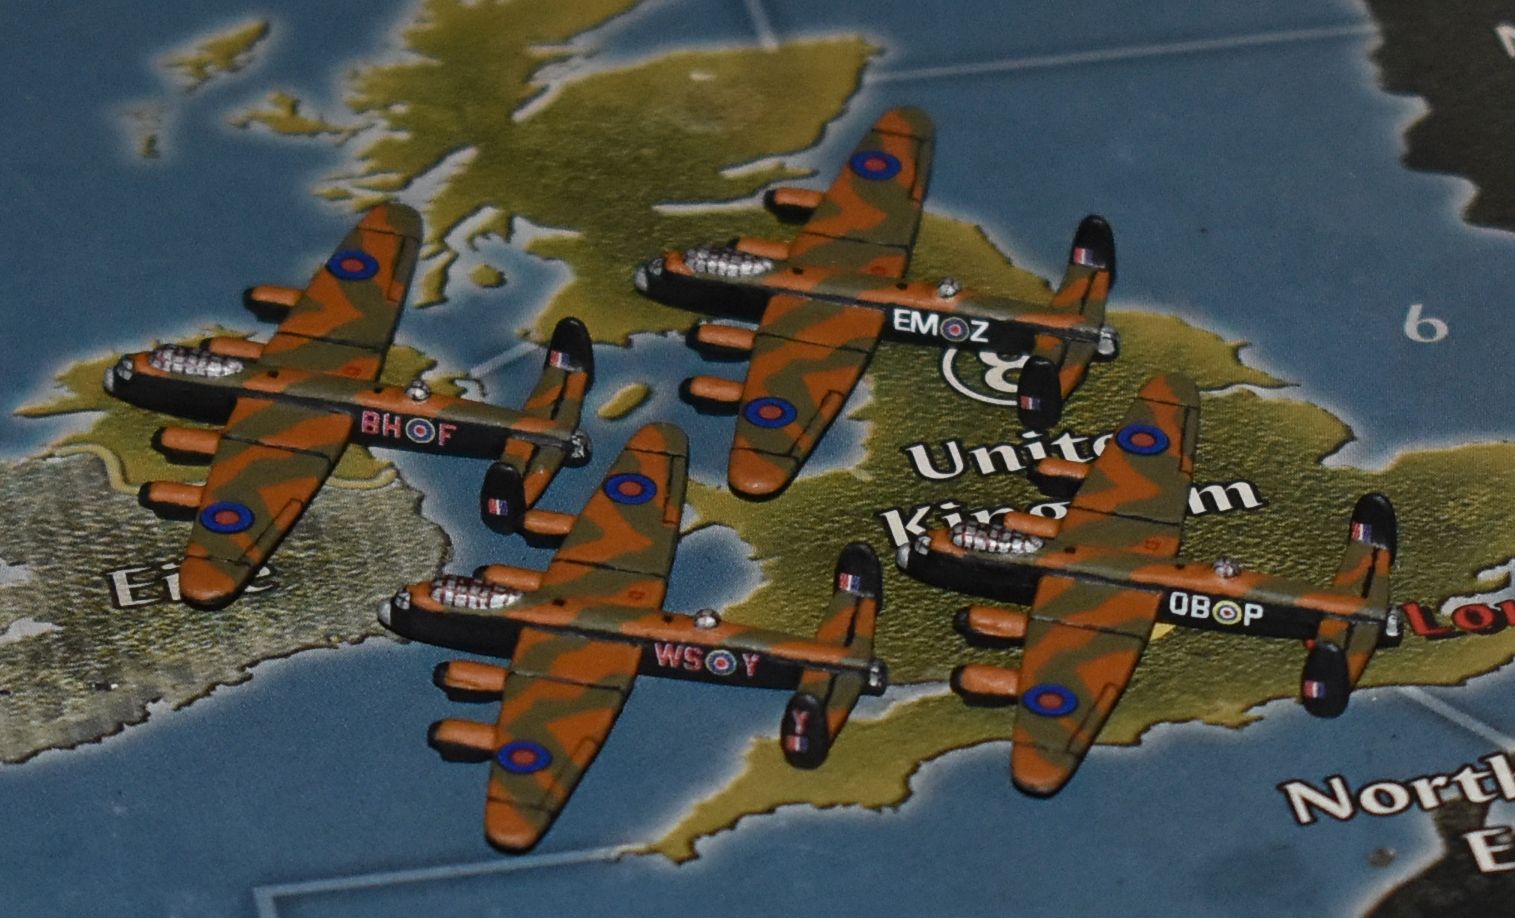
Taking a brief break from FOlewnik’s ships to show the four Lancasters I finally finished for the UK. FOlewnik’s nephew owns the copy of the 1941 A&A set and has the rest of the Lancs so these were the only 4 we have. I’ll have to get at least one more from HBG. I’m doing some Halifax bombers as well, but they’re far from done. On these sculpts, the rear rudder is rather square and it should be a sort of tear drop shape, so each had to be filed to the correct roundness before painting. I wanted to ink the cockpit glass and top turret in brown and the nose and tail guns and bombardier window in black, so it was a several day process once the pieces were painted and decals were applied. The black separation line at the edge of the camouflage was extremely difficult to make straight on a piece that isn’t really straight to begin with and took a long time to get satisfactory. But once the piece was painted, I brushed some dulcote on the silver paint so the ink pen would take, then applied decals (14 per aircraft). The dulcote gives the ink something to adhere to, as it wouldn’t adhere nor dry on the gloss silver paint. From handling the piece during painting, I knew the ink process would take a few days, as each inked section would have to dry before the piece could be handled to apply the next. The pilot’s cockpit was done first- there are some windows molded in, but not nearly all, and not really all that correct, but close enough to make work. Then the pieces had to dry for 24 hours, and then the top turret was done and the pieces set aside for another day. The next day was the tail gunner in black, then the nose turret and bombardier window the day after. Then the whole piece (all 4) gets a shot of dulcote spray and dries for yet another day (just to be safe- it was pretty humid) before final inking. The first picture below shows the wet ink of the last applications- top fuselage light holes, wing flaps, and the little red square on the starboard wing. The rest are the finished bombers. Squadron markings were taken from illustrations on Wings Palette (http://wp.scn.ru/en). The dark circles on the wing roundels only show up under a photo flash- the decal looks good under normal light but its more difficult to get a good picture without a flash.


-
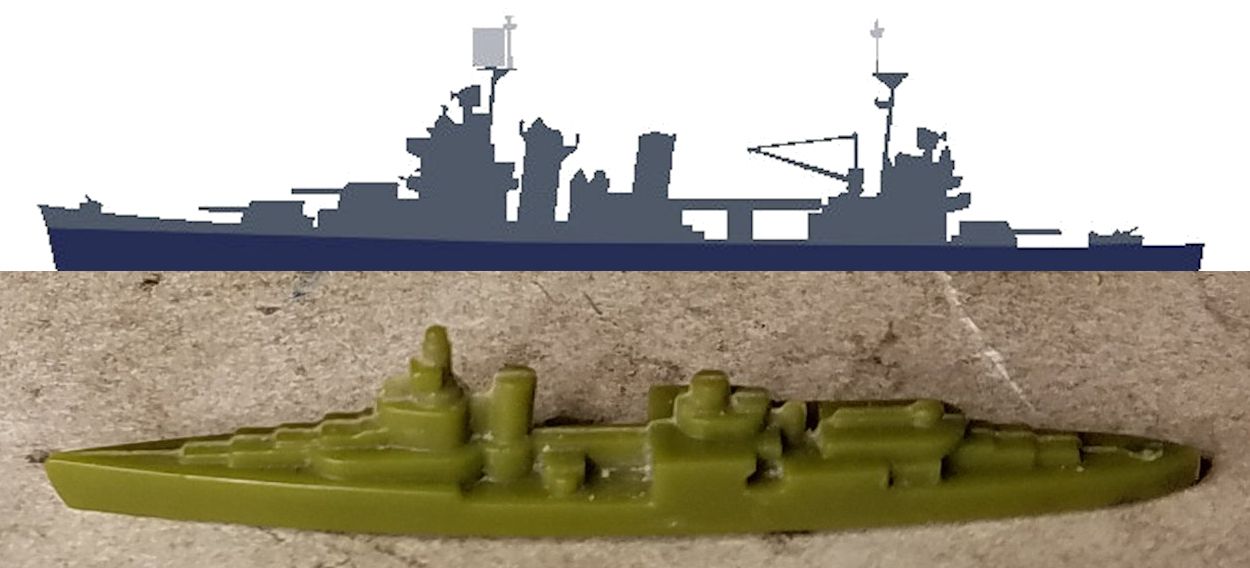
As mentioned previously, the US Navy only had two Portland class cruisers in the fleet. With that in mind, FOlewnik is modding several Portland sculpts into other classes of cruisers, starting with five of the New Orleans class. The main difference between the two classes, as shown in the below comparison of a New Orleans class cruiser silhouette taken from shipcamouflage.com vs a Portland sculpt, is that the 2nd smoke stack and the scout plane deck with launch catapults have swapped places. Pretty much everything from the 1st smokestack forward matches, and from the New Orleans’ recovery crane back matches (or will once the mod gets its crane).
FOlewnik’s first thought was that he needed to buy a better hobby saw, like a jeweler’s saw. But then it occurred to him that he could use the saw he has and just cut off everything starting at the back all the way up to the 1st smoke stack. In the picture below, that’s the sculpt in the upper right. That particular sculpt has a bad cut, but as you can see from the sculpt in the lower left, that gets filled with putty, and then sanded like the one in the upper left. Prior to cutting, the sculpt is cleaned of flash plastic as best as possible with an Xacto knife, the section of plastic in front of the 1st smoke stack is cleared away, and the radar hub “fin” above the bridge is cut to a nub to separate it from the rest of the tower.
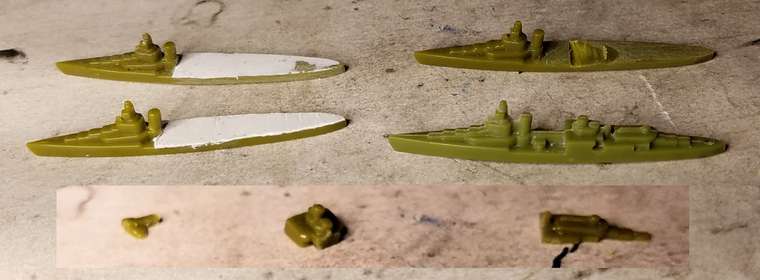
The cut off rear deck gun, 2nd smoke stack housing and launch catapult base are saved and separated (inset above) to be glued back onto the piece, swapping the front two sections but leaving room for the catapults to be added later. Notice the mod below hadn’t had the front radar “fin” cut away from the rest of the tower yet.
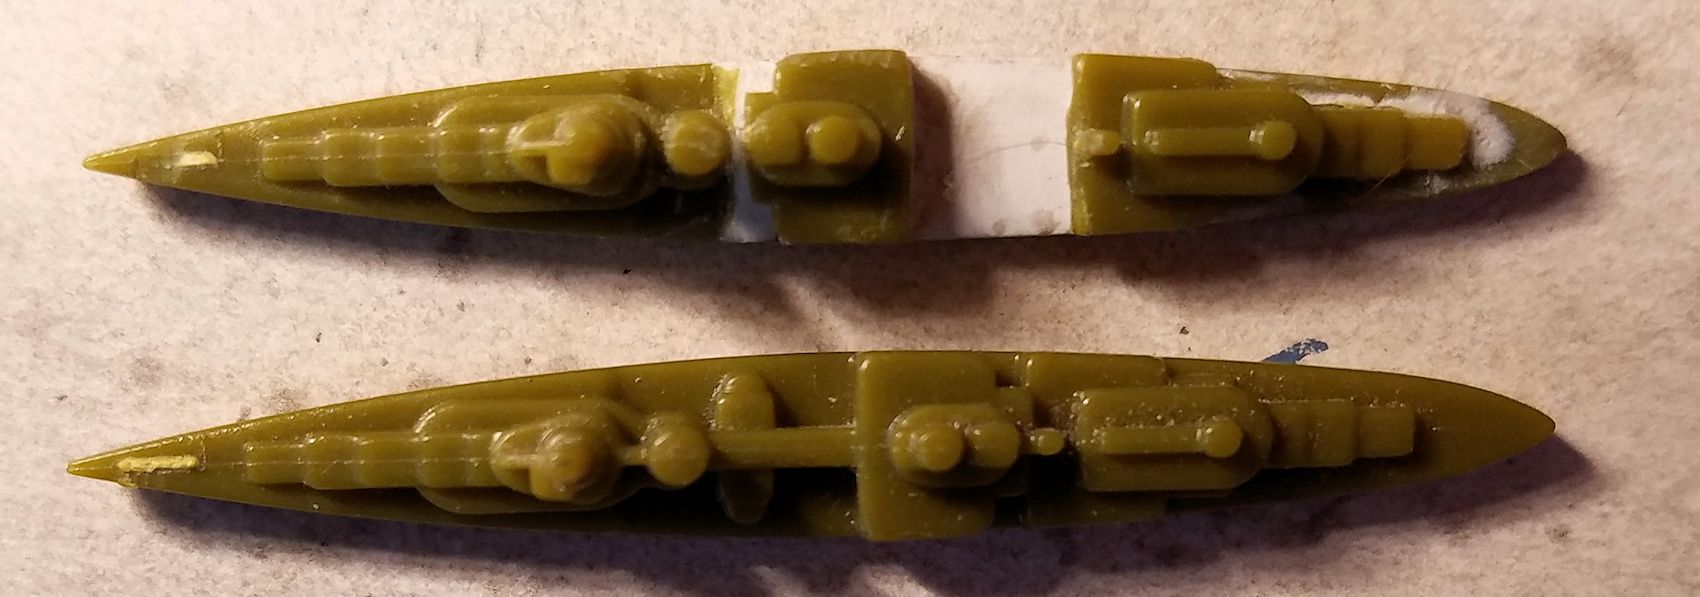
The section of plastic on the launch catapult base that represents the recovery crane is only kept on the cut section long enough to measure the spacing of the 2nd stack before gluing. After it gets cut from the catapult base, the base is glued into place. After the glue dries, holes are drilled for the recovery crane (visible below- yes, FOlewnik got a drill small enough to go down the center of that tiny plastic pole to use it as the base of the recovery crane), the fore mast, and aft mast.

Two sizes of metal hobby rods (for lack of a better term- available at the hobby shop, little steel and brass rods) are used- a thick one that gets filed into a square for the launch catapults, and a thinner round one for the recovery crane and masts. On the fore mast, a square section of putty is used to make the radar screen, and on the aft mast, super glue gel is used to contour the top and mid section to resemble the silhouette of the New Orleans above. After adding the catapults to one piece to get an idea of how it will look (in the back below), FOlewnik decided to wait on the rest since painting around them would be difficult, if not frustrating. The five mods in various stages of completion:
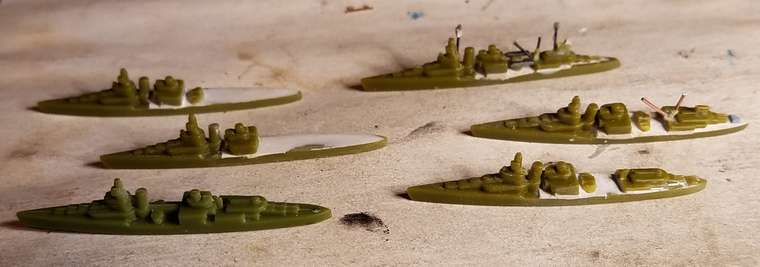
To make the recovery crane’s chain, FOlewnik used synthetic brush hairs from a very large wooden handled scrub brush. They’re pretty much unbreakable, so it was a nice find. It gets super glued into place one section at a time then when dry, the excess is cut off. A drop of super glue gel at the end makes due for the recovery hook. Almost ready for primer, the one with catapults still needs some sanding.

When little pieces break or get lost, it’s nice to have the sprues from the Shapeways pieces to use and shape to one’s needs, as seen on the first mod below. The white catapult base was fashioned from sprue, and the large square glued onto the rear will be filed and shaped appropriately.
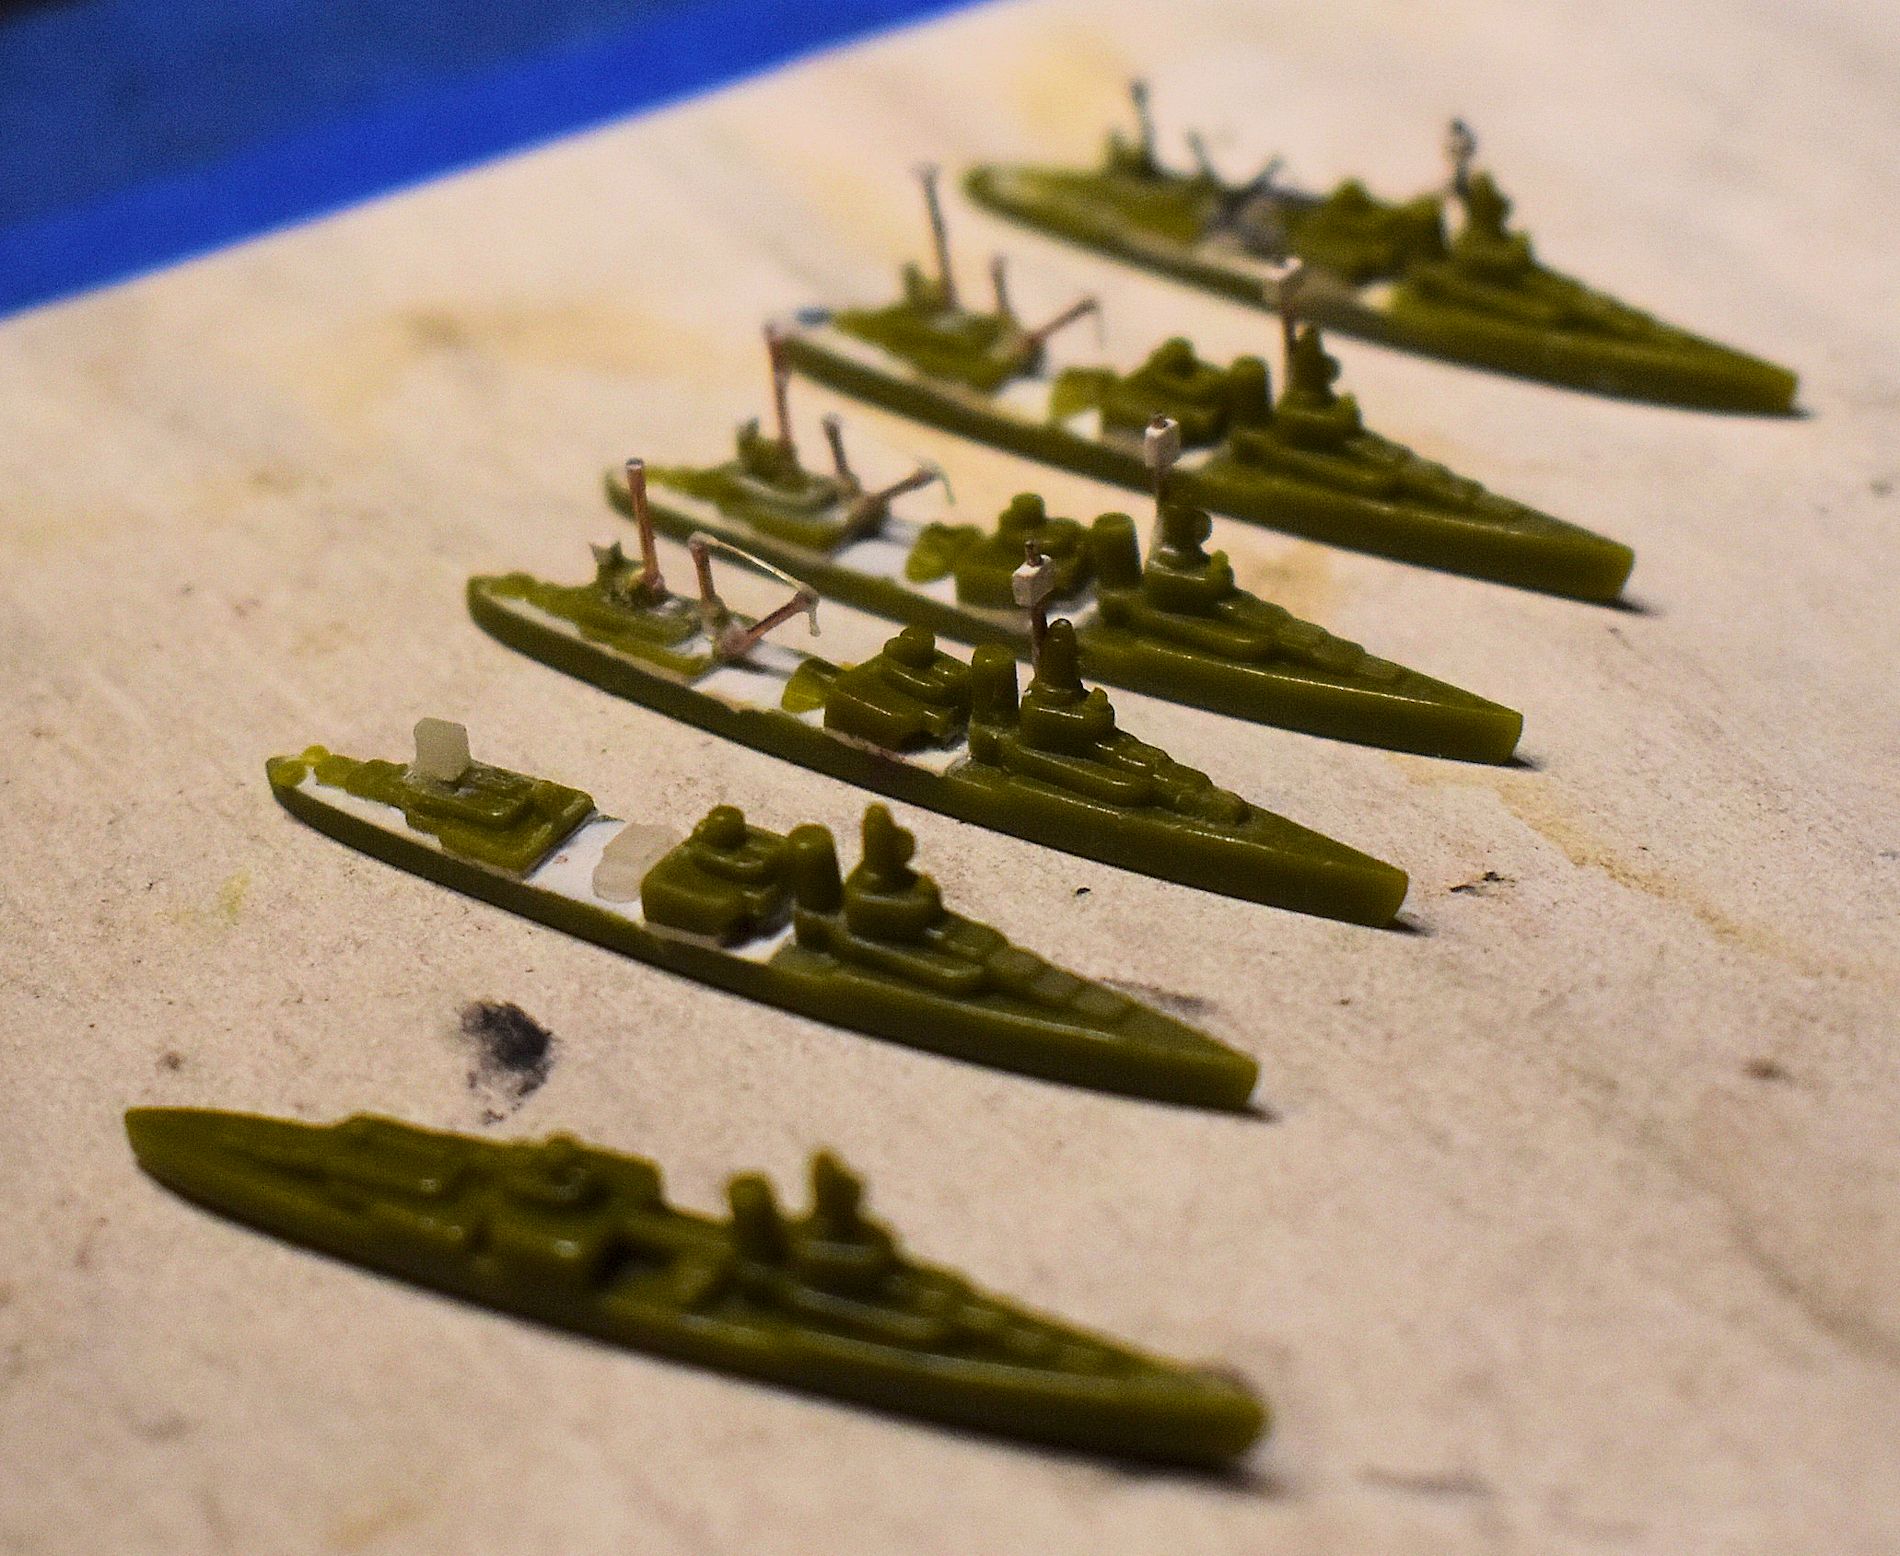
Sure enough, getting primer and paint around the catapults wasn’t easy, but FOlewnik got it done. These pieces will get the same treatment the Indy and Portland received. These five will be the New Orleans, Astoria, Minneapolis, Tuscaloosa, and San Francisco (yes, the Quincy and Vincennes are conspicuously absent but we will have the Astoria, which was sunk in the same battle).

These five are still in the process of being painted, along with the USS Cowpens (The Mighty Moo) and some more destroyers. When I went to visit FOlewnik at the end of our recent Labor Day weekend, he’d been away for a few days and just returned home. Apparently he was really nice to the spiders in his garage where his paint set up is, or they’re US Navy fans, because they tricked out some nice rigging on one of the ships, so of course I had to get a picture of it while it lasted.

-
-
Beautiful work!
-
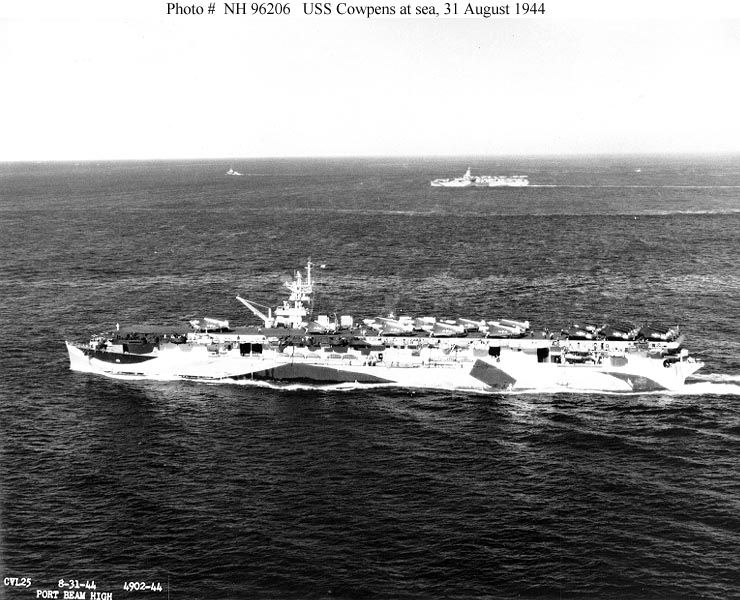
Thank you, Marc! While the rest of the New Orleans Class cruisers are getting done I wanted to share some more recent finishes. We’ve purchased some Independence Class aircraft carriers from Ebard at Shapeways for use as light carriers to go with HBG’s Casablanca light carriers, and the first one done is the USS Cowpens (CVL-25), also known as “The Mighty Moo” for its many Unit Awards, Campaign and Service Medals and Ribbons. There were a lot of references for the camo but very few for the deck and arresting cables. I was able to find a set of diagrams from some plastic model instructions, and with those and pictures of scale models and pictures of the class on Navsource.org FOlewnik was able to correctly place arresting gear on the flight deck. Although it’s a light carrier, it has 2 magnets for aircraft. To get better pictures of the sides, I put the piece on the edge of the board overhanging the table, but the first picture is when it was still in progress. I like it because you can better see the four colors used.


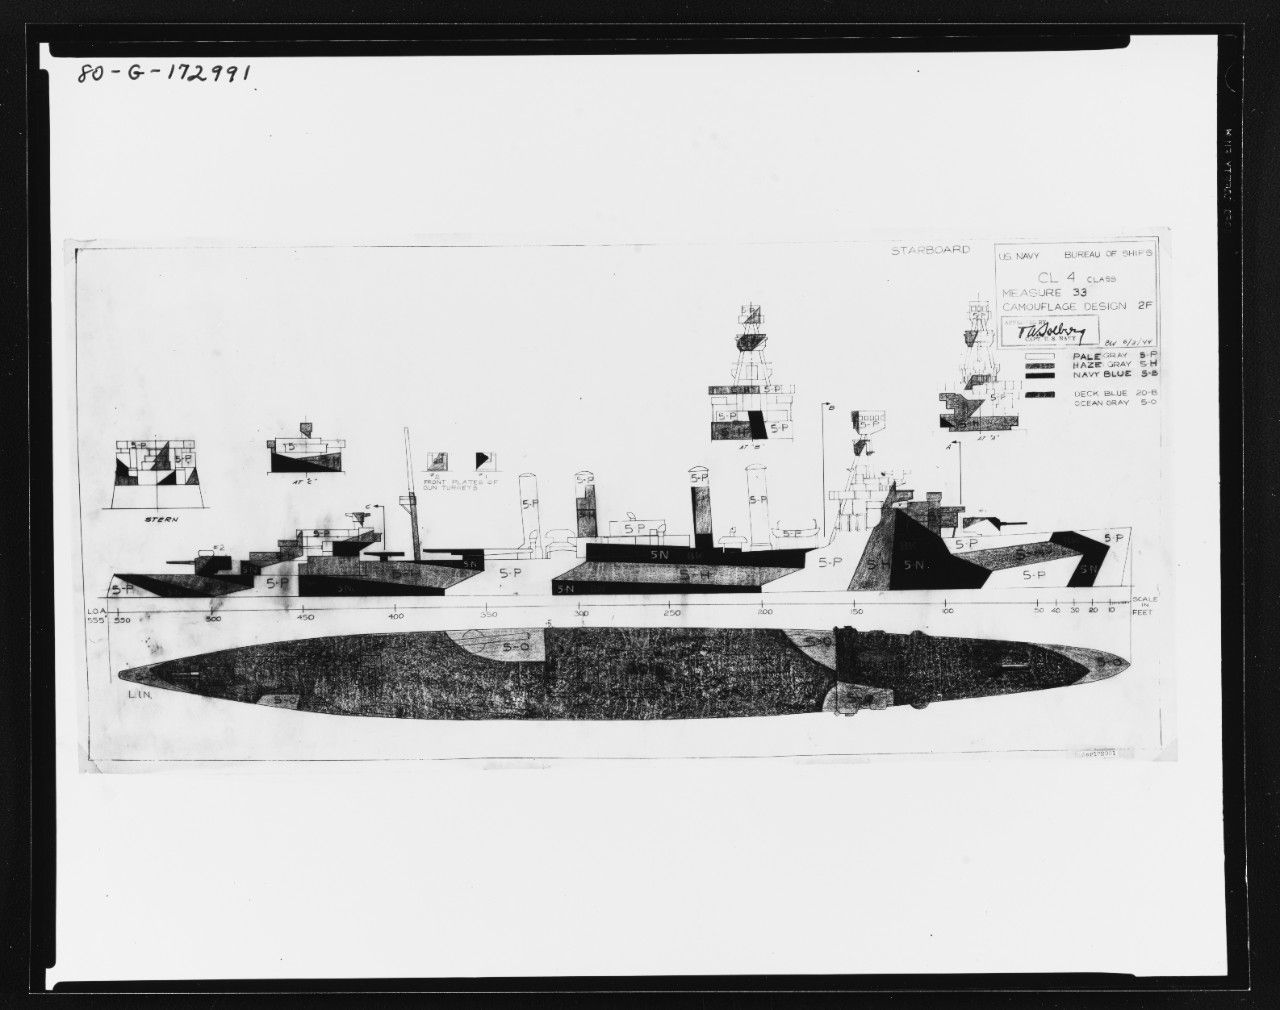
Also done is the USS Trenton (CL-11) from HBG in Camouflage Measure 33, Design 2F, from a set of drawings prepared by the Bureau of Ships for a camouflage scheme intended for light cruisers of the CL-4 (Omaha) class found on navsource.org.



Another GHQ Benham Class destroyer is also done, this one as the USS Stack (DD-406). Her camouflage is Measure 31, Design 11d. Photographs from the Bureau of Ships Collection in the U.S. National Archives, via navsource.org.

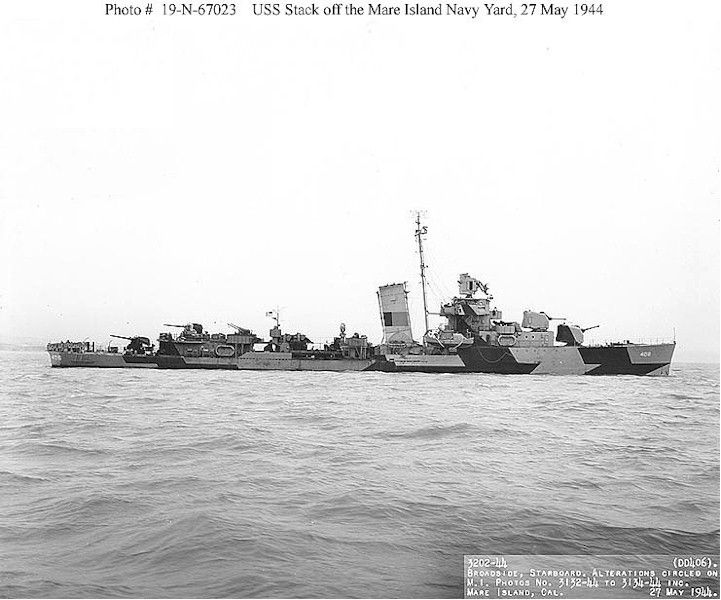

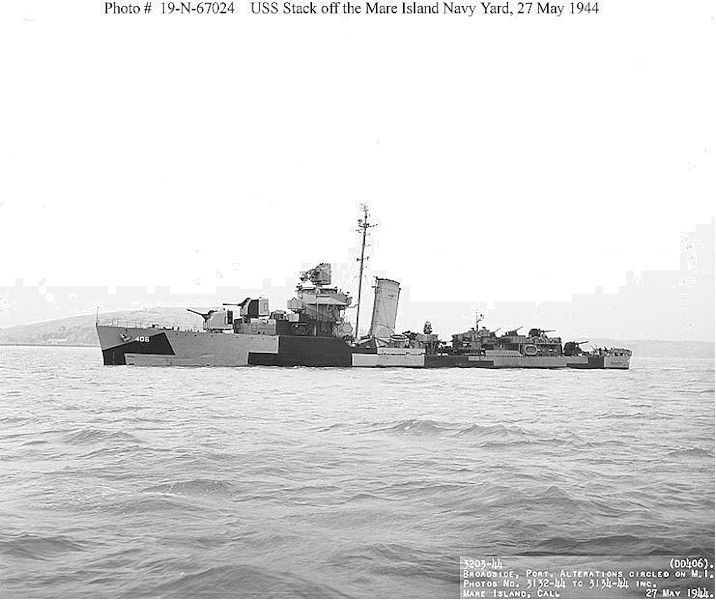
The three of them together:
-
Wow, this is some incredibly great work you are doing… And thank you so much for sharing!!!
-
Thank you AA, we appreciate the compliment! FOlewnik completed the five New Orleans class cruisers 2 weeks ago, and between work and overtime we finally got together so I could add some roundels to the scout plane wings and add hull numbers to a few non-camouflage hulls. I took some shots before I added the decals, so from left to right, The USS New Orleans, USS Astoria, USS Tuscaloosa, USS San Francisco, and USS Minneapolis.


The USS New Orleans is wearing a Bow Wave camouflage pattern, and the USS Tuscaloosa and USS San Francisco are wearing Camouflage Measure 33, Design 13D from a diagram just like the Trenton above taken from navsource. The tiny roundels went on with very little fuss (which is unusual- I must be getting the hang of it) so adding decals went quicker than I thought it would.


-
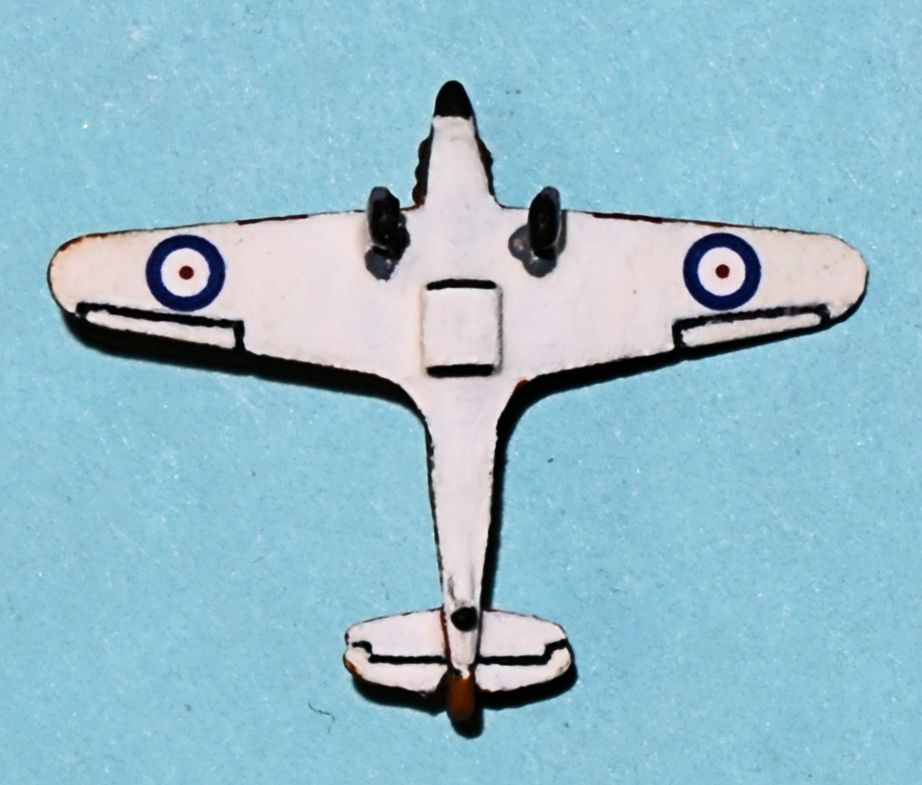
I finished a few more Hawker Hurricanes from SNAFU at Shapeways, so while FOlewnik is kept from his painting by all the overtime he’s got to put in at this time of year, I’ll share these.


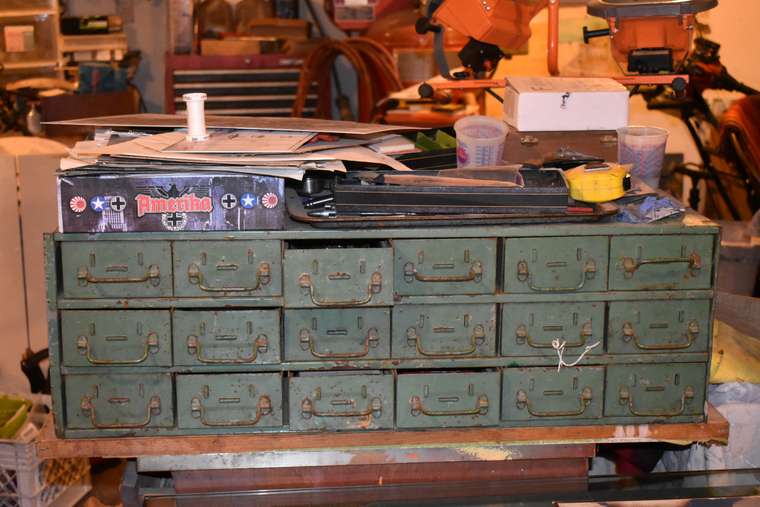
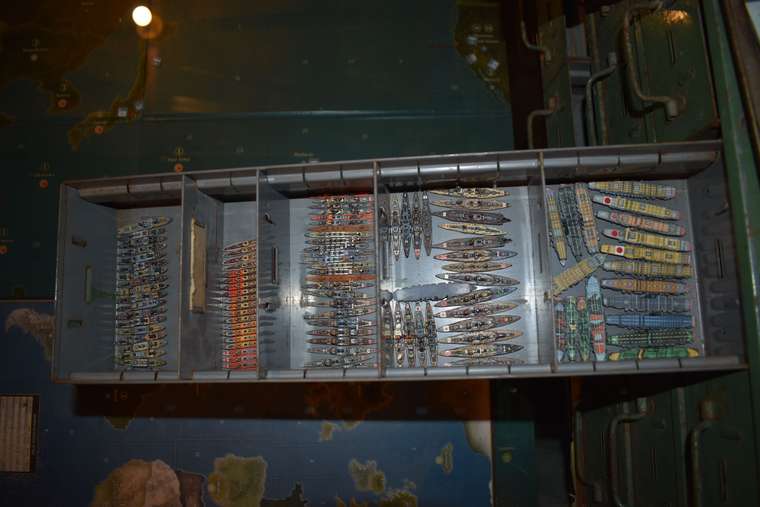
A while back someone asked about storage and I tried to describe the old metal filing cabinet piece that FOlewnik found. I grabbed a couple of shots a while ago and forgot about them, so here they are. The drawers can fit 4 piece boxes in them, with the lids, 2x2. But the painted pieces don’t get tossed together, they get separated nicely, as in the Japanese Navy drawer shown here. We’ll eventually cut some foam for each drawer but for now this is how they are.
-
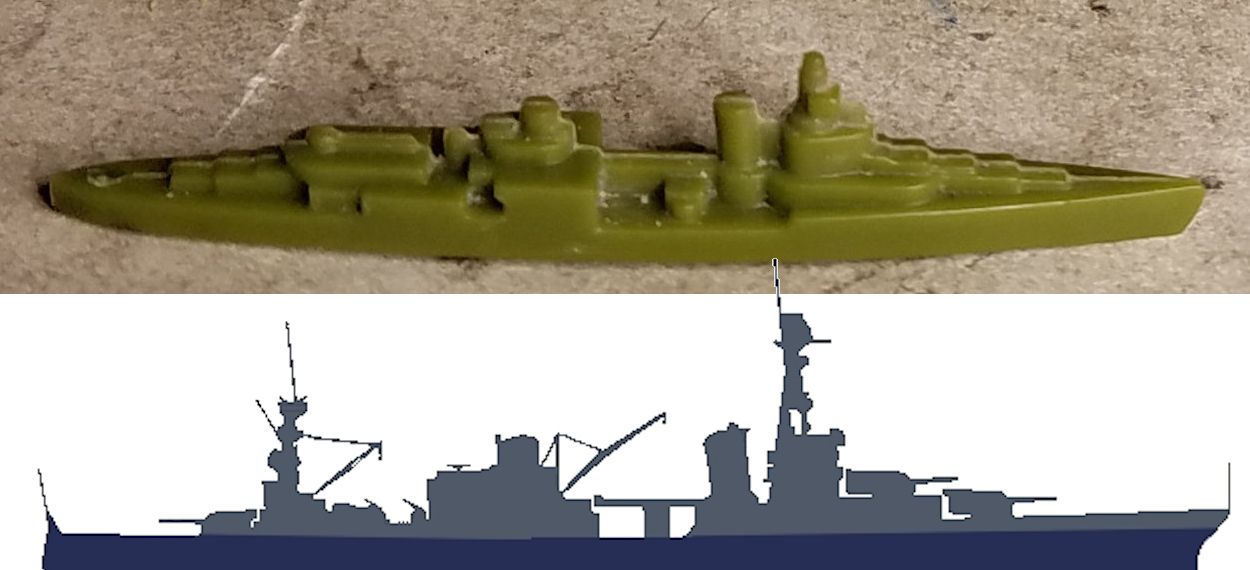
Three Northampton Class cruisers are finished now, with a possible 4th being considered. As you can see from the comparison below, the out of box (OOB for those in the know) sculpt is suspiciously close to the Northampton silhouette taken from http://www.shipcamouflage.com/ships2_9_41_plate_15.htm, so comparatively little modification work was needed to the OOB sculpt.
FOlewnik chose to paint the USS Northampton (CA-26) wearing Measure One (dark) camouflage, with a Measure Five false bow wave, as it wore when it returned to Pearl Harbor on Dec 8, 1941. There are great reference pictures for the false bow wave on navsource on the Northampton’s page: http://www.navsource.org/archives/04/026/04026.htm.


If it weren’t sunk by Japanese aerial torpedoes off Rennell Island on 30 JAN 1943, The USS Chicago (CA-29) might have worn this camo pattern, and we needed a cruiser in this pattern, so FOlewnik painted the USS Chicago wearing US Navy Camo Measure 12:


Last but not least, from a drawing prepared by the Bureau of Ships for a camouflage scheme intended for heavy cruisers of the Northampton Class, here is the USS Chester (CA-27) wearing Camouflage Measure 32, Design 9D, as seen prominently on http://www.navsource.org/archives/04/027/04027.htm.


The three Northampton Class cruisers together:


And finally for comparison, the USS Chester (Northampton class), the USS Tuscaloosa (New Orleans class), and the USS Portland (Portland class):

-
Northampton Victor Henry’s boat : ) Never heard of the false bow wave. I guess that was to make it look like it was going faster than it was ? Or is that just a customization thing ?
-
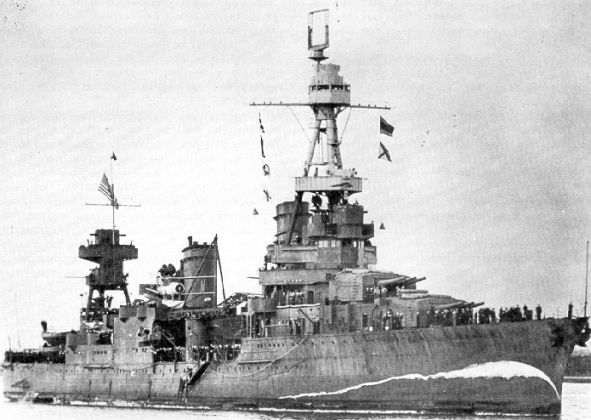
@barnee Yes, the idea was to give the illusion of speed. The USS Saratoga also wore bow wave camo for a while. Shipcamouflage.com actually uses the Northampton as an example here: http://www.shipcamouflage.com/measure_5.htm
-
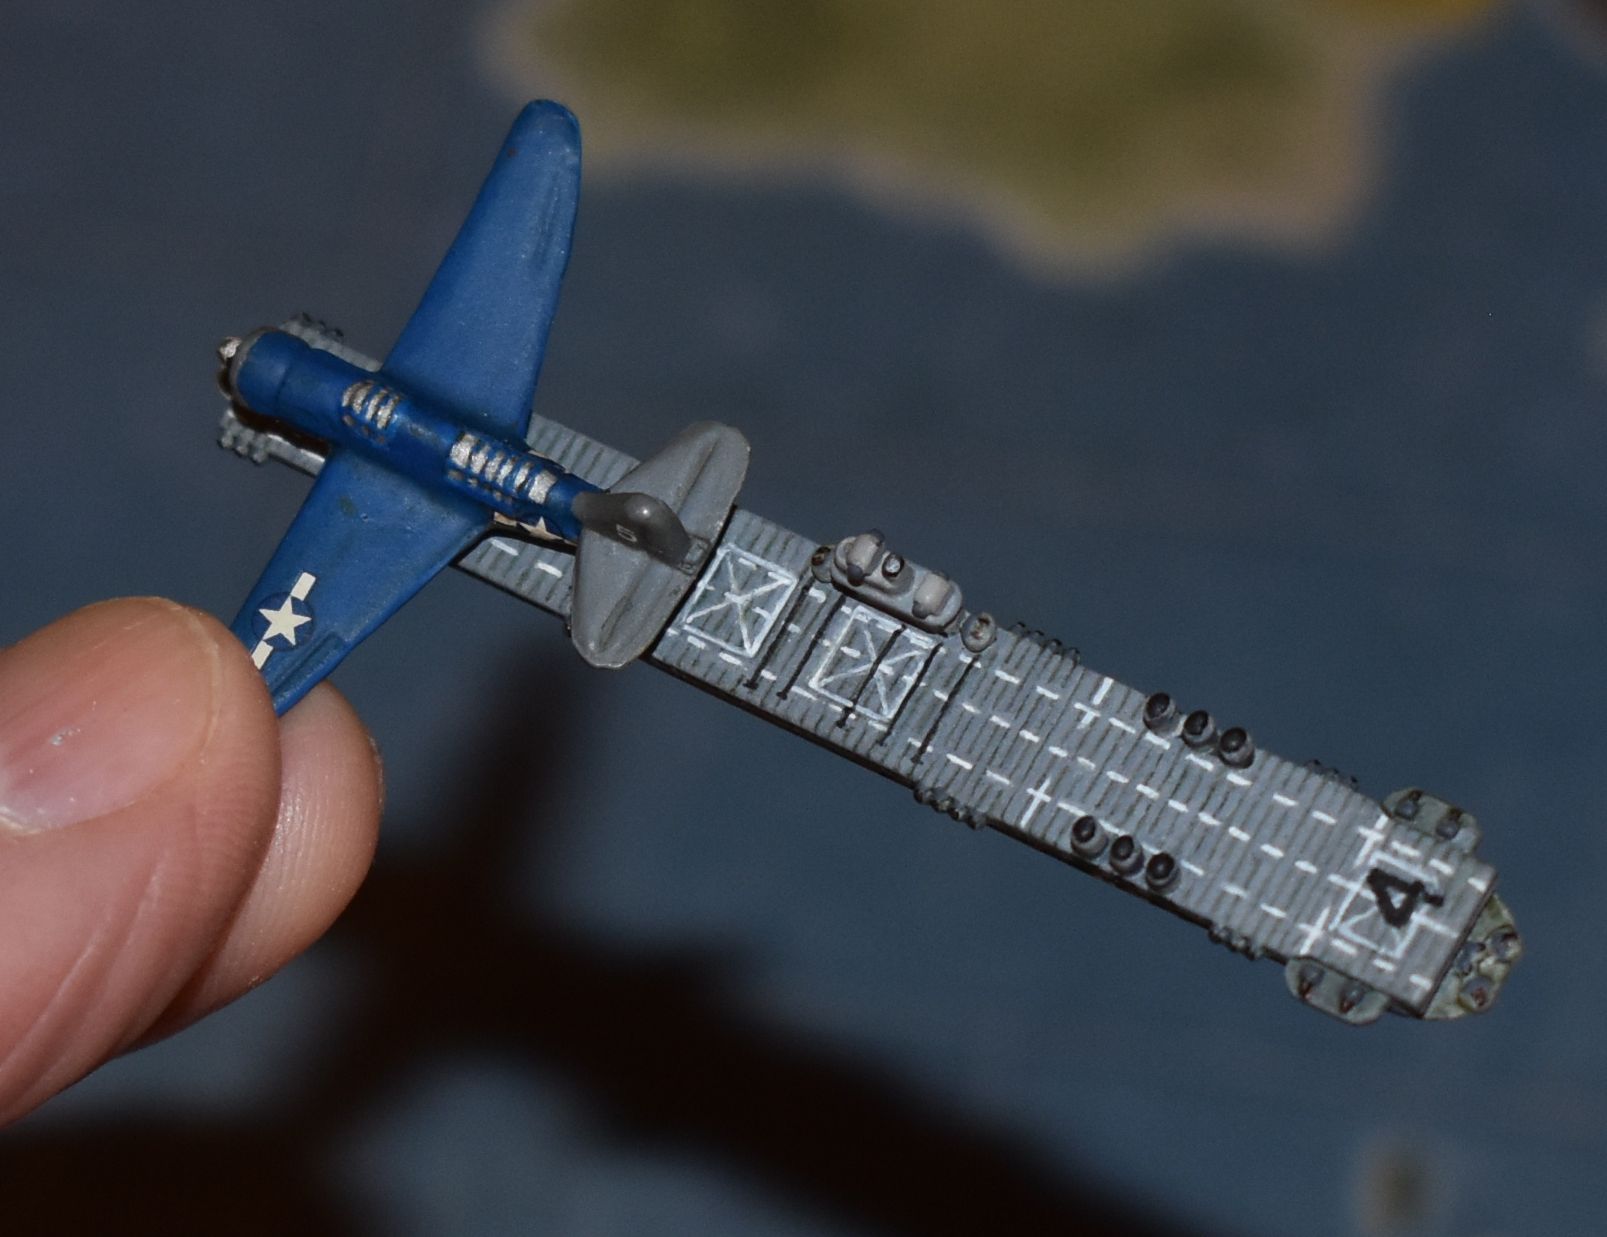
USS Ranger (CV-4) by FOlewnik. He actually finished this around the time of the cruiser mods for the Northamptons but I’m just now getting around to editing the pictures to post. Sculpt is from Ebard at Shapeways. Although we’ll most likely use it as a light carrier, it still has 2 magnets.


Also done are the heavy cruiser USS Boston (CA-69) and the light cruiser USS Concord (CL-10), sculpts from HBG.


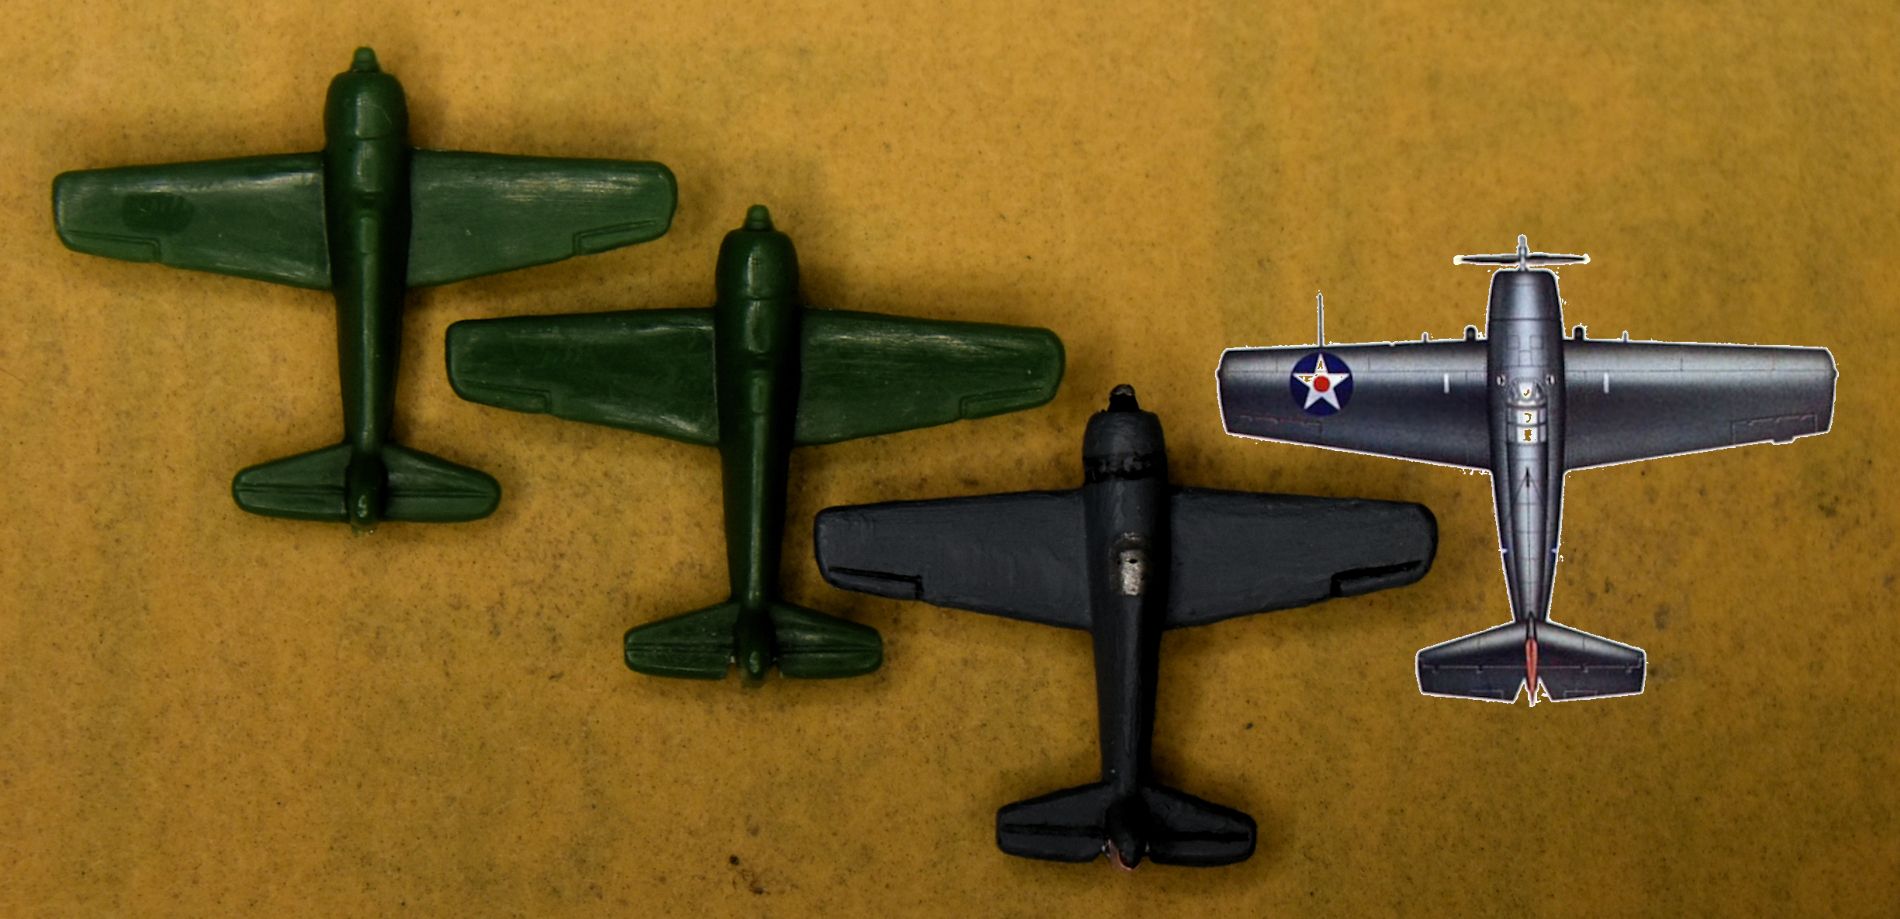
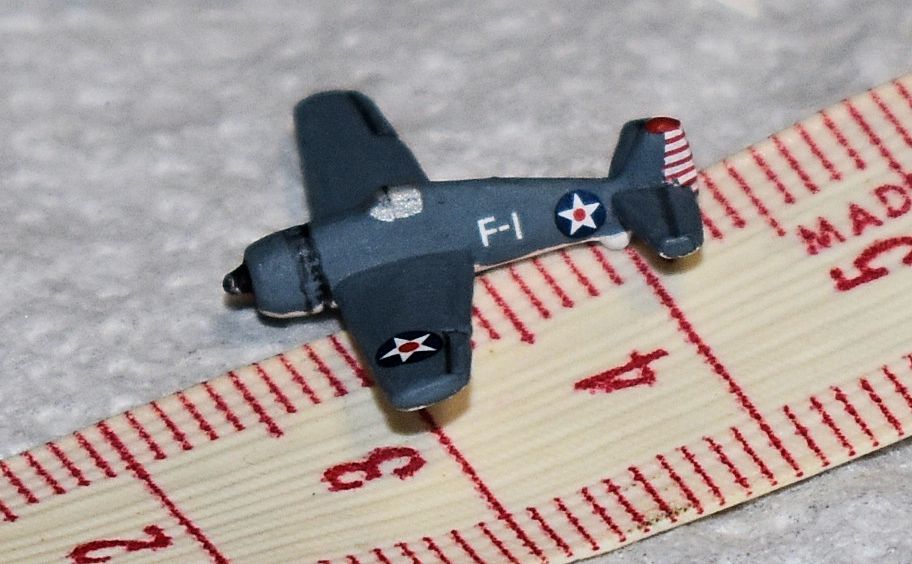
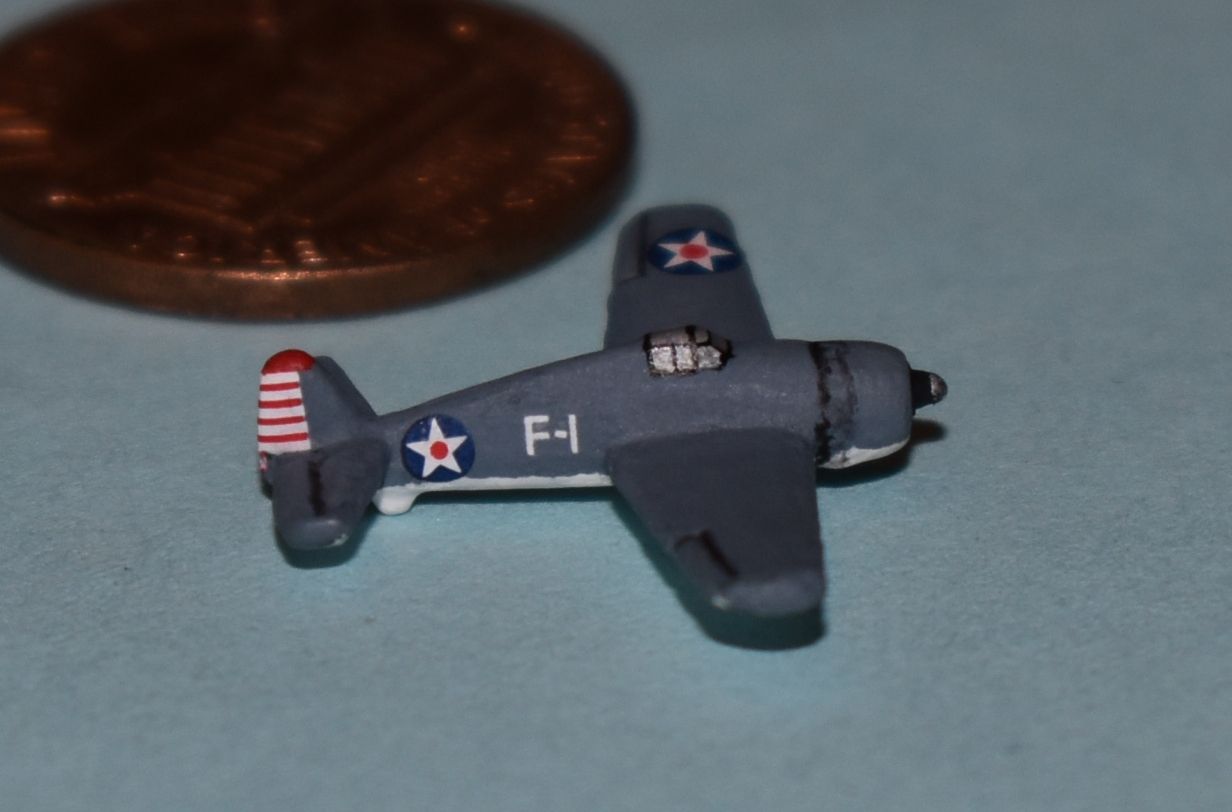
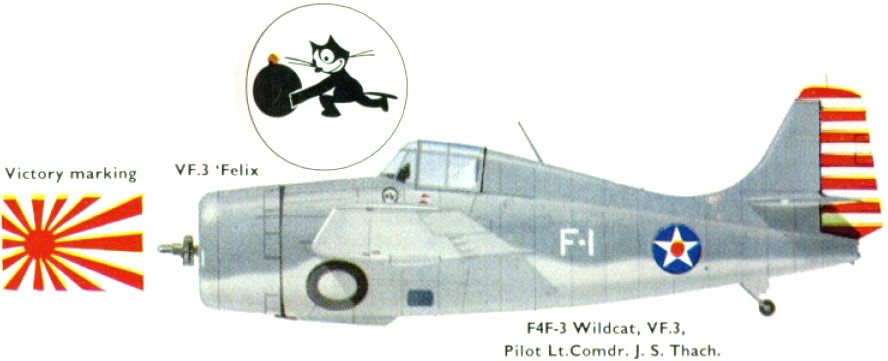
I’ve been making aircraft for the US carriers, doing SBD’s from the out of box sculpts as seen earlier in the post, and as seen above atttached by magnet to the USS Ranger, HBG’s SB2C Helldivers. But I couldn’t find F4F’s. Undaunted, I took HBG’s Hellcats, which are smaller than the out-of-box Hellcats, and shaped the tail so it looked more like the top view of an F4F I found on Wings Palette (inset below). I used 400 sandpaper and made a few passes on each round end to flatten it out, then took an X-Acto knife and cut a nick next to the rudder and ran the sandpaper through a few times to create a groove between the rudder and rear wing. The test piece became Jimmy Thatch’s F4F. Tiny decal time (LESS than one millimeter!)- I used the bottom half of each side of an unused letter “H” for the dash between the “F” and the “1” on the fuselage, and to match the pictures on Wings Palette, the “1” is actually an upper case “i”, from the decal sheet LW-100 at HBG (https://www.historicalboardgaming.com/LW-100-Decal-Sheets-White-Lettering-All-scales_p_1839.html). Now I just need FOlewnik to finish the USS Lexington so it has a place to park.
Before the cockpit is inked:
After the cockpit is inked:
-
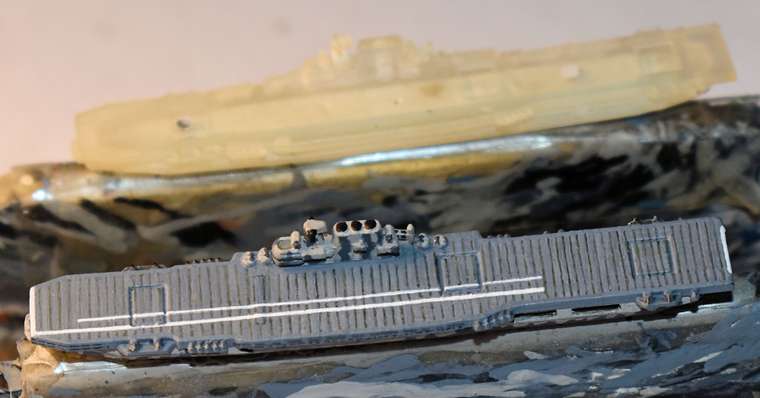
Doolittle Raid USS Hornet (CV-8) by FOlewnik almost finished in these shots. It actually is finished (arrestor cables & AA guns missing here) but I don’t yet have pictures of it. FOlewnik is using Ebard’s Yorktown class for the sculpt. The unpainted sculpt shows where the magnets have been set and leveled with putty. You can see the hollow underside has also been filled. Prior to painting and drilling the magnet holes, the island bits that look fragile are brushed with liquid Super Glue (not the gel kind). Shapeways pieces are pretty porous so the glue soaks in and helps strengthen the piece.
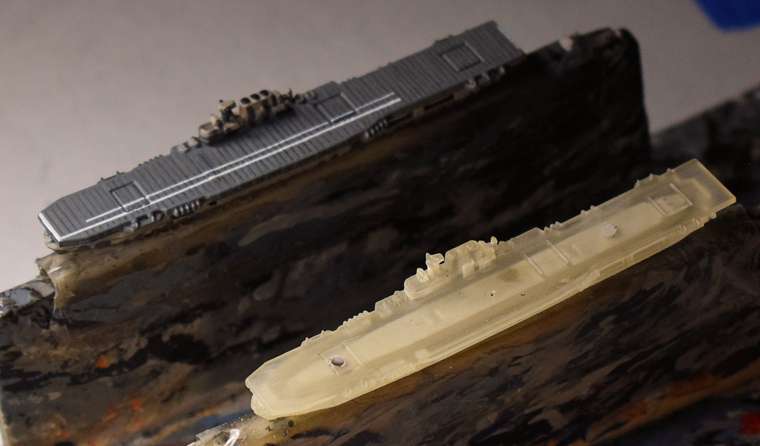
Close up pf the deck lines. These are done with a 10/0 brush, both the black and white. The deck AA guns haven’t been done yet.
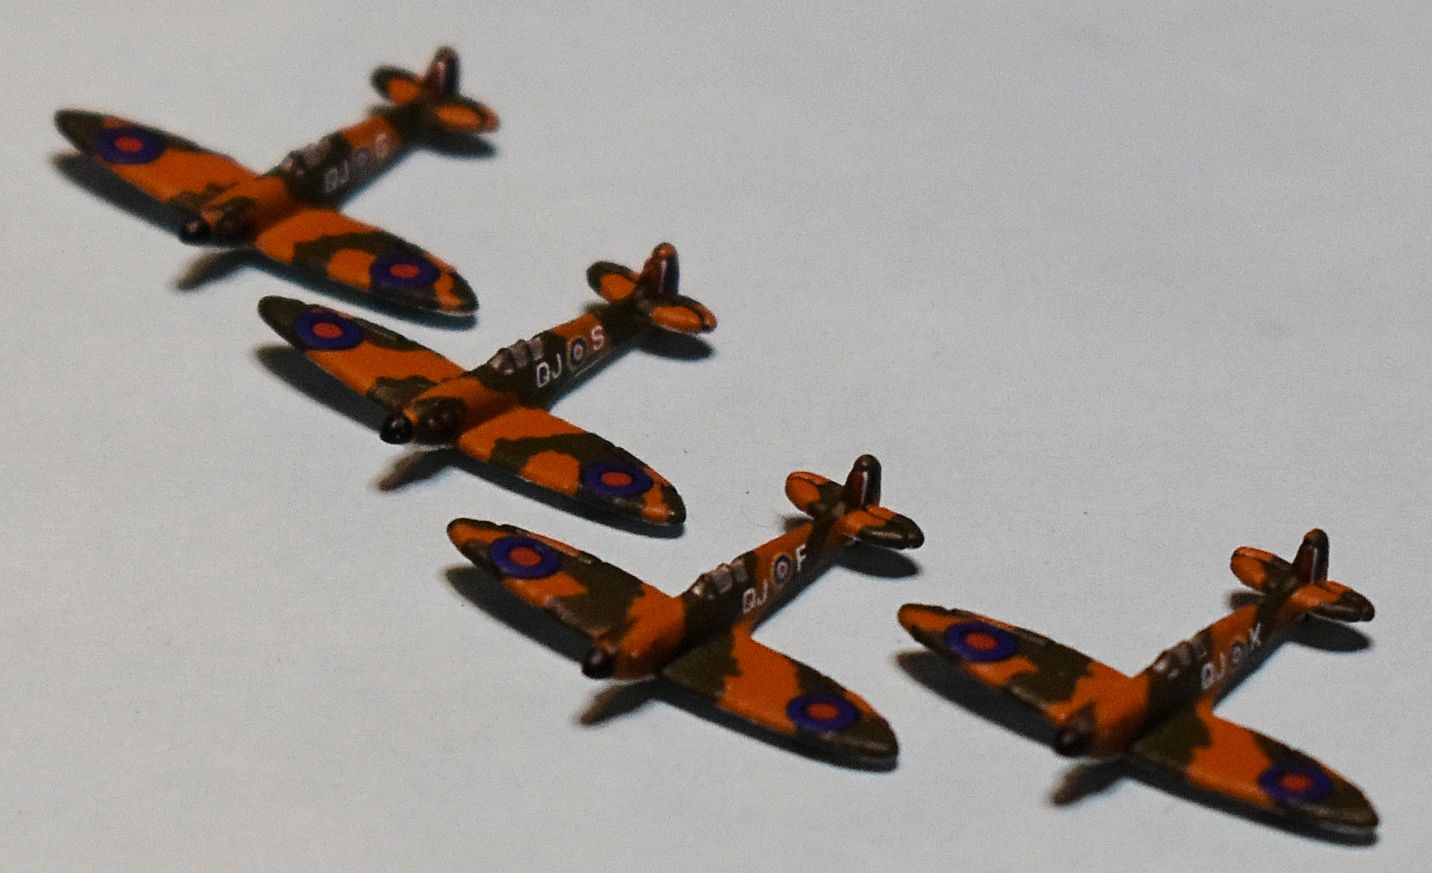
I’ve finally finished the decals on the 1/500 Spitfire MkI’s from SNAFU at Shapeways (https://www.shapeways.com/product/ZHFZWLMGK/spitfire-mk-ia-w-gear-x4-fud?optionId=66660049&li=marketplace) so I thought I’d share shots of those as well. They come with landing gear down like the Hawker Hurricanes shown earlier, but I’ve taken them off. They were used as funnels on the Japanese transports.


-
-
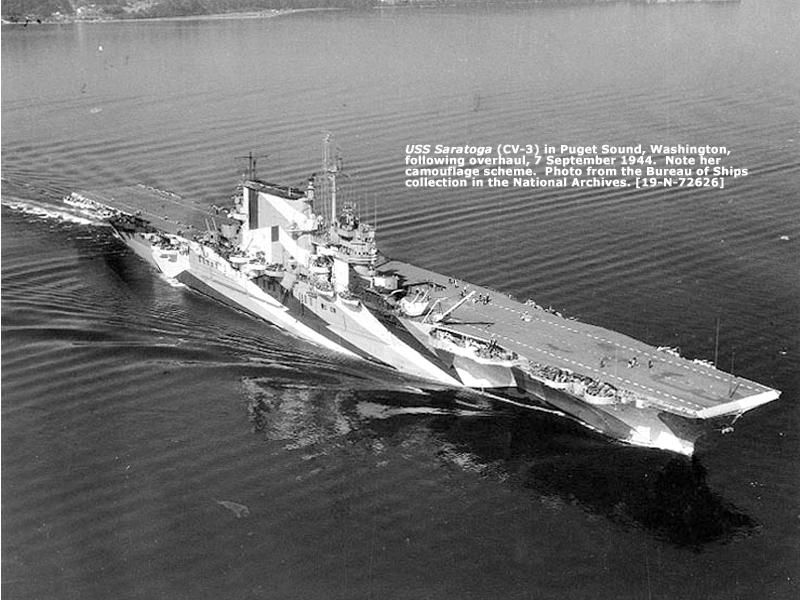
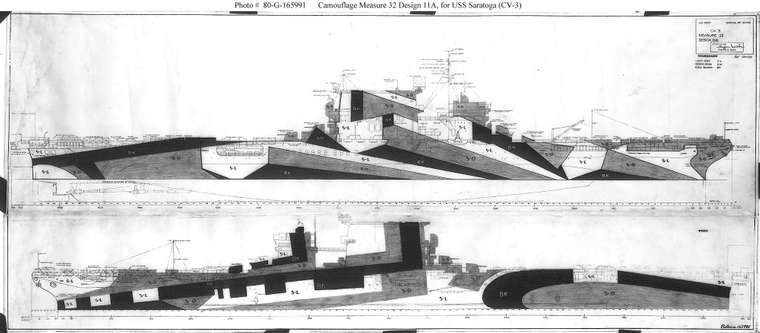
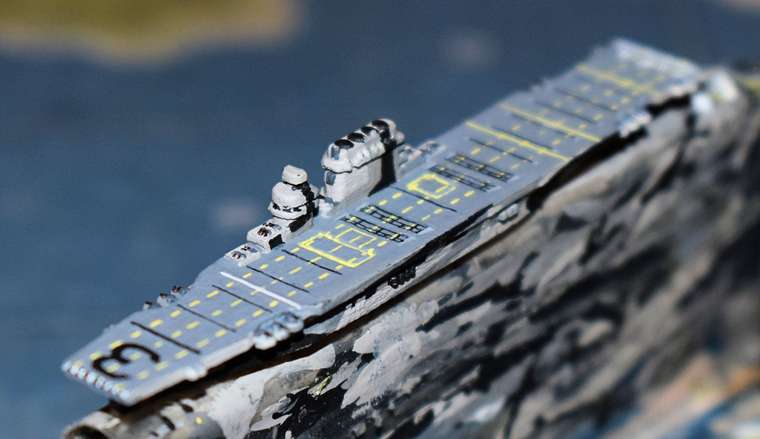
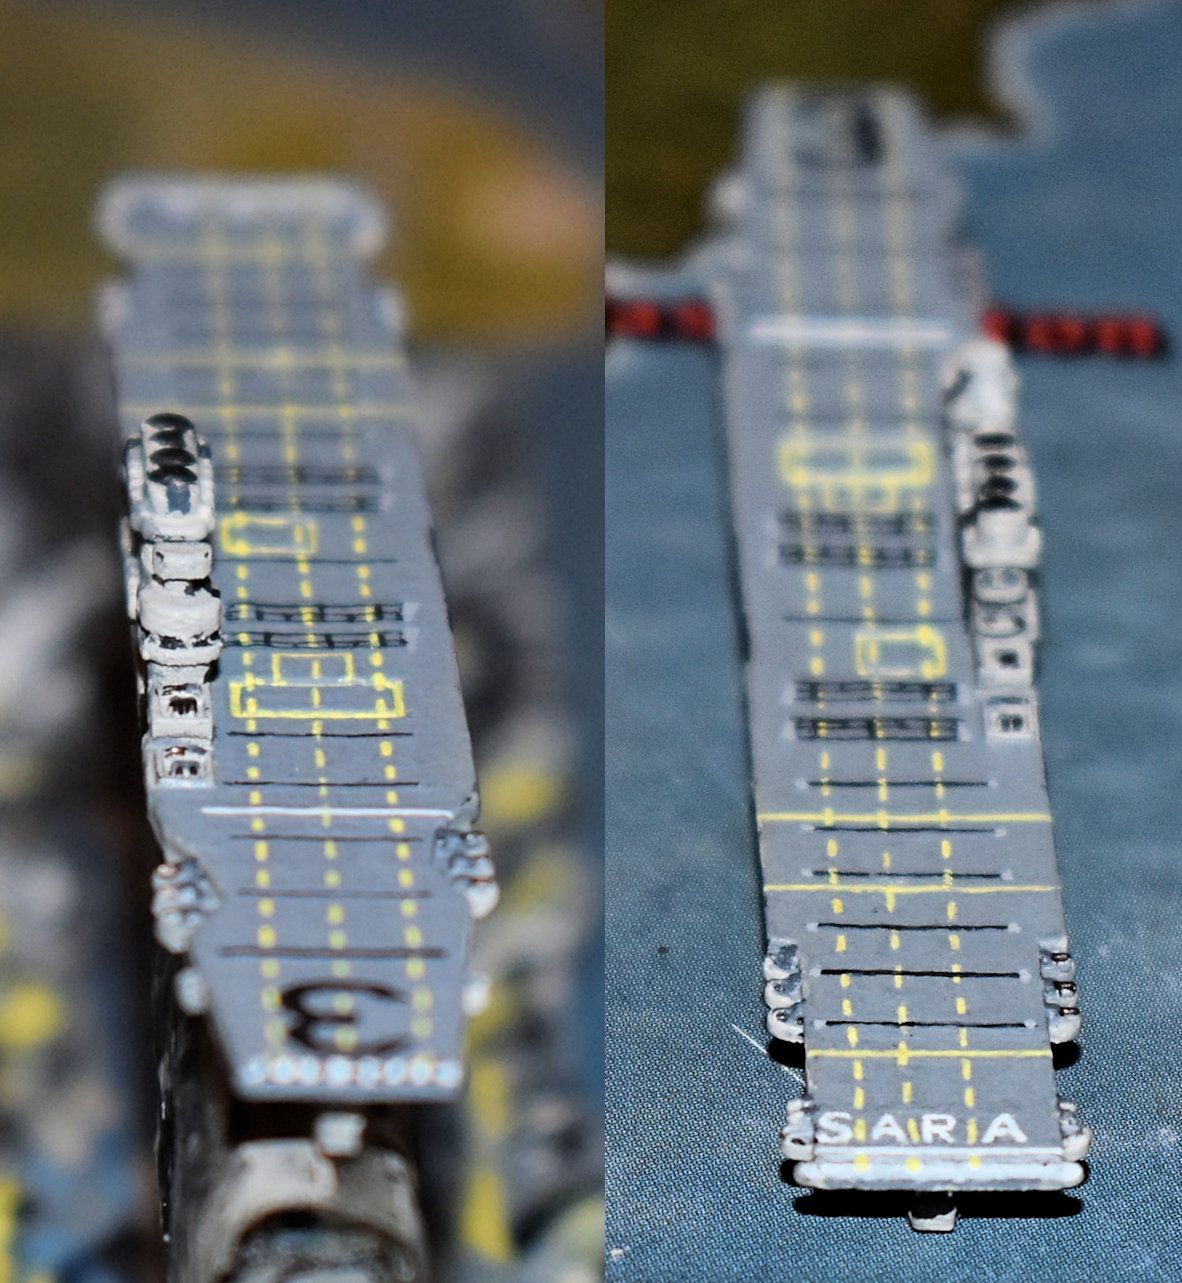
USS Saratoga (CV-3) wearing Camouflage Measure 32 Design 11a, 3d print by Ebard at Shapeways, painted by FOlewnik. It has 2 magnets for aircraft hidden beneath the paint. Two photographs from 1944 are shown for reference.




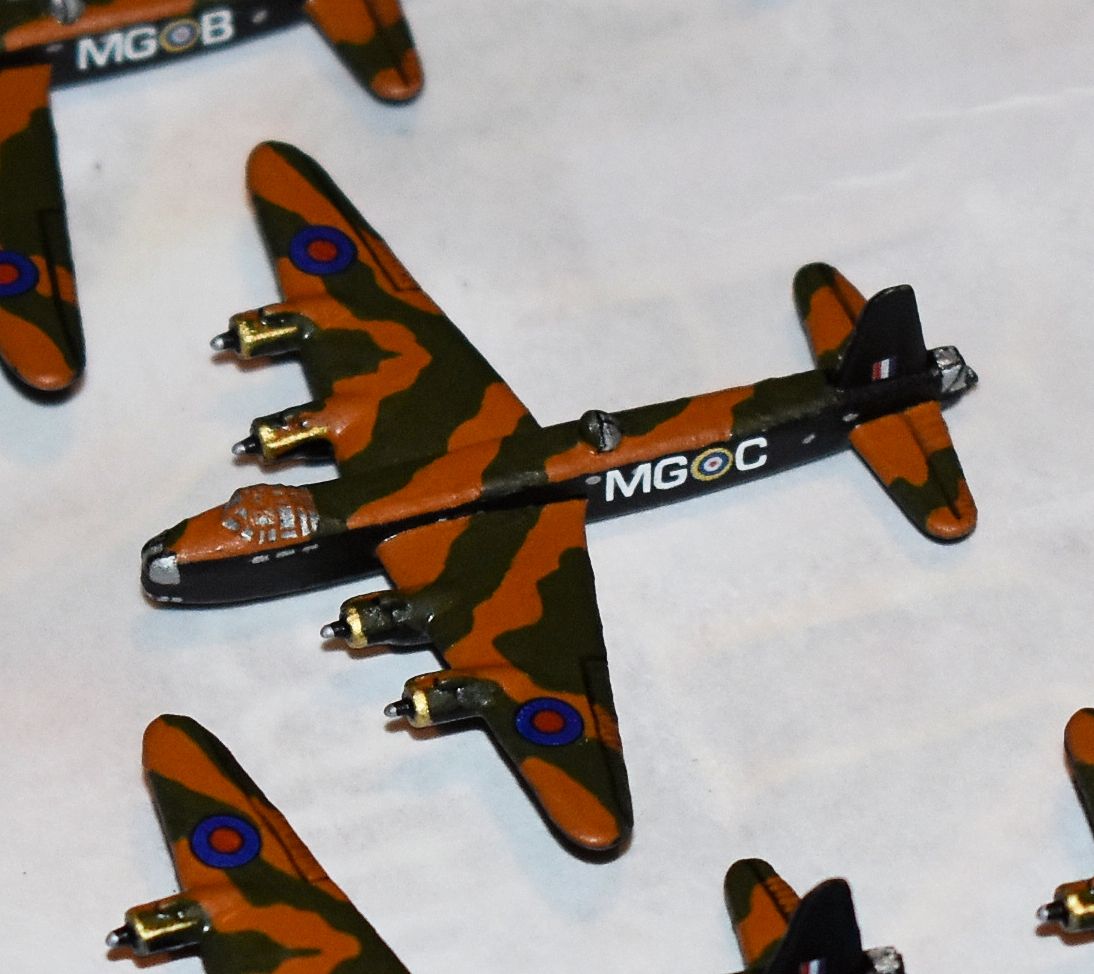
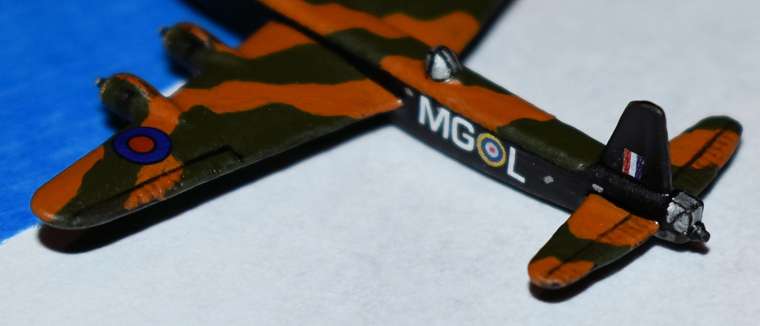
Short Stirling bombers from HBG painted by yours truly for the UK to use for long range or heavy bombers (or both). These are 1/600 scale, which is a little larger than the OOB bombers, but that gives room for more detail so I tried to take advantage of that. Each piece had to be heavily trimmed of flash plastic and mold grooves, and heated with a hair dryer to untwist and straighten out the fuselage and straighten the wings and rudder as best as possible. You can see a few rudders are still a little wilted, but compared to what they were, I was happy. From what I’ve been able to find in research, the actual bomber did not have counter rotating props like this sculpt does. These wear the markings of 7 Sqn, RAF, who were the first squadron to be equipped with the new Short Stirling heavy bomber, & the first RAF squadron to operate four engined bombers during the Second World War, flying the first bombing raids with the Stirling against oil storage tanks near Rotterdam on the night of 10/11 February 1941 (from the wiki).

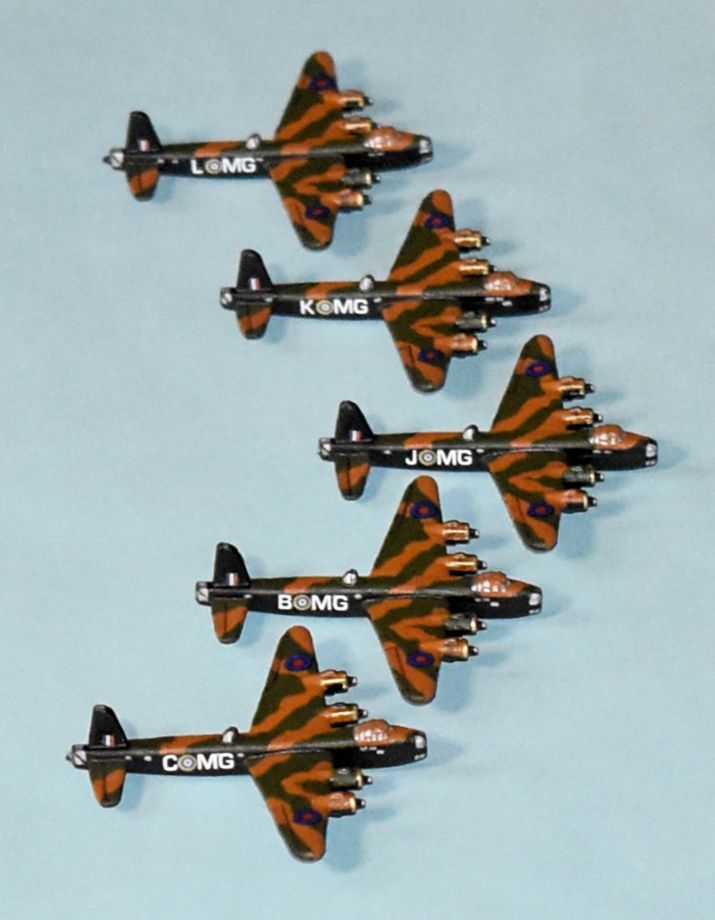


I accented the control surfaces with the same 20/0 brush used for the fine cockpit lines, which are molded into the sculpt. First a dark wash of brown over the first coat of camo, then go over the wash with the original color again, and it helps mimic the fabric control surfaces. The top turret and front and rear turrets and bombardier’s window were done with the 005 black pen. Fuselage windows were done in silver with the Insane Detail brush from Army Painter and shaped after the first coat of dullcote with the black 005 pen if needed.

-
@DMcLaren
Beauty.
Makes me want to rebuild my Lexingtons.


