@Woodstock:
Just giving you some kudos here. I don’t do any painting myself, still have it on my wish list to sometime get around too, but I love to read this and look at your pictures just to get an idea of what comes to it. Thanks.
Thanks! Glad to do it… I paint anyways, so I might as well post some pics and advice :lol:
Sorry I haven’t been able to post for a few days- I’ve been pretty busy.
A side note. Painting your pieces requires some practice, depending on how good you want them to look. For me, I “practiced” on a Spring 1942 set…in all actuality I thought they were good, but then I got progressively better and realized my original pieces were awful. Just have fun experimenting and painting and you’ll improve.
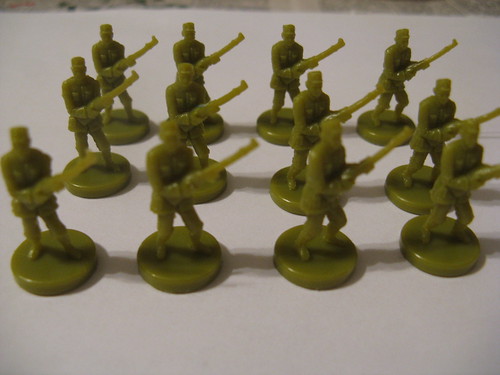
All right, Chinese infantry. To start out, infantry is probably the most time consuming type of piece to paint, but it is one of my favorites. There are a few basic components to each infantry piece.
**The base-**Everyone does their bases differently. I have seen infantry with a base that is all one color, infantry with a base that is one color on top but a different color on the side (which is how I do it), bases with roundels painted on them, or even bases that are textured to look like the ground with moss, sand, etc. I like to paint the base 2 different colors because it gives more options for nations as well as giving it contrast, which can be pleasing to the eye.
The uniform- The uniform usually consists of pants or shorts, a shirt or coat, boots/shoes with socks, and a helmet or cap. Often you can paint boots over the socks if you like that better, or extend the shorts into pants…like I said, experiment with it to see what you like. I find that it helps to make the shirt and pants a different color for contrast.
The equipment- The equipment is usually a gun, (well, I would hope they would always have a gun :lol:) a canteen or pouch of some sort, and possibly a belt, strap, or sash looking thing. Its up to you to decide what you paint and what colors you use. Sometimes painting everything can make the piece look a little cluttered, but it can also be a nice touch. Obviously you paint the gun though.
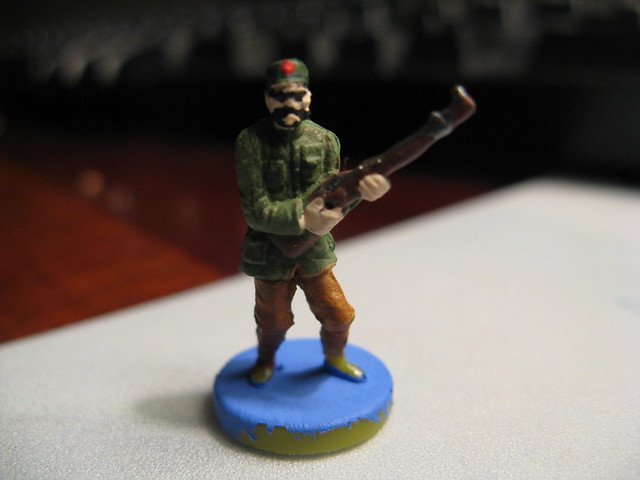
The person/flesh- This is one of my favorite parts because I feel like it makes the piece look 10x better when it has a skin color; once again, it not only provides contrast, but gives a human look instead of plastic. Different soldiers have different skin colors, but its all pretty much a flesh tone base.
To start, I always paint the base…at least the top of it. It’s a lot easier to paint the base before the boots because you can be sloppy with your brush. Some people like to do an approach similar to how you put on your clothes. First you paint the skin, then the pants, then the shirt, socks, shoes, hat, and equipment. personally I find that it’s the best for me to paint the base, then the shirt, pants, hat, gun, accessories, skin, and then boots, and lastly the side of the base. The side of the base comes last because I usually hold the piece by the base or the head to provide easy rotation and a firm grip. But choose your method.
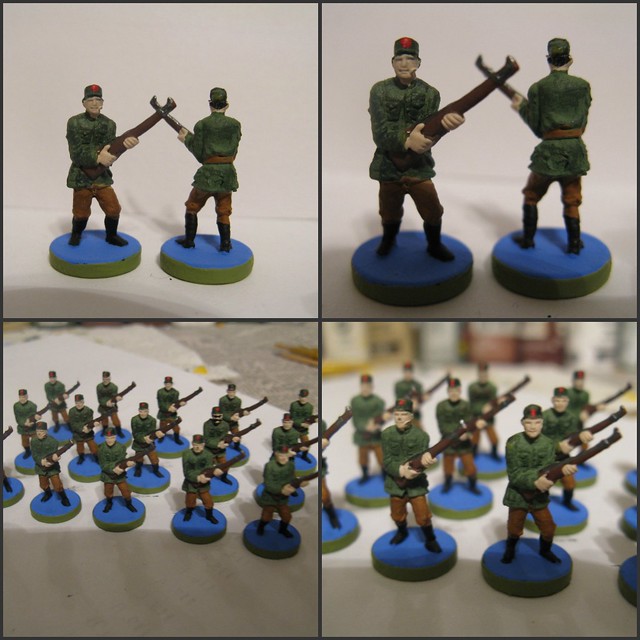
In Axis and Allies Pacific/Global there are 30 infantry pieces. I usually do 2 schemes for a nation, but for the UK and USA I will probably do 3 or 4 since you get double the standard 20-25 pieces. That being said, I am only showing you the first scheme right now (15 pieces) If I ever paint the other scheme, I’ll post pictures.
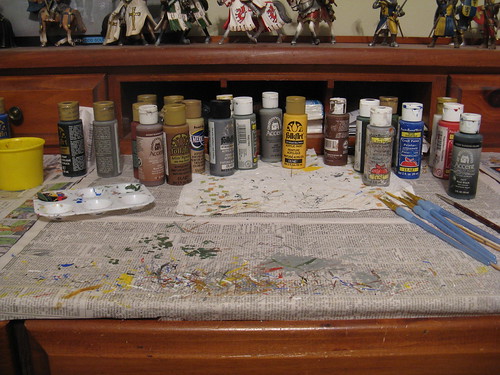
Now, to start out, you have to decide if you want to clean the pieces with dish soap, warm water, and a toothbrush. the advantage to doing this is that often it helps the paint apply more easily because the oils from the factory will be off. It takes about 30 mins or so. You just get a pot or cup of warm to hot water (not hot enough to mold the plastic though…just tap water hot), add dish soap, and scrub! Make sure to get in all the nooks and crannies. I didn’t do it for these pieces because I was feeling lazy- in the long run I haven’t noticed too much of a difference in the painting process…but it’s up to you.
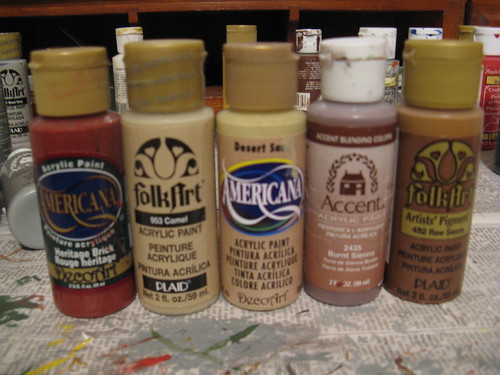
Now I painted the bases on my 15 infantry. It’s China, so I’m working with a light blue, bright green, white…those sort of colors. I decided to paint the top a light blue (not the royal blue) and the sides a bright green; not white because blue and white are what my American pieces have) Pick colors that will help you and anyone playing identify what nation they are. (Germany:black, red, gray; Italy:brown, green, white; UK: yellow, blue, red, white)
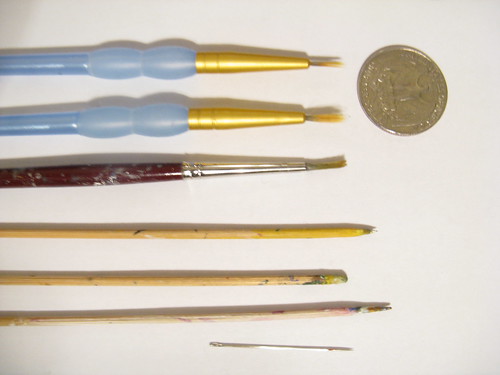
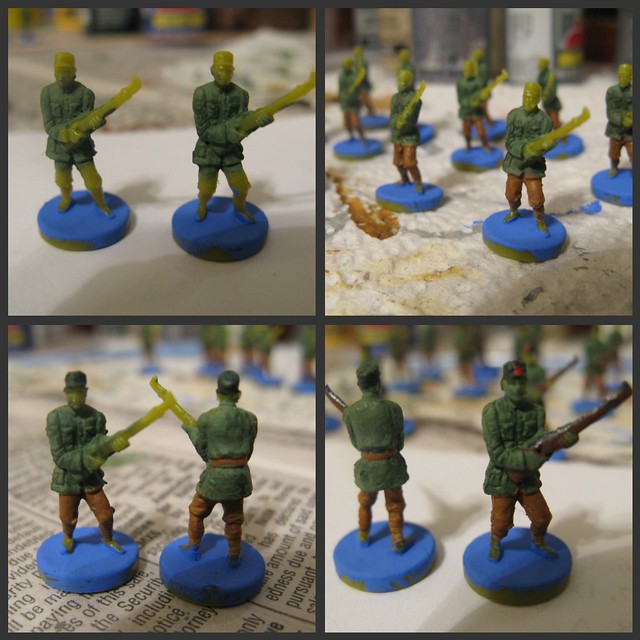
Next I mixed my color for the base. I wanted a lighter blue, so I mixed on drop or glob of white paint with 2 drops of royal blue, and then proceeded to stir with a skewer. Shake the paints very well so it’s not too thick or too thin. Make sure you mix it enough so it is evenly distributed: often when mixing you will have pockets or streaks of a certain color that will look funny when you put it on the piece. See the top right of the photo

The reason I did a collage is so I can fit more pictures on to flickr so I can upload them here…if I did them each individually I would run out of my monthly limit.
Then apply the paint to the base…don’t worry about being sloppy because you’re coming back over it later. Just make it a uniform texture (no globs, etc). It will probably take 2 or 3 coats to completely cover all parts sticking through.
In the bottom left of the photo you can see the base, as well as the color I am going to paint the coats of the soldiers. I am doing a two layer coat…basically a base coat (no pun intended :lol:) and then a darker color drybrushed/smeared on top to give it depth and variety. easy concept, and makes your piece look a lot better! That color is an “avacado” green (3 drops) with one drop of white.

When applying your paint, especially on infantry and ships, don’t put too much on or make it too thick because it can cover up or fill the details in the figure. So 2 coats is better than one really thick one. Just apply the paint uniformly and make sure you check all over the figure by rotating it and turning it upside down. There is nothing more frustrating then finishing a piece and finding a spot you missed- trust me! :x Places to check: the part where the left arm merges with the gun…it’s a part of plastic that connects them that doesn’t really exist in real life. Sorry if that’s confusing. Also check under the shirt or coat where it meets the pants, under the arm, and the cuffs on the shirt.
2nd post coming in a second
