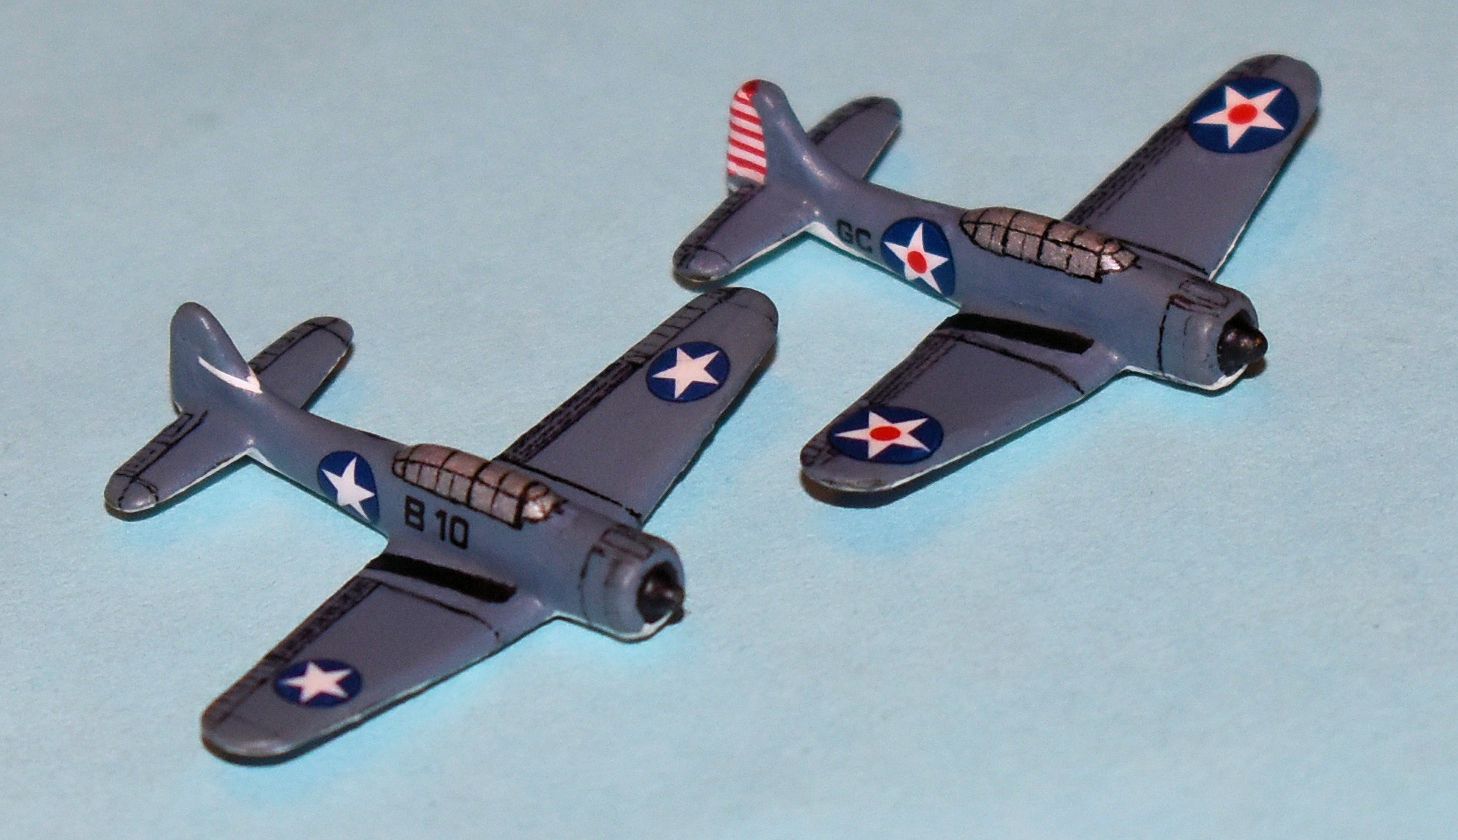
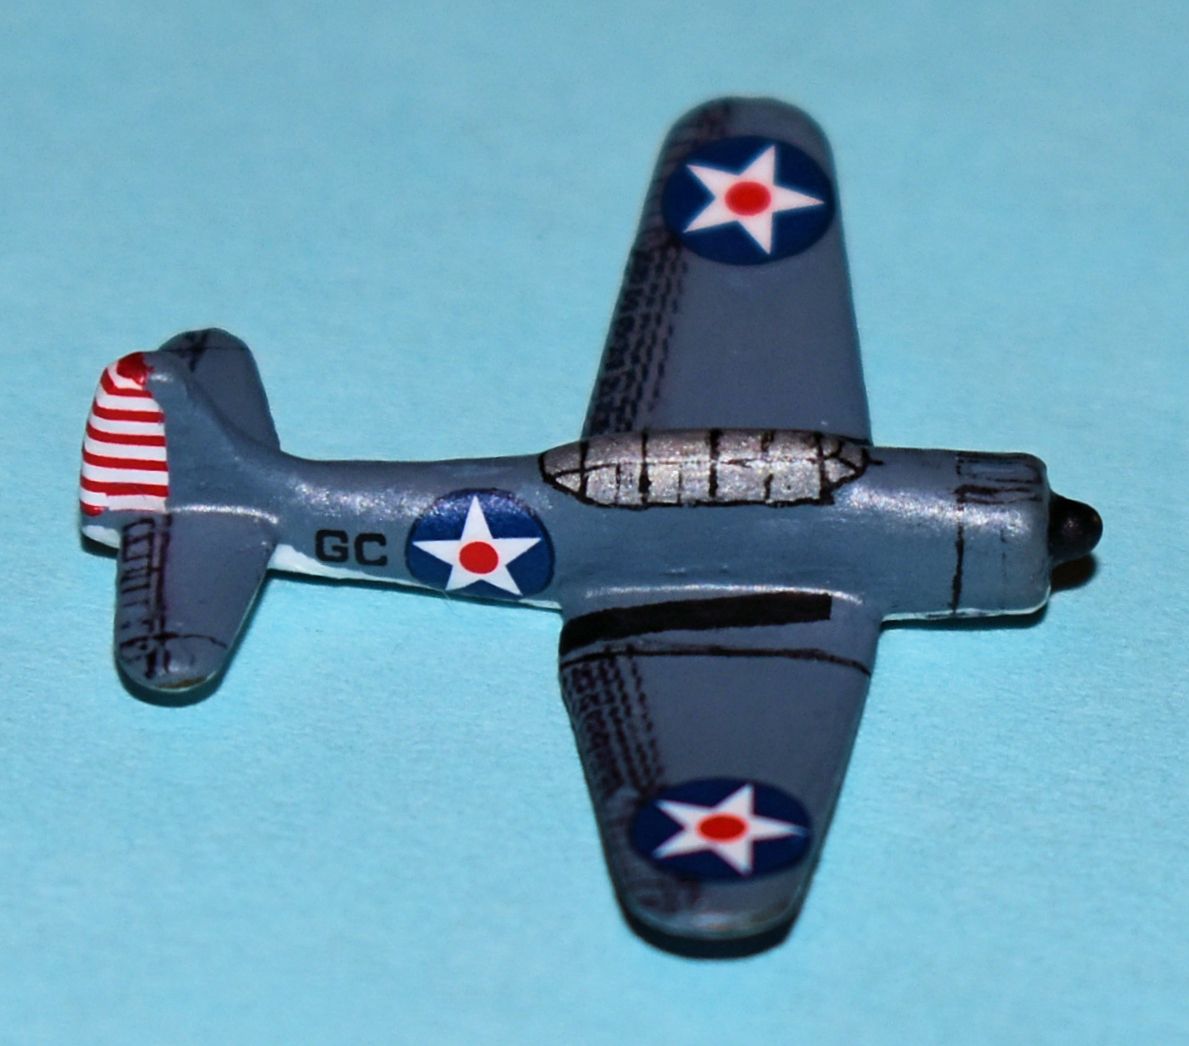
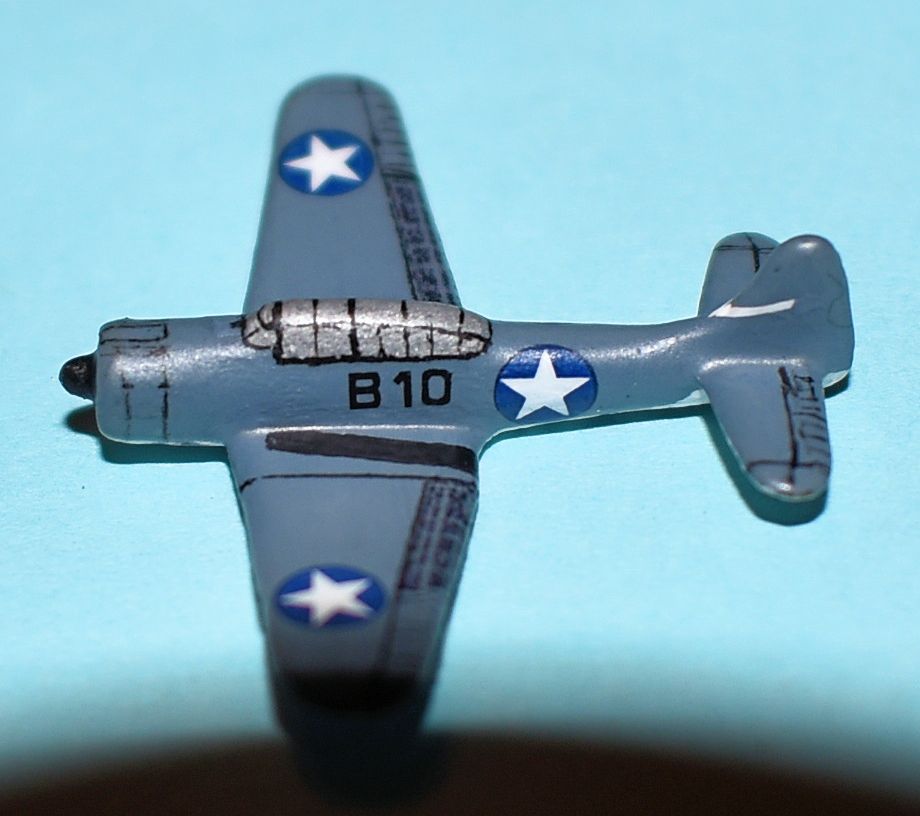
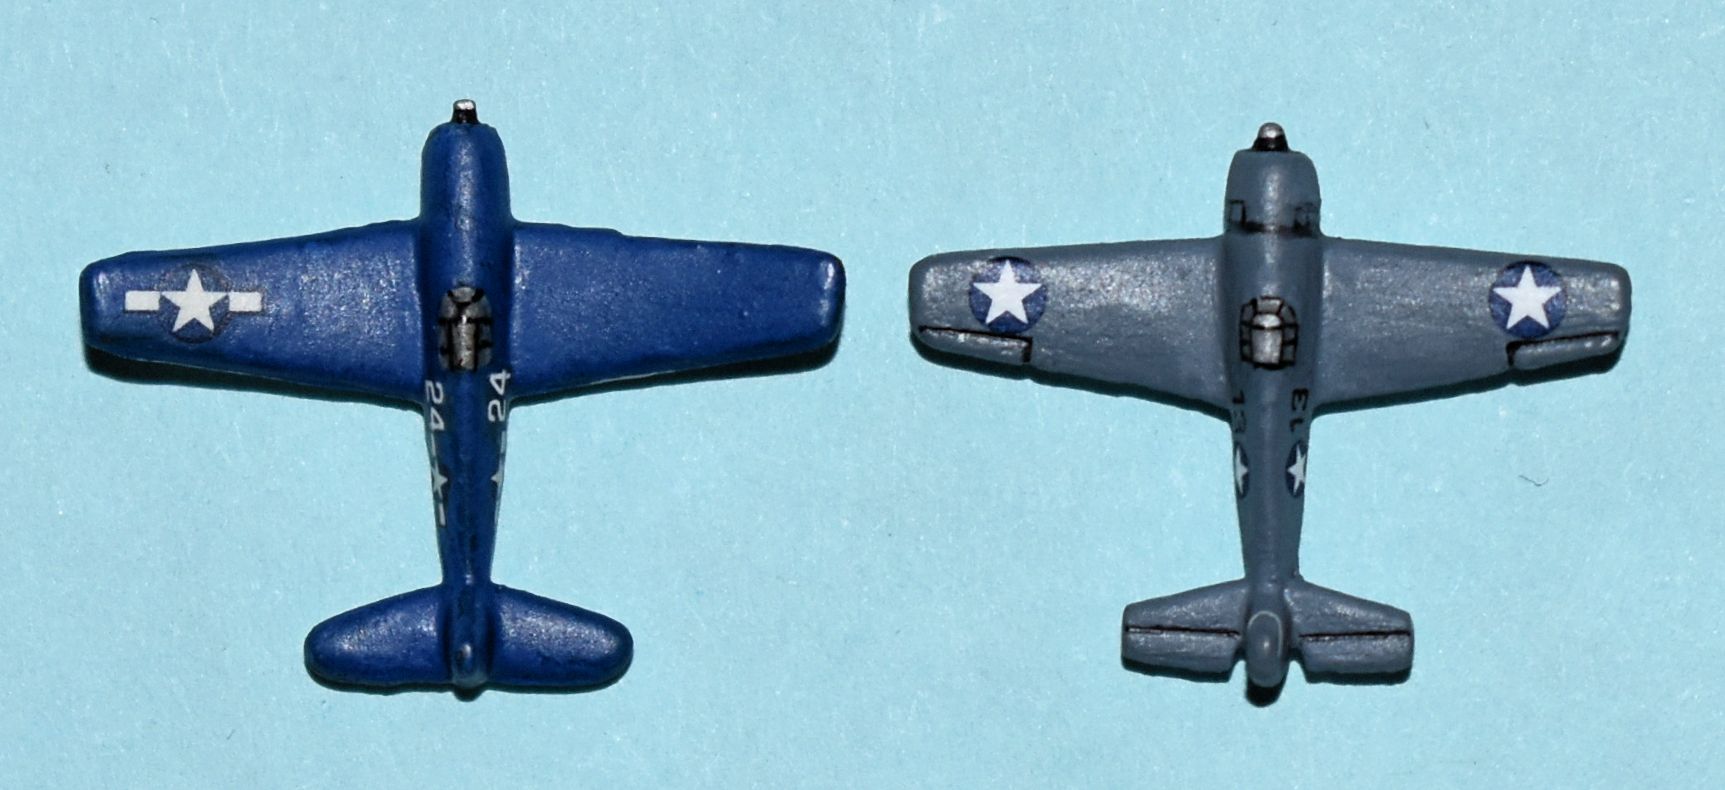
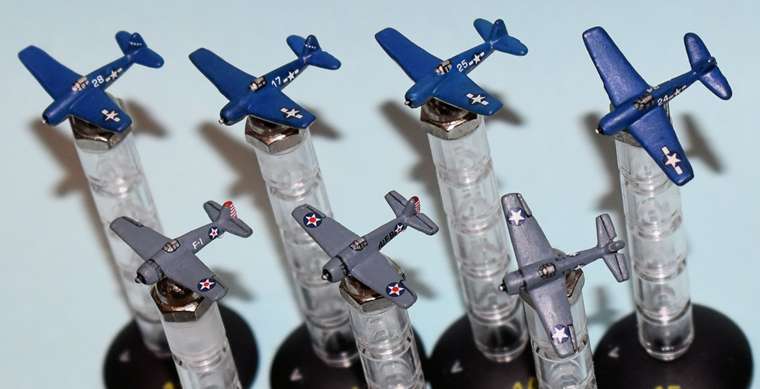
A pair of Douglas SBD Dauntless aircraft in two different sets of insignia, both from the Summer of 1942, Enterprise Air Group. “GC” on the earlier of the two aircraft is “Group Commander”, in this case either Commander Howard L. Young, Lieutenant Commander C. Wade McClusky, or Lieutenant Commander Maxwell F. Leslie. The first one, “GC”, is from the time they spent on the Enterprise (CV-6) during the Coral Sea campaign, and the second, “B10”, represents the rest of the air group as they appeared during the Battle of Midway. I relied heavily on photos in the book “The Big E - The Story of the USS Enterprise, Illustrated Edition” by Edward P. Stafford for decal placement and types.
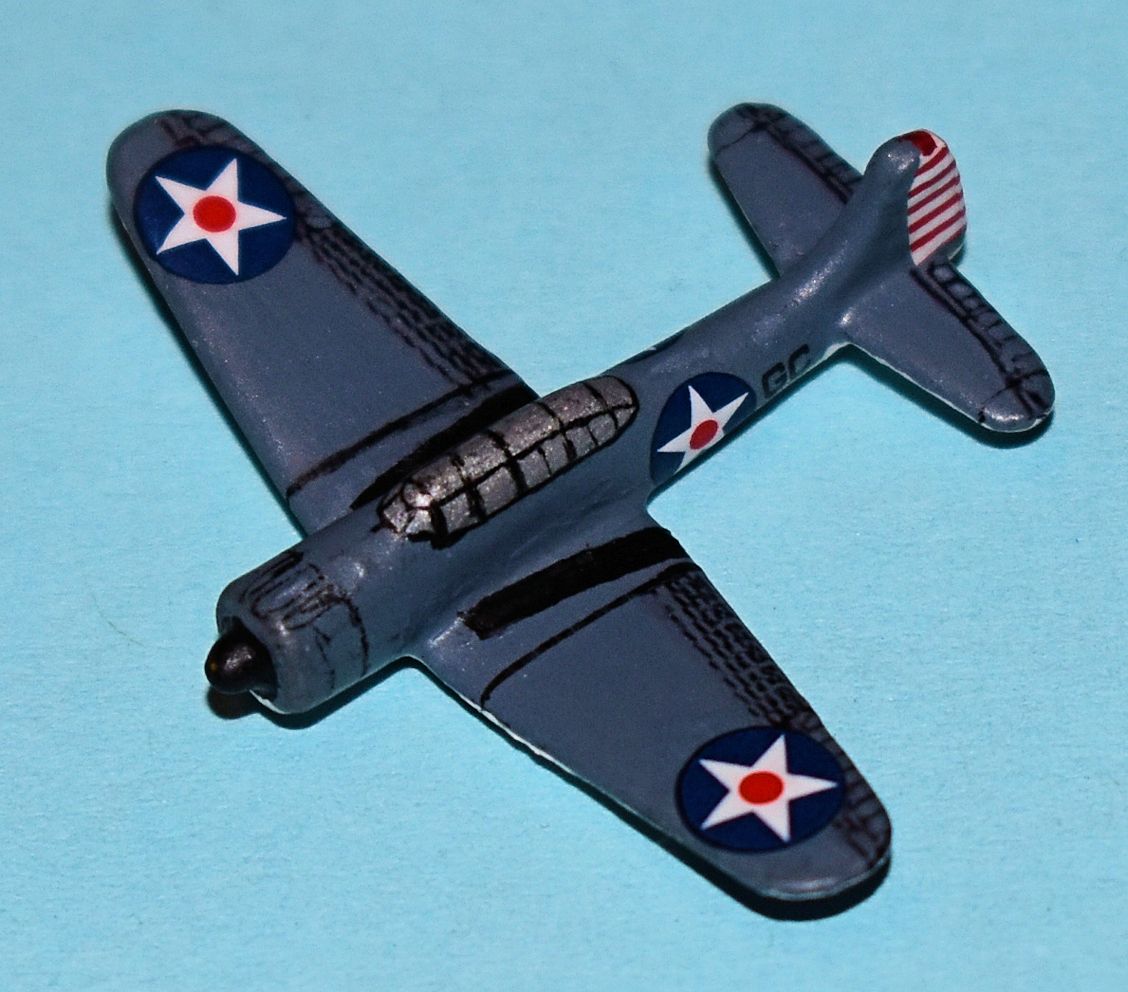
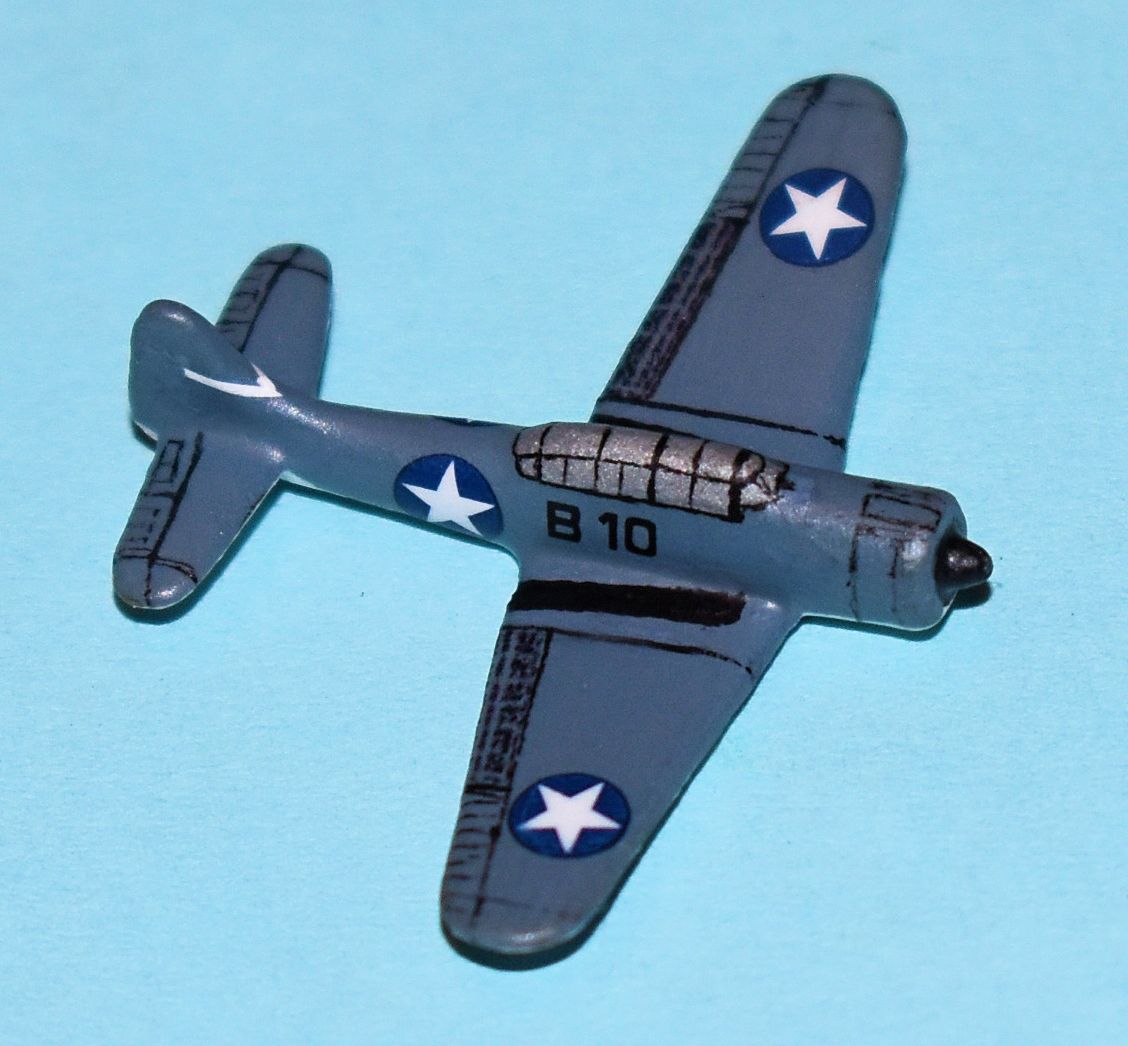
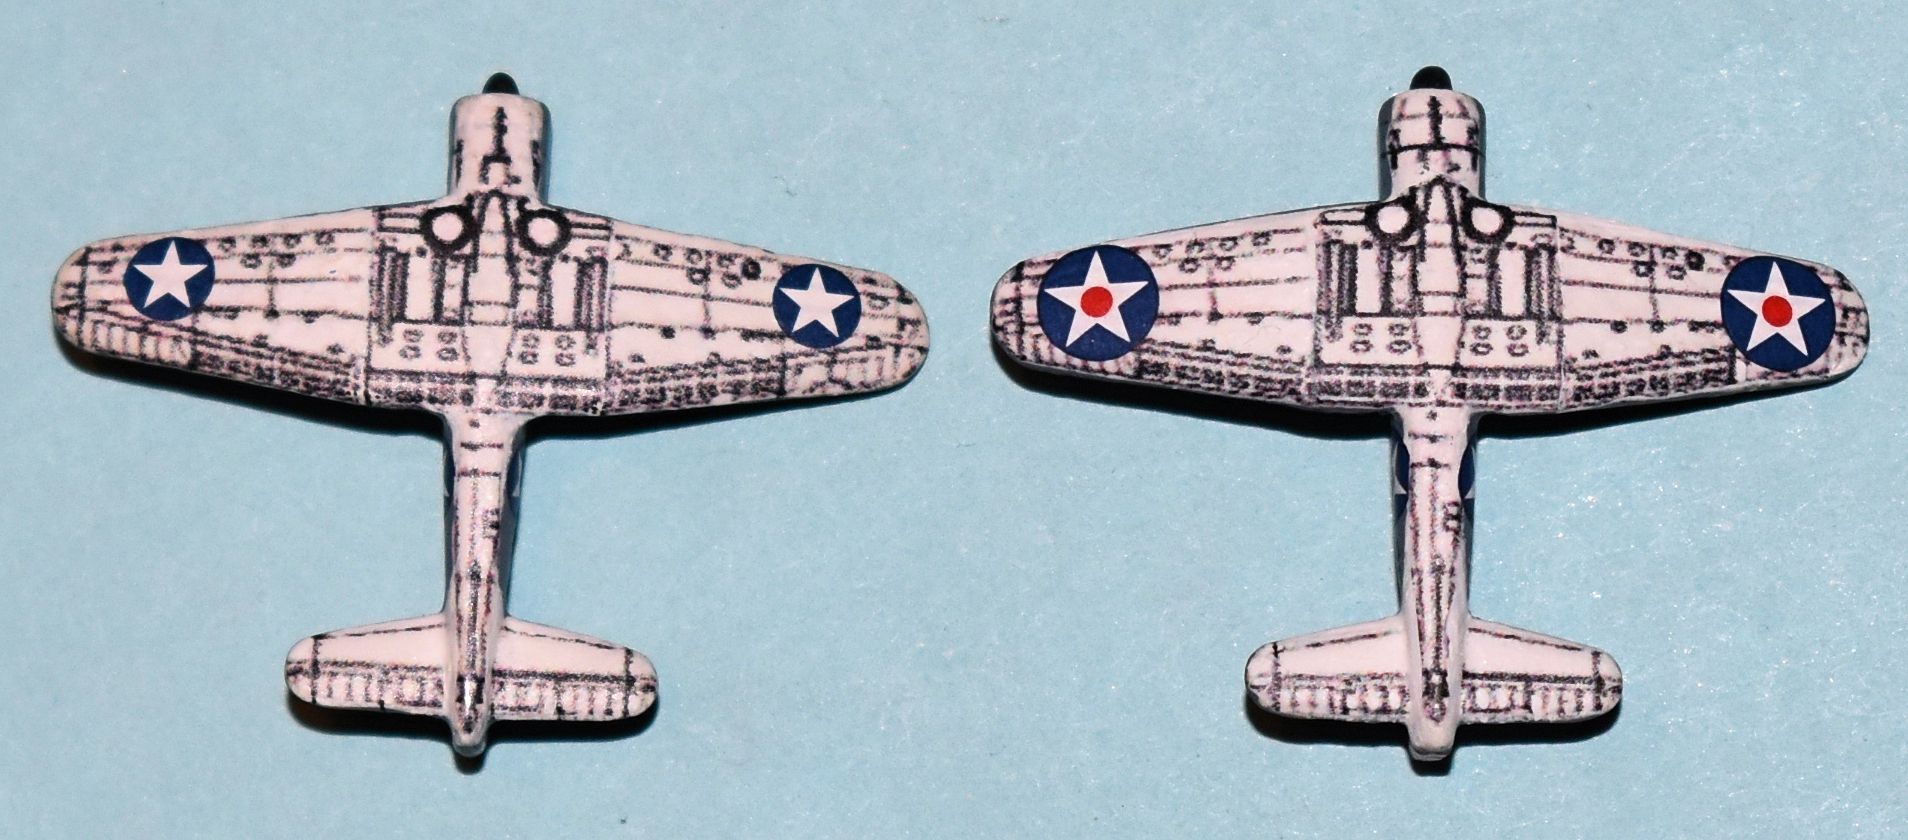
I used the home made decals printed on white background for the first decal layer on the bottom, but the tops of each aircraft are different in that the GC aircraft is mostly decal and B10 is mostly hand inked. You can tell when you see the pictures enlarged as the hand inked aircraft has cleaner lines. The home made decals were printed on my 300 DPI printer, so they could look better if they were printed on a 600 DPI or better printer but they’ll do real well for an A&A game piece.

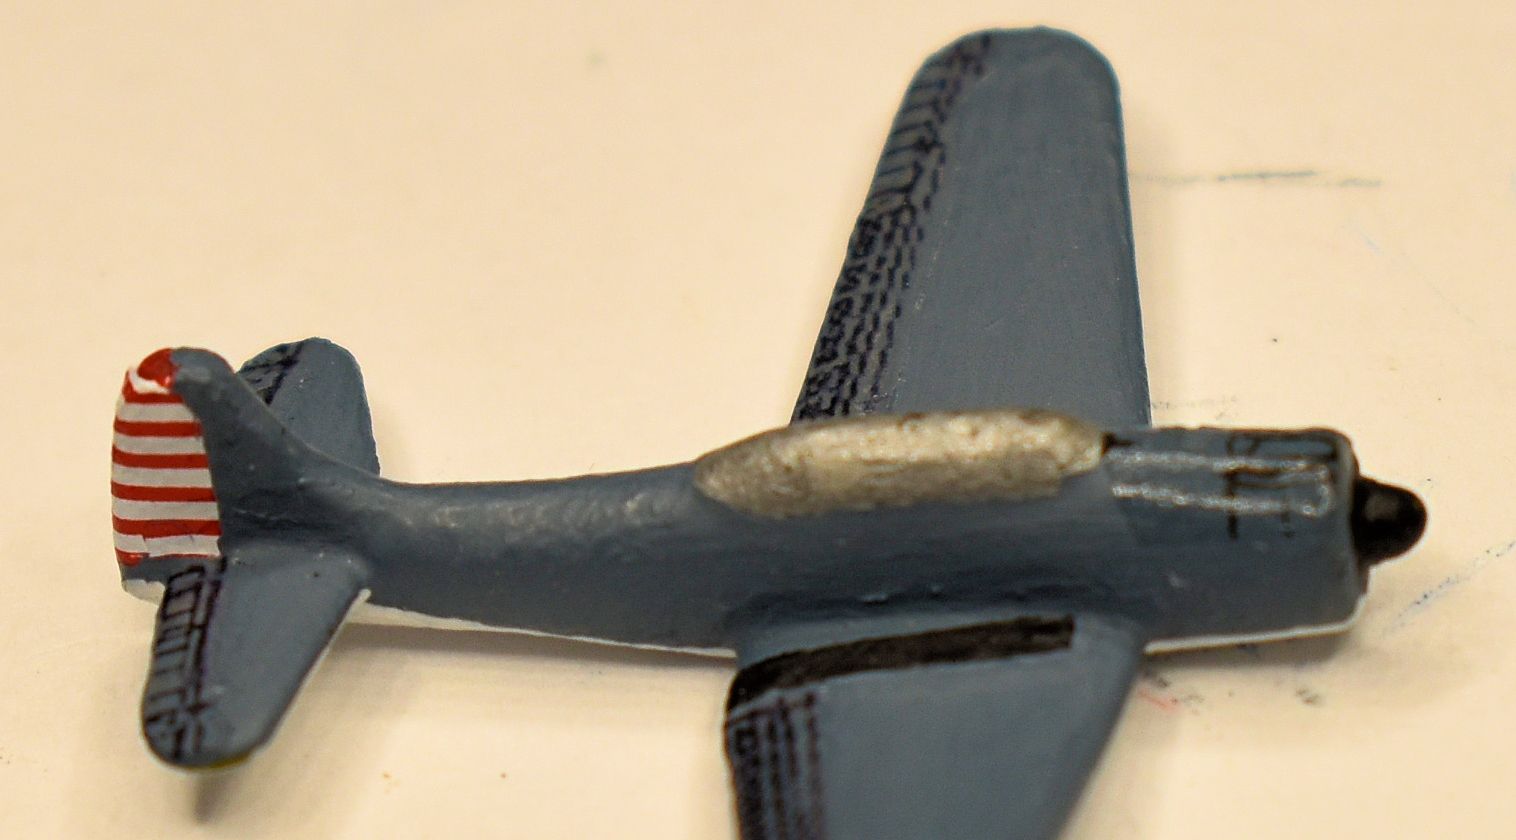
The control surfaces on GC are all decal, but B10 is only decal on the dive flaps on top, the rest of the top control surfaces are hand inked. The cockpits are hand inked as well. The nose guns and upper engine cowl were hand drawn with waterproof ink on clear decal paper because I didn’t want to wait for a decal from the non water-proof print to dry, clear-coat it and wait for that to dry before I could use it. Here you can see the large hand drawn decal on the nose of the aircraft before lots of Micro Sol id applied. Only that section is decal- the rest of the cowl lines & exhaust is hand inked. You cal also see the dive flap and other control surface decals on the first coat of paint. The “step” area on the wing is painted:
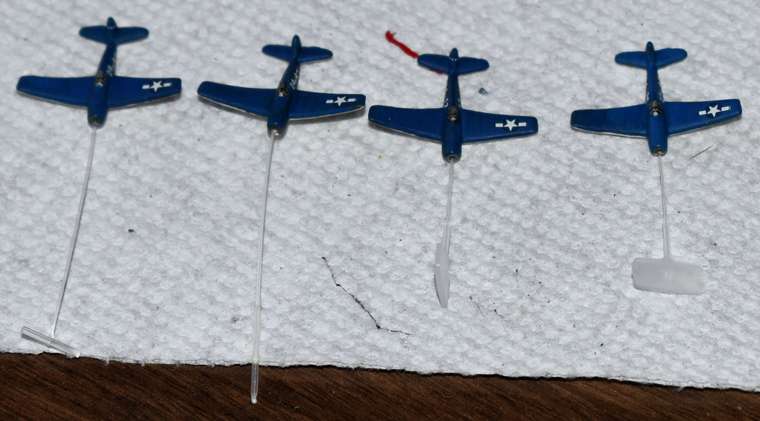
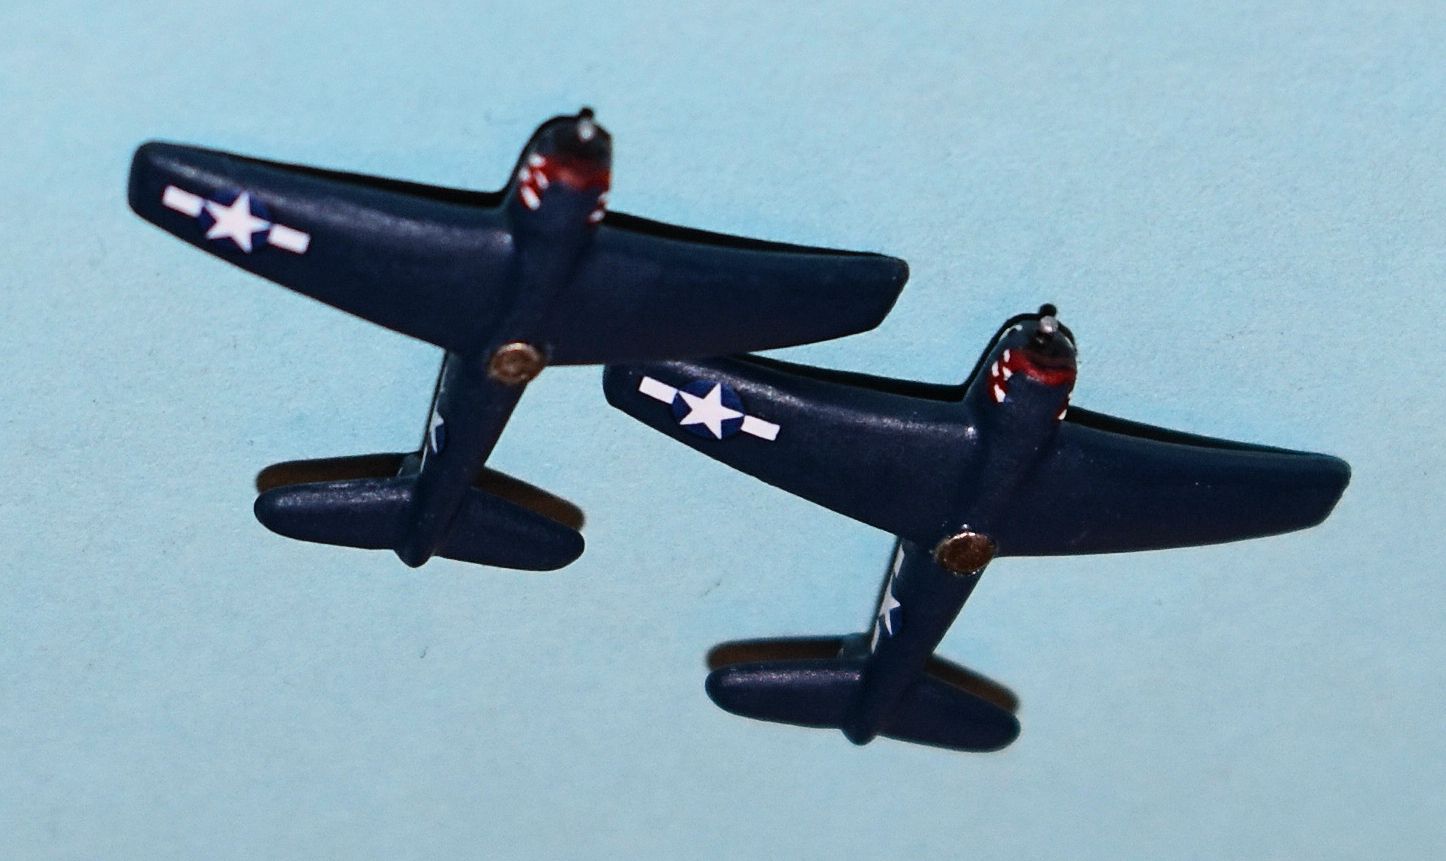
The difficult part of using home made decal is the application. You’ve essentially spray painted the top of a decal and cut it from its sheet, immersed it in water to separate it, and applied it to the plastic as soon as it would slide from the paper. The problem is that only then does the decal itself start to absorb the water, making it expand, while the painted top does not. So your home made decal will “peel” up around the edges. I learned the hard way that it’s best to apply liberal amounts of Micro Sol at this phase to help get rid of the curl and help the decal to stick to the aircraft. It didn’t matter if it was applied to clean plastic or a primed piece- lots of Micro Sol was needed. The Micro Sol also helps get rid of “silvering” on the clear parts of the decal. Of course, using the white background, I didn’t have to worry about that, but the decals on top are clear, so I had to use extra care to make sure they didn’t silver. It didn’t matter- some did anyway. As you can see from the picture, I cut sections of the bottom decal from the sheet rather than the entire thing at once. This made it much easier to apply.

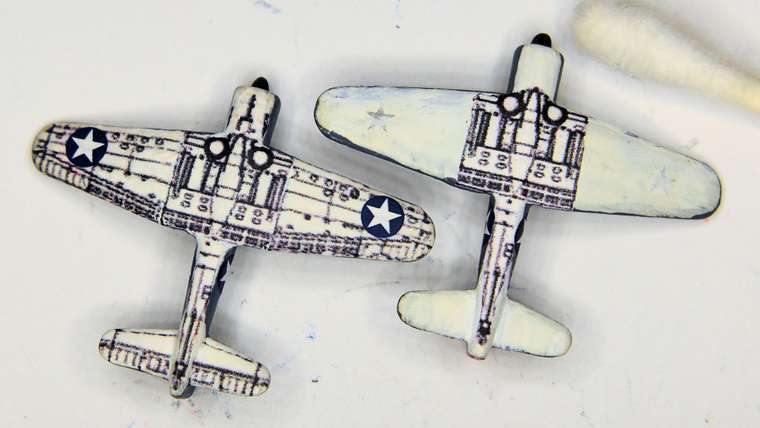

On the picture above, you can see some silvering beneath the clear decal on the dive flaps of each aircraft. If you don’t print with waterproof ink, you can’t poke a pin hole in the decal and add Micro Sol to get rid of the silvering or you run the ink beneath the protective spray, ruining your decal after its been applied. Another thing I learned the hard way. Fortunately, they make 20/0 brushes so those mishaps can be easily cleaned up. I have to say it was easier to match upper and lower control surface lines when inking by hand, since all I had to do was line up my point on top with the decal on the bottom and match them at the edge. Getting the decal to do that was much more difficult, so the rest are getting hand done with only dive flap and engine cowl gun decals on top with the full white decal on the bottom and no stripes on the tail or red dots in the middle of the stars. They may look good, but they are a pain in the rear end!
