Enjoy!
So yesterday I whipped up some infantry and then practiced terrain basing…WOW, was I pleased with the results!!
Here are the materials I used.
1. Cut out egg container- This is what I used to make the glue mixture… you can use something else if you want. If you DO use the egg carton, make sure there are not small holes in the bottom, as many sections have 2 small holes. I figured it out the hard way a while ago- paint wash all over my desk :-P
2. One fairly stiff brush- This brush should be one you do not cherish, and it should be a little bit stiff, so you can paint glue where you want it.
3. Some terrain- Pick what you want. I went to Hobby Lobby for mine… $8 total. You want it to be pretty fine.
4. Tacky Glue- I would actually recommend PVA glue, but I couldn’t find any. So I used this. Its dirt cheap too.

To start out, make your basic infantry pieces. The only difference is, the base of the piece needs to be the color of the terrain you’re applying. (Oh, by the way, I figured out, the darker and more liberally you apply the paint wash, the better the pieces look IMO. just go back over the flesh and the gun, as those are parts you don’t really shadow.)
Desert/Sand- Light brown or tan
Grass/Forest- Olive Green
Dirt/Rocks- Brown
Cobblestone/Gravel/Urban- Grey
Seasons- White (Snow), Burgundy (Autumn), etc.
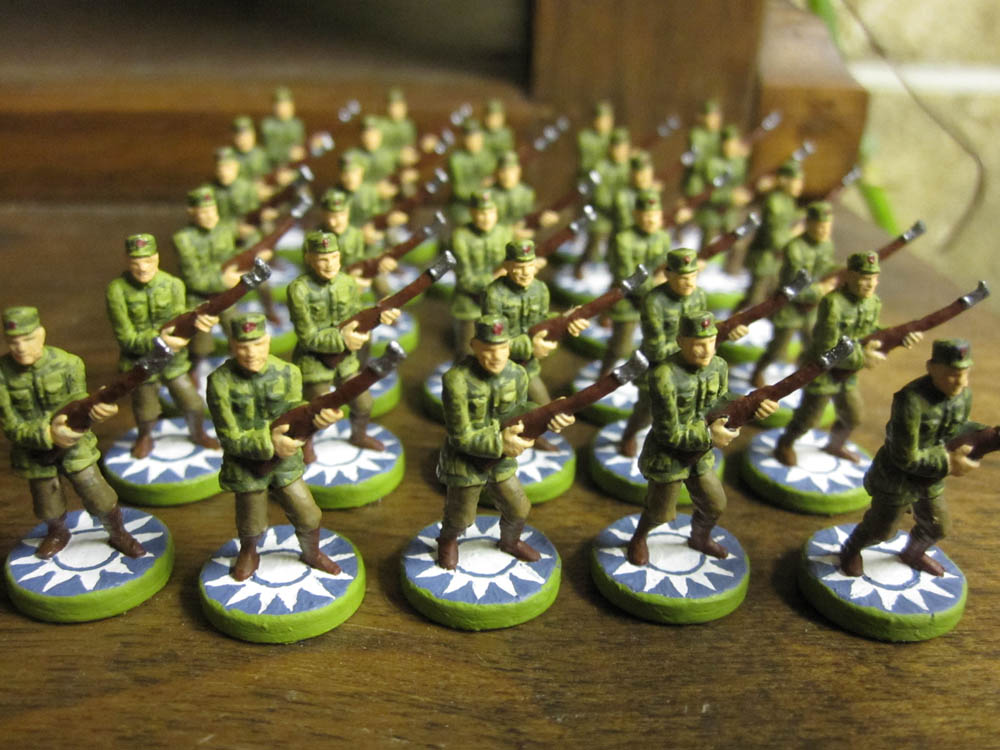
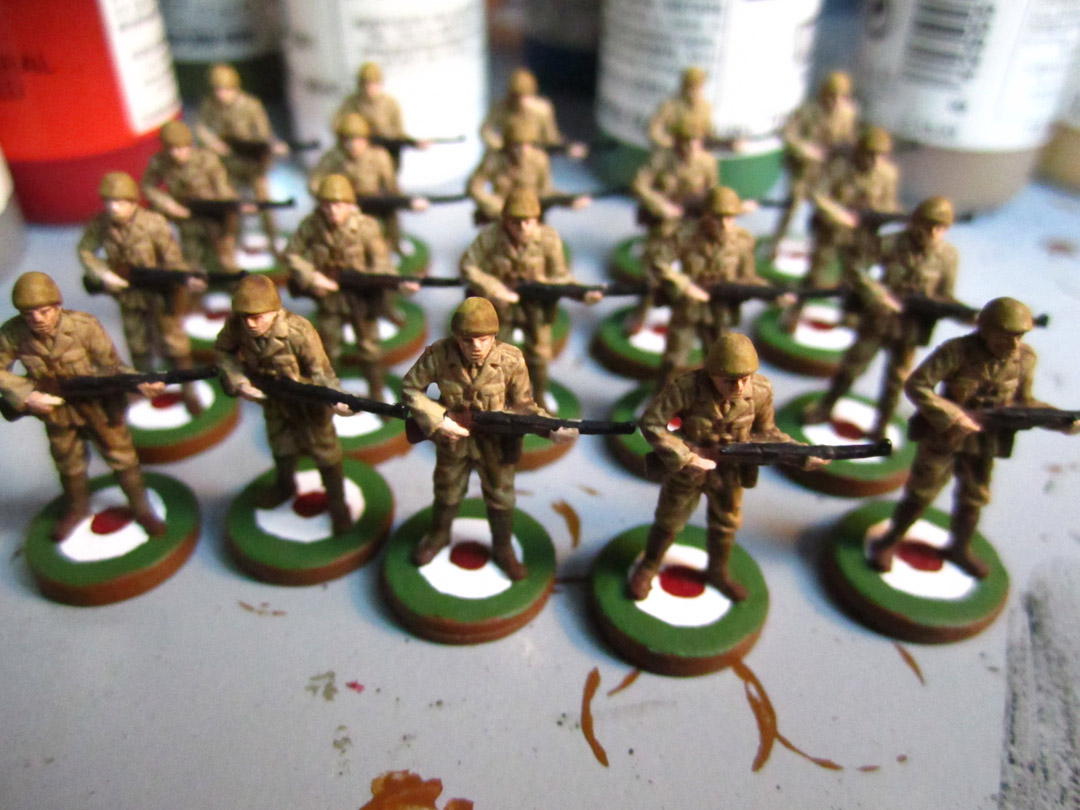
Here are pics of my infantry. I painted them in 4 hours, which was actually remarkably fast, and they turned out to be my best work yet IMO.

Next, mix some of the tacky glue with a little bit of water… use your discretion. You need to stir it with a wooden skewer or your finger or something like that. You basically want spreadable glue. But not too much water!
Next, apply the glue to the base liberally. Here is a picture… sorry for the bad picture, but I don’t know how much I can show, besides the fact that the glue has beaded on the bristles, and it is still globby sort of.

Now, quickly spread the glue around the base liberally, then sprinkle the terrain all over the base; put a lot on, because some will fall off. If it’s too clumpy, crumble it between your fingers while you do it. OR, just as effectively, you can dip the piece into the terrain materials. See pics for examples.


Tap the pieces, brush off any excess around the base you don’t want, do some touch ups, and voila!!
Here are the final product. (The grey pieces I tried to paint, but they weren’t secure enough, so I couldn’t really get it to work… I’ll figure out a solution.)
The usual disclamier…things always look better in person, but here they are!

