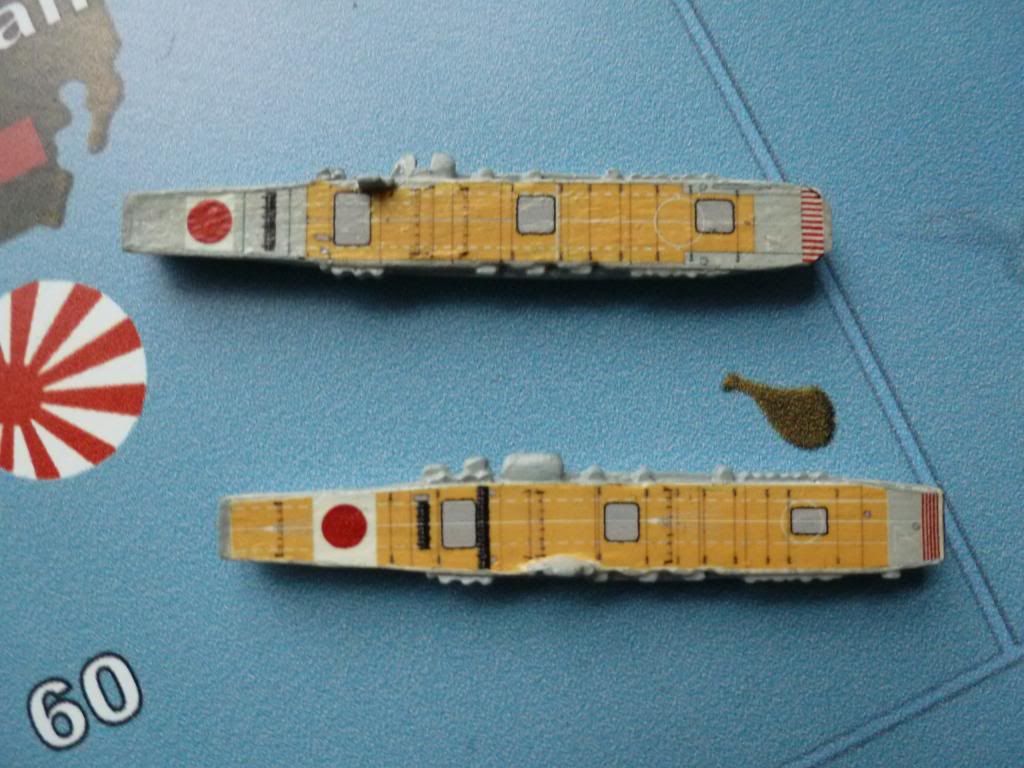
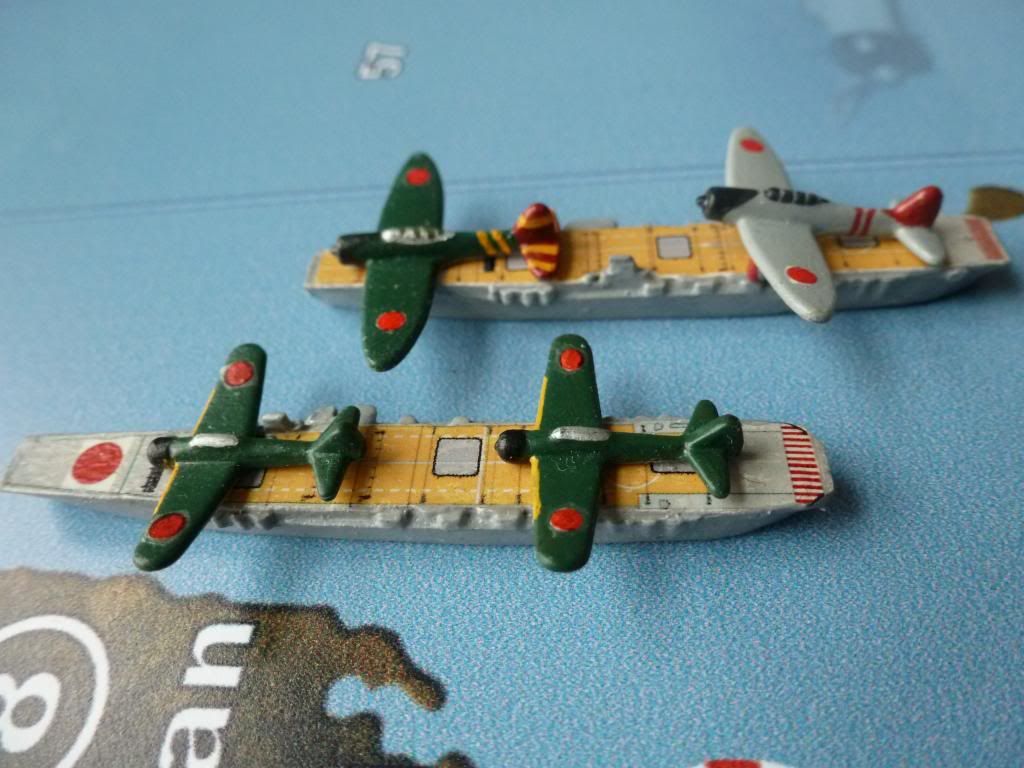
Did you print them onto Labels so they would stick?
No, I printed them on a clear decal film, they are decals. It is possible to print them on a sticker film, too, I’ve tried this once, but to apply the sticker on a flight deck is tricky and sometimes it is affilliated with some frustration (e.g. air bubbles, only one try). I recommend a decal.
You consider selling your landing deck decals? I bet they’d be popular…
I never thought about selling, I don’t want to earn any money with the decals. If there were only a few people in the community interested in the decals I would ship the decals to them just for shipping and material costs (all in all ~ € 1,50, decals will be send in a letter from Germany to the US).
Just the file could work though… I’ve used thin paper glued down in some instances and it looks good. Uhh… yeah, I’d like to get a hold of that file as well…
would you mind emailing me that file?
No problem with the file, I could mail you by PM. If you want to make DIY decals, here is the advice:
1. you need some decal film, order for example at www.bare-metal.com (american company, as far as I know). There are films for inkjet and laserjet printers. You need “clear” decal films (there are also “white” films, but you don’t need those)
2. order a fine spray for coating the decals, I took “TopCoat gloss” from Mr.Hobby. Coating will protect the image from smudging and it will strengthen the film.
3. additionally, you need a decalcote/softener, (e.g. “Mr.MarkSofter” from Mr.Hobby), some white colour, and a clear acryl varnish.
4. print out a sample of the grafic on plain white paper
5. adjust the grafic in size if required
6. proceed with printing on the decal film
7. cut of the printed decals form the the sheet accurately
8. apply the topcoat (tricky, not too much spray, otherwise there will be an ink bleeding and you can start over again with a new decal….). It’s is better to give another thin coat after the first one dried (20 min).
9. paint the flight deck in white colour, let the colour dry (20 min)
10. moisten the decal in water, moisten the flight deck with water
11. apply the decal to the flight deck, use a tooth stick or something like this for adjusting the decal to the flightdeck. Make sure, that there is sufficient moisture on the flightdeck when adjusting the decal.
12. When the decal is fixed on the flight deck take off excess liquid with a cotton swab carefully.
13. apply the decalcote/softener, let the softener dry (10 min)
14. apply with a brush a clear acryl varnish, let the acryl varnish dry (10 min).
15. Ready!
Right now I’m thinking about developing a complete set of flight decks for all relevant carriers in the game.
