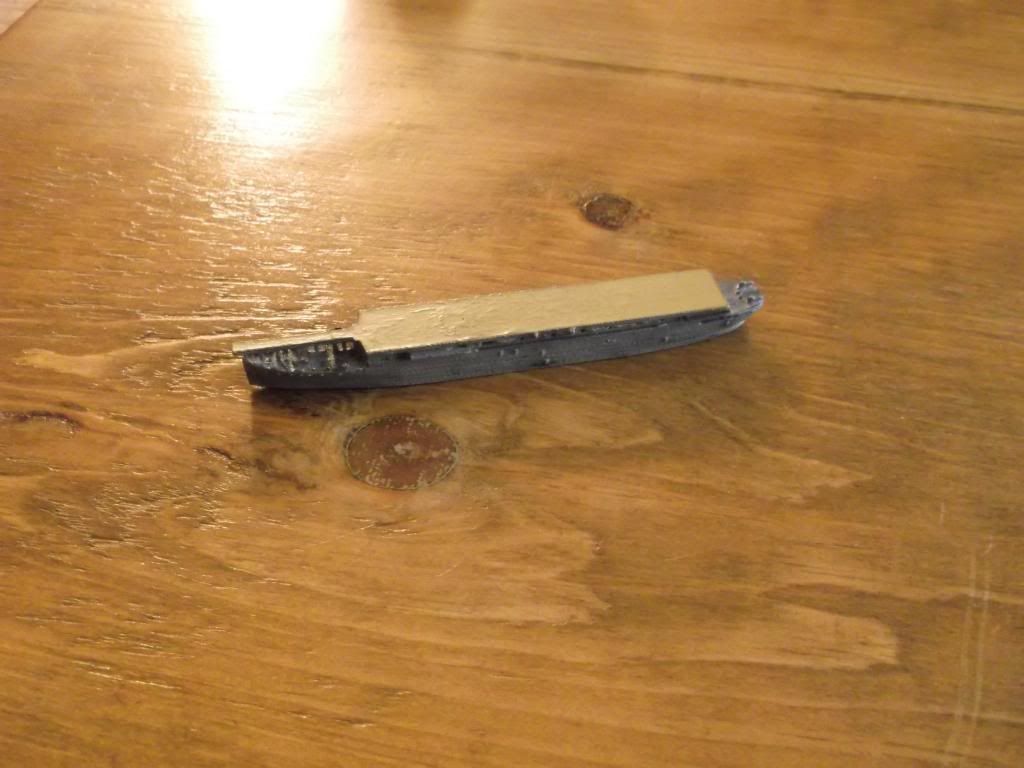
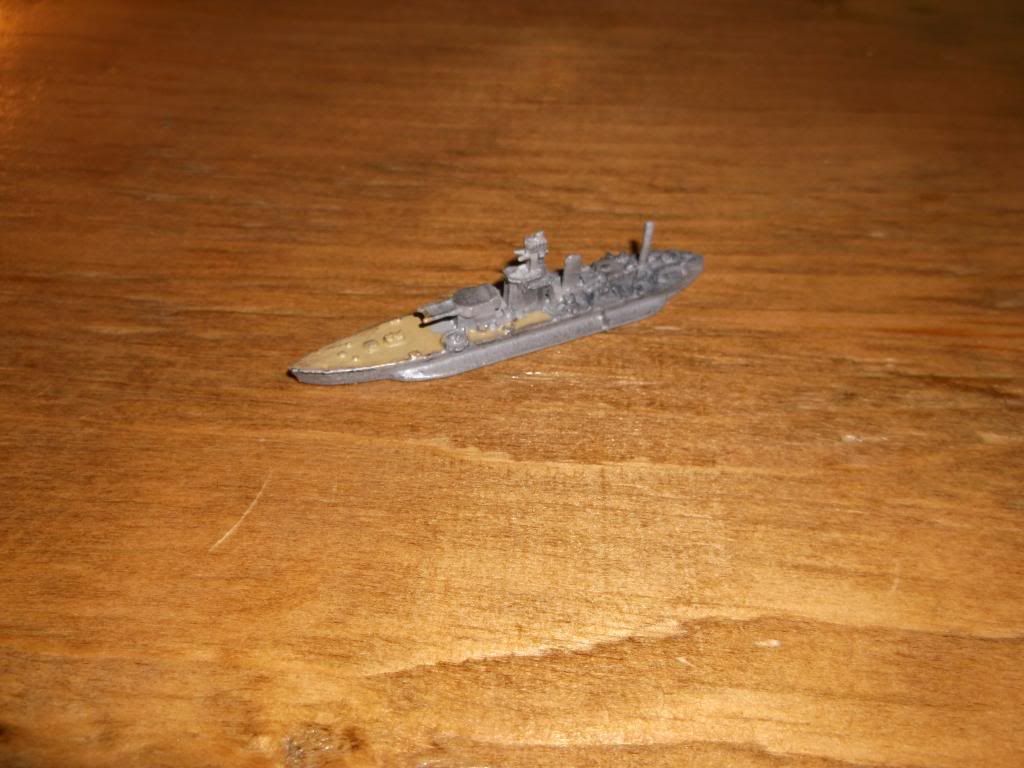
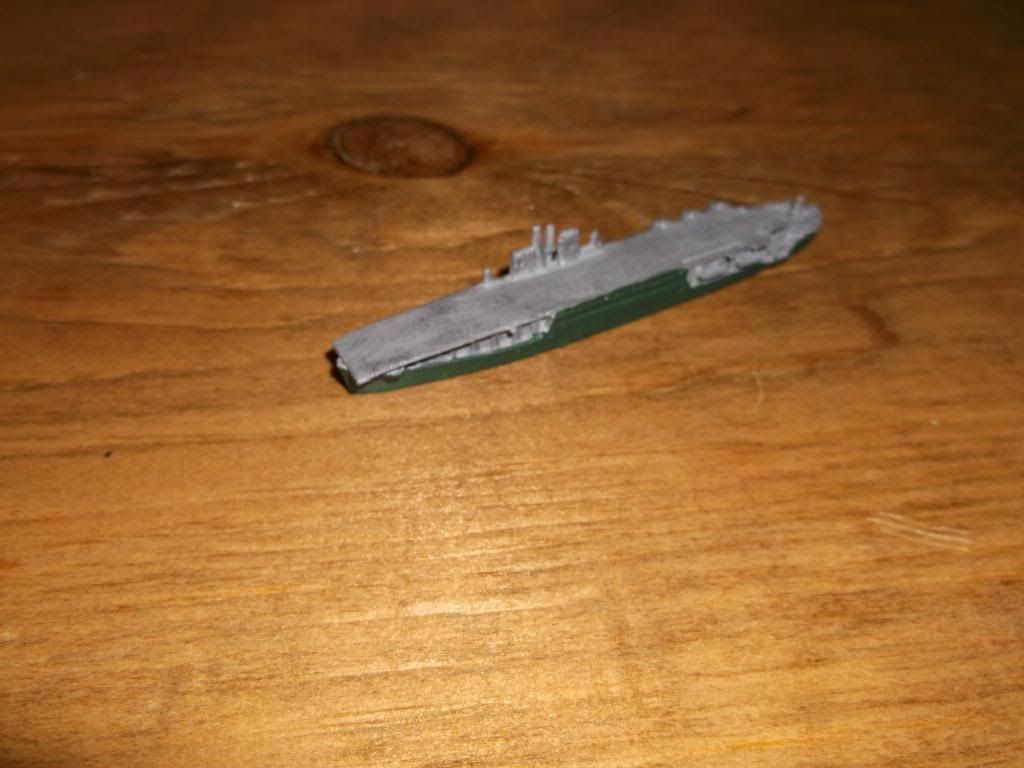
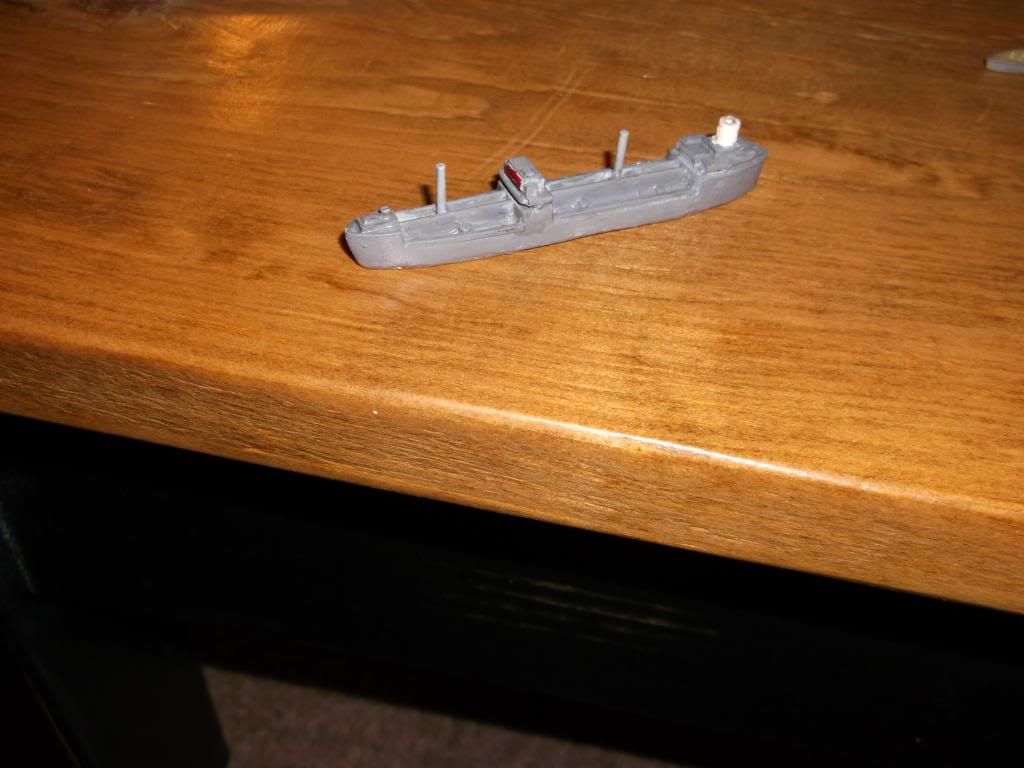
I do offer painting services of a more “generic” approach. Its mostly the painting and detailed highlighting of all the equipment that takes so much time. 1/72 scale men usually cost around $3 to $5 each, but those are ultra-detailed. A more conservative approach to them, with basic colors and highlighting, and simplified painting of guns and faces would be less than $1 per man. And I can do armor (micro-scale - 1/285) for $1.50 to $2 each.
If you want to tackle them yourself, I can give a few tips.
To fully describe my techniques, even for a simple paint job, is still a mini-novel, as I take a different approach depending on the color. With 1 color scheme I might use a light base color and ink. With another base color I might use a pregression of darker to lighter shades of paint only.
And I kinow it might sound selfish, but the more I describe how I paint, the more customers I lose due to people painting thier own stuff.
I can give you a few basic tips though.
You will need primer (preferrably a high-quality, wet-sandable variety, as they dry less sticky) and you will need 2 shades of paint for each color scheme. 1 shade that represents the over-all color you want, and a lighter shade of that color for final highlights.
(1) clean and primer paint all pieces. I recommend grey or brown primers (use grey for pieces that are to be lighter colors, use brown primer for those peices that are to be darker colors).
(2) Using water-based paints, completely coat all pieces in the basic color you want. Allow to dry a couple hours to fully cure.
(3) Using brown ink (make sure you get a good brown tone ink, and that that stuff that looks purple-ish) give your pieces an ink wash. I prefer to thin the ink with water (1 part ink to 1 or 2 parts water) or else they will be too dark. For tanks, you will want to apply a liberal amount to them, doing several at a time, then wipte off the excess ink still on the brush and go back over tha tanks “dobbing” up any excess puddles of ink that form. Just touch the tip of the brush to any such puddles, dont suck too much of the ink back up, or you will have bare spots.
Let them dry for a full day.
(4) Now use the main color again (the water-based color you put on over the primer) but apply it with a “damp-brush” technique (described later). Thier is no need to let them sit a long time before going to step 5.
(5) Now use the lighter shades. Apply this lighter shade with a “dry-brush” technique. This is important, and will bring the pieces “to life”.
–-----
DAMPBRUSH - apply a very minimal amount of paint to your brush, and stroke the brush one or two times over a paper towel to remove the excess paint. Rapidly swipe the brush, back and forth, over the piece until all higher surfaces return to that color. Dont over-do it such that you get paint into the nooks and crannies. With only a little bit of practice, you will notice a certain point at which a “antiqued” look is achieved. Thats when you stop.
DRYBRUSH - Like dampbrushing, except wipe even more paint off from the brush before brushing the units. It should seem as if you have wiped all the paint from the brush, but thier is just enough still on the brush to stick to only the very most edges and details like rivets. Use a faster criss-cross motion, with a little bit of pressure.
IMPORTANT: NEVER, EVER, clean your brush with water and then use it again for drybrushing without letting the brush dry completely. If the bristles are even a little damp with water, it will cause smears. I recommend having 2 or 3 brushes ready for dampbrushing each color. Dampbrushing will cause your brush to get very “gummy” if you work too slowly or do a lot of pieces. I use 3 brushes. As soon as the paint on one brush starts to harden, I clean it and set it under a light bulb. Then I go to a different brush. By the time I am done with the 3rd brush, the 1st brush is completely dry and ready to go again.
–-----------
After dry-brushing is done, if you want to do some of the details, then use a pin-point brush with normal amount of paint on it. I would at least detail the treads rusty brown. Dont bother with any visable tools like shovels or such, as you will end up committing more time than you want. Hastily painted tools will make the units look cheap if you “color outsdie the lines”. Detailing the tools, adding weathering, fender rust, decals, etc is what turns a cheaper simple effective job into an in-depth time consuming nightmare.


