I’ll try to elaborate on those tanks. I’m not sure exactly what to tell you, but I’ll give you my best thoughts.
All right, so I started with a coat of spray can primer, just a standard light gray primer from the hardware store. Then, I painted a base coat of dark gray on it. However, the base coat needs to be lighter than you intend the final product to be because of the wash. If I had gone with a near black gray from the start, the tanks would just be black and you wouldn’t see any detail and it would be nasty looking. The base coat was something like “Value 2” from this color swatch.

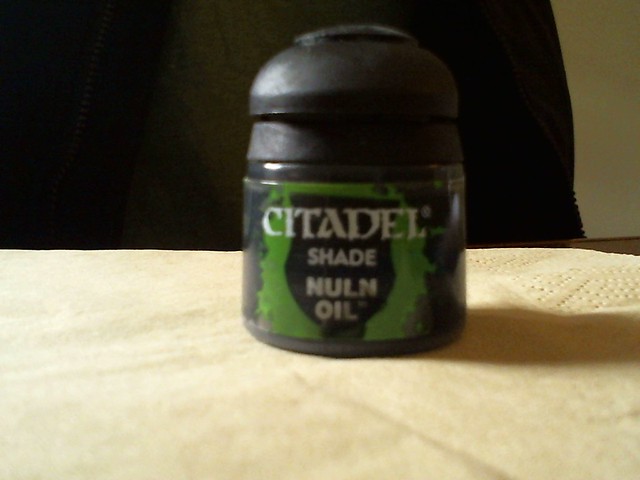
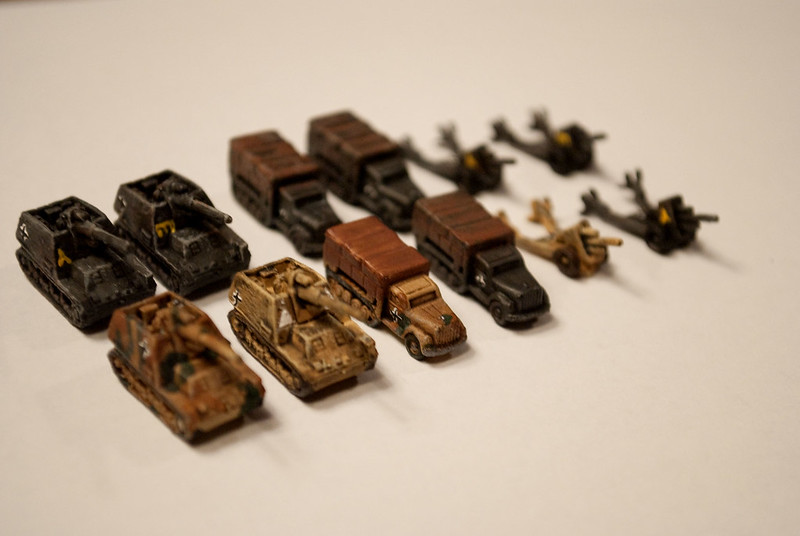
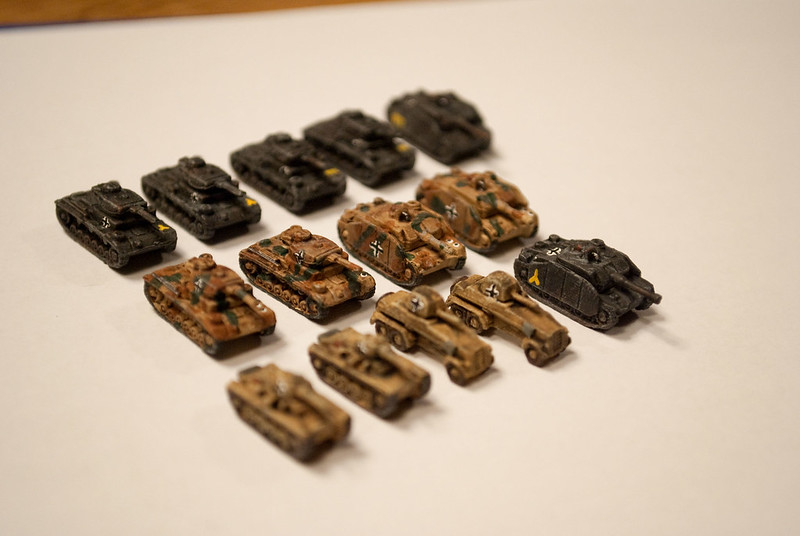
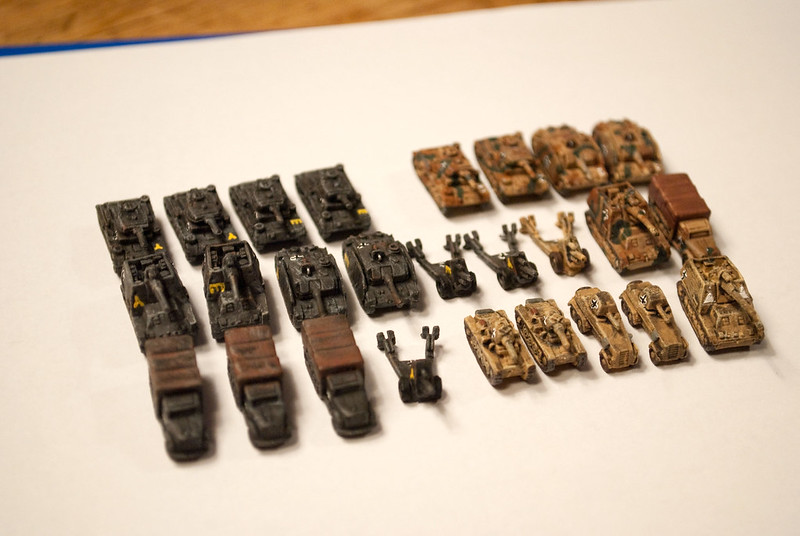
That’s the best estimate I can give you, since I didn’t take a picture of my paint when I was painting. I can tell you it was one of my dark gray paints with a bit of black mixed in to make it a bit darker. After that, I did a wash with black. (I have black and brown; I just used the straight black wash. There’s a picture of it a few posts up.) This was liberally applied, then I sucked up any thick pools of it with my brush until it was a decent amount left, mostly from the tracks and the hatch/MG at the top of the StuGs. If you want the wash to really do it’s job, you should apply the wash one side at a time, setting the piece on it’s side to dry. That way it seeps into the tracks and the lines in between the side skirt panels or under the turret, depending on what you’re painting. After the wash was completely done drying (20 mins?), I went back over and did a drybrush with a light gray. Something like “Value 4” or “5” from the image. This was applied pretty liberally, because I felt that I had gone overboard with the darkness and that the piece was too dark for what I wanted. But it’s all personal preference, so if you like the color you bave, don’t worry about making the streaks and highlights show up everywhere. So it was applied liberally, and I really made sure to get the ridges on the Hummel and the skirts and turrets of the StuGs and Panzers, since these are the really defining parts of the piece, and the parts that have really defined edges and make for a great drybrush. This all gives it the “scratched paint” look, and since I did it enough, it sort of looks like there is a light gray base coat that I somehow covered up with gray, while it was actually the other way around. Here’s an example with the Hummel.
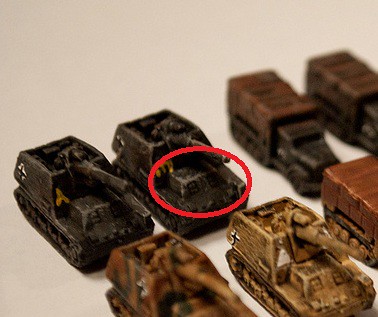
You can see it on the desert scheme Hummel as well. After the drybrush, I did a light drybrush with brown on the turret and MG, and the back a bit, just to simulate dirt and stuff like that. Very light drybrush though. Then it was divisional markings and identification stuff, and Then I was done. Oh, the tracks. The tracks are done by dragging a brush with just a bit of paint across the tracks, and since they are raised (both the tracks themselves and the mechanisms), it makes your job really easy.
I’ll try to specifically answer your points. @LHoffman:
It is not flat
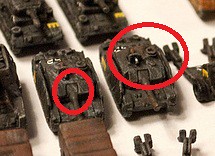
I think this is directly due to the wash. I can’t state it enough; a wash really makes the model look more 3D, and the shadows/highlighting give it more of a sense of color and realism IMO. Here, on the StuGs. The gun is really separate from the rest of the piece from the wash, which is retained even after the drybrush.
@LHoffman:
nor are the highlights overstated
I think I just got lucky on this one :D Apply the drybrush in layers. You can always add more, but you can’t really take it off once it’s done. Make sure you really go for the sharp edges on the piece.
I hope this helps, and if there’s anything I missed or something extra you’d like to know, just ask!



/p1.jpg)


