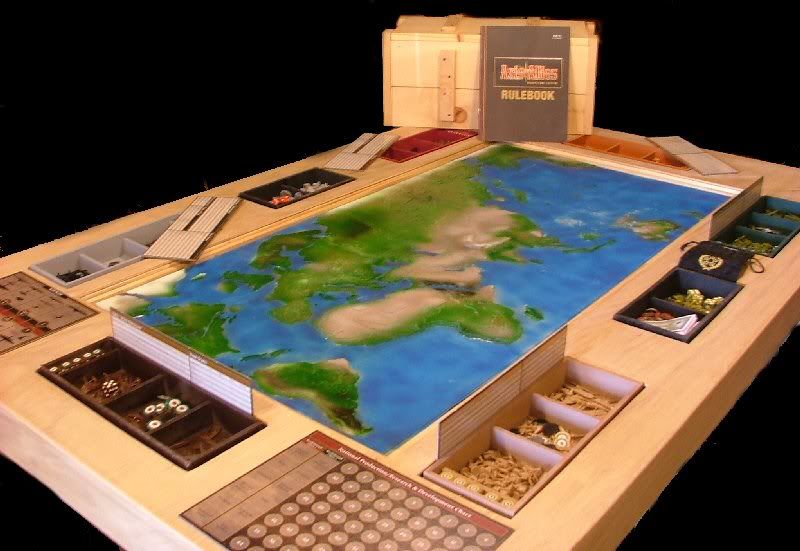
This is how I should have done this post from the beginning … but better late than never, right?
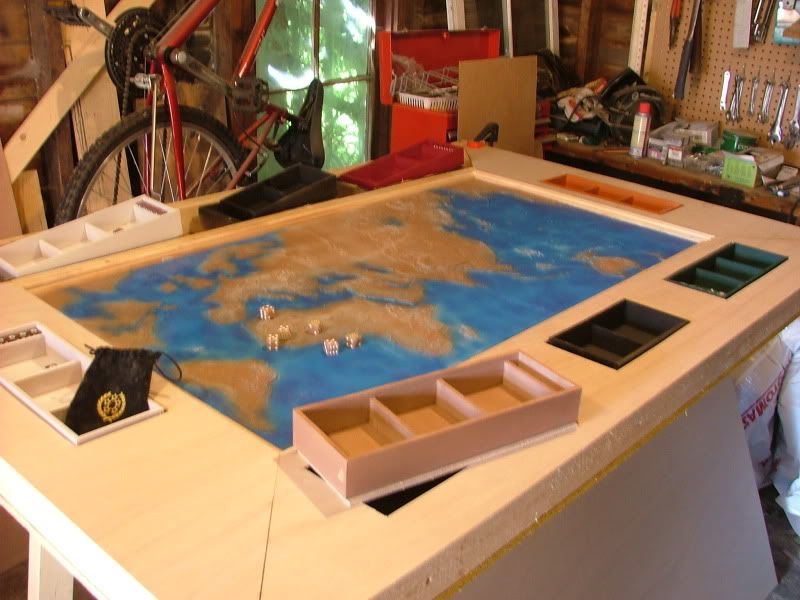
Here is a comprehensive breakdown of my AA50 3D Terrain Gaming Table from start to nearly finished;
In the beginning I rolled out tracing paper onto the AA50 Gameboard and traced the entire thing. I then began with the cardboard (the thickness of cardboard used on the backs of notepads would be the best example).
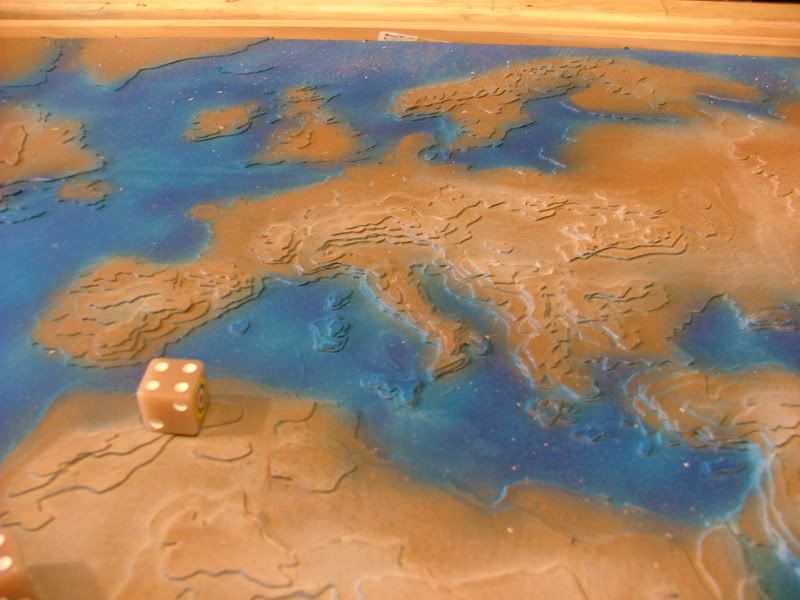
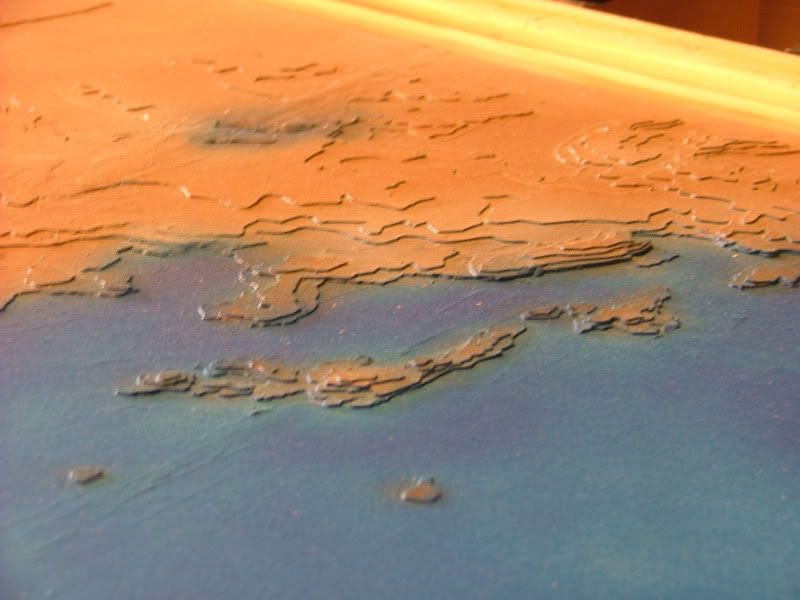
I would meticulously cut out each individual elevation from the tracing paper, trace them onto the cardboard, cut out the cardboard and contact cement them to the lower elevations until I had the entire continent completed.
First, I did Africa.
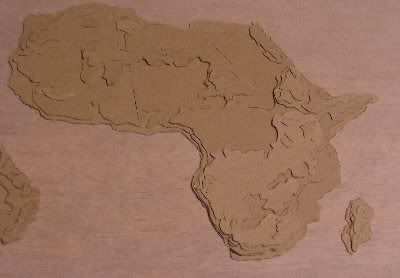
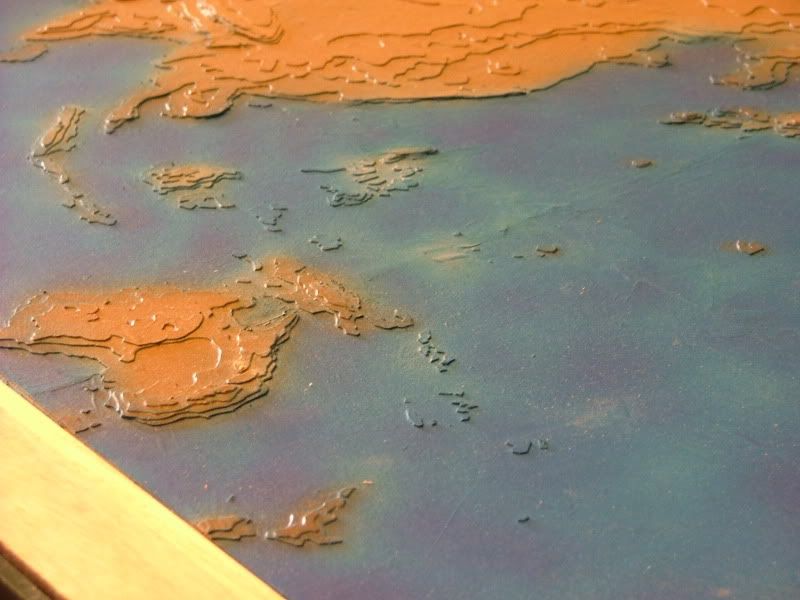
Then followed with Australia, Great Britain, South America and Europe/Asia, with North America for last.
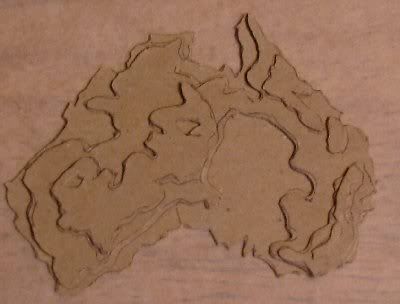
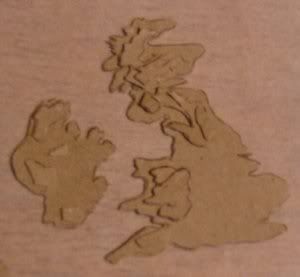
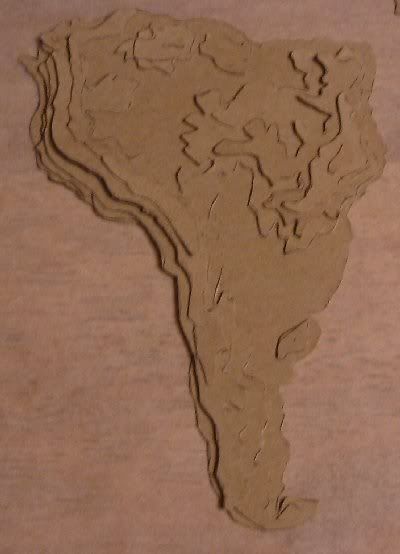
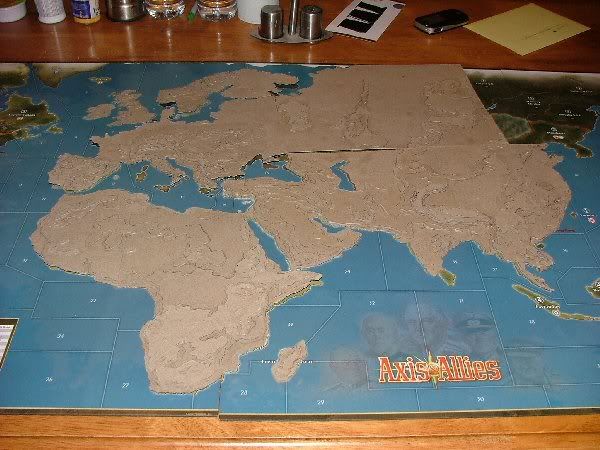
From this point I placed all of the continents onto a 1/4" sheet of MDF cut to the size of the AA50 Game board using, once again, contact cement and began placing all of the individual little islands (yes … every island, no matter how small was placed on the board).
Once the cardboard was all glued to the MDF, I primed the entire thing with spray primer.
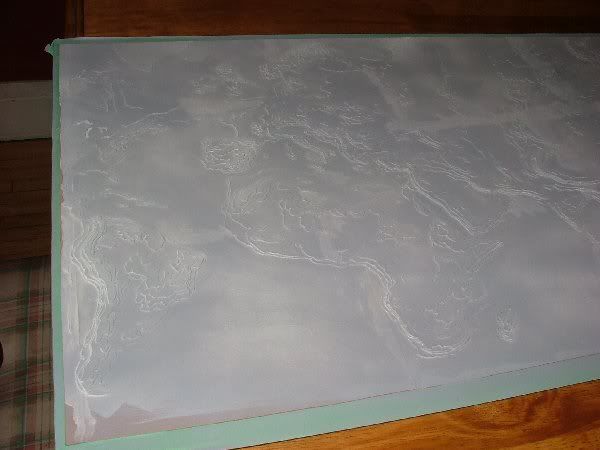
By the time I had completed this portion, I had spent the better part of a month, possibly 2 and then set it all aside for a long long time. Once the warm weather hit and my workshop finally got set up and cleaned out (after having been here for 3 years and it being nothing more than storage/junkpile) I got to work on the rest of the table.
The first iteration of the table I ended up scraping as it was never, ever going to be straight or level. Instead I ended up using a sheet of OSB to replace the pine that I origonally used, keeping the 2x3 edges.
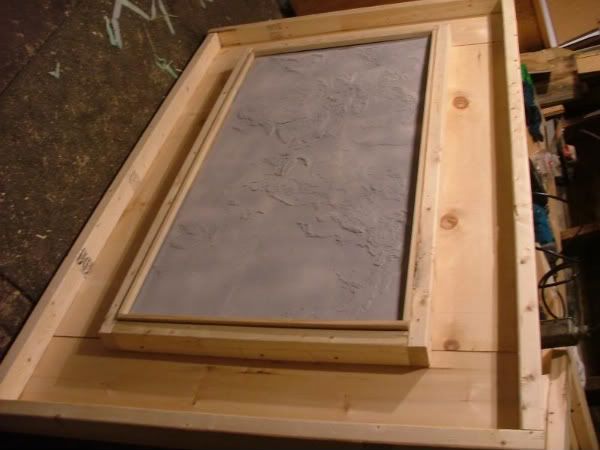
Once this portion of the table was done I built all of the boxes for my FMG Combat Chest trays to fit into. At this point I had started to airbrush the game board as well.
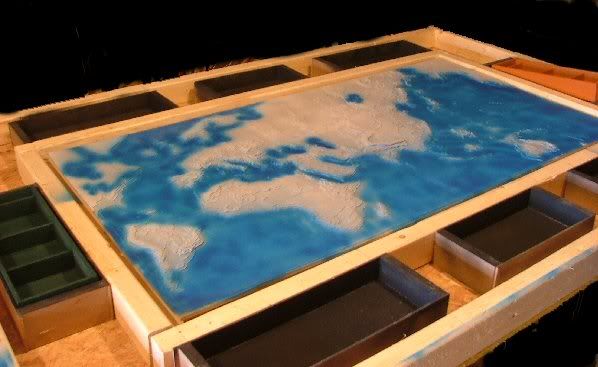
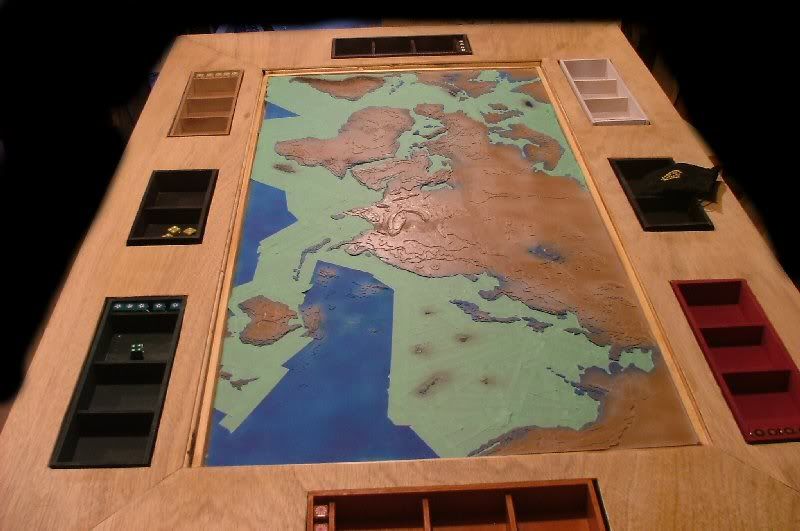
I then measured (a few times) and marked off the veneer top to cut the slots for the trays to sit under and glued it all together. While I waited for the glue to set and some foul weather to pass I taped off all of the water areas on the board so I could begin airbrushing the landmasses.
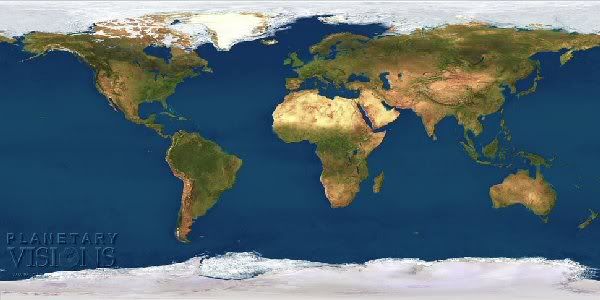
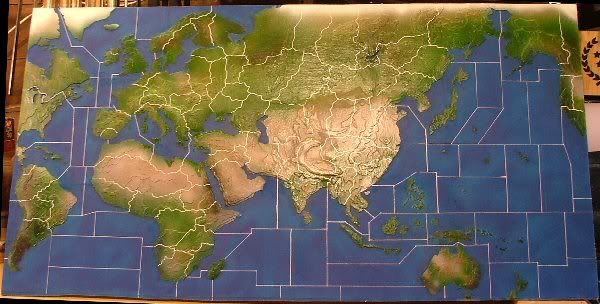
For the game board, I had wanted to match as closely as possible this satellite composite of the earth (taking into account the odd shape/sizing of the AA50 board);
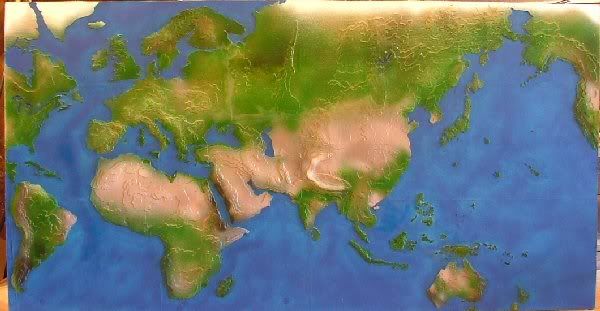
Once that had all dried, I could begin drawing on the borders and seazones with a fine tipped white paint pen and a ruler;
I later decided (on a suggestion from my brother) to put dice rolling trays in two of the corners, which I thought was a brilliant idea (plus it removed the couple of horrible joints I had)!
So, here is where we’re at now …
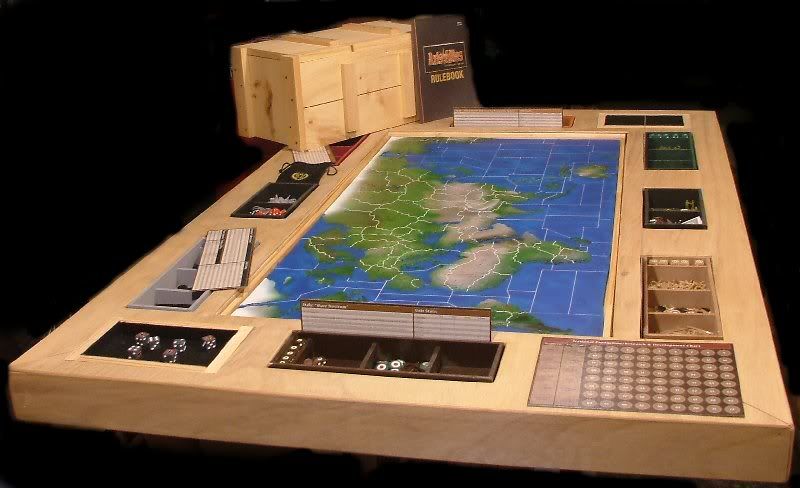
I still have to;
-
Label countries and seazones
-
Final coat of laquer
-
Trim off all the openings to make them look nicer/smoother
-
Glass top needs to be cut to size
-
Folding Legs
(is it just me or does this list get longer as I go along?)
From this point on there’s not much else I can show until it’s done.
I’ve spent just over $120 (canadian) at this point on this table and game board but taking into account the few items I already had from other projects, and the few items I still need to get to finish the job, I am going to guess a grand total of approximately $200 … and many many hours!
