SgtWilTan's mods and conversions of A&A pieces

  • Customizer

    AXIS
    HBG Panzer III and Scratch built ( Scratch is 1/285 while HBG are 1/300)

    HBG, GHQ, OOB Tigers. OOB Tiger, Early Tiger mod and in Panzer gray, Mid to late Tiger mod in Base yellow.  Size differences are that GHQ is 1/285 and OOB are 1/300 and HBG is somewhere in between

    OOB Panther from the Original A&A Europe, GHQ, OOB Ausf D mod in Base yellow, Ausf A mod in base Yellow. My panthers will not be in Panzer Gray as they were never issued in that color from the factories with the exception of some very late war desperation build using any paint available.

    German Lights
    HBG 38t, Mod with Scratch Turret,HBG Pz II, Scratch Pz II in gray and in the raw

    HBG 38T
    The rear 38T are scratchbuilt “what ifs” with a Puma turret and long 50mm.
    The middle row are HBG Hulls with Scratch built 38T turrets. First row are HBG stock models

    Sdkfz 232 6Rad to Sdkfz 232 8Rad.

    Model Size Comparisons
    Axis

    Allied

    Allies
    GHQ, OOB late, M4A3E8 mod, early OOB, Scratch M4A1 and Scratch M4 Sherman

    GHQ, OOB Matilda II, Mod and Scratch Crusader

    HBG Stuarts

    OOB, GHQ, OOB 1940 from late model T34s, basecoated and older style oob mod into 1940 model

    Basecoated OOB Mod, Raw mod, OOB, HBG mod, HBG with GHQ

    OOB Howitzers

    SCRATCHBUILDS
    Shermans: OOB, Scratch M4 with stowage, Firefly with Stowage

    More Shermans: OOB, Scratch M4A1, Scratch M4A3

    UK and Japanese Tanks: OOB Sherman, Scratch Crusader, OOB Ha-Go, Scratch Chi-ha

    Soviet Light Tanks: HBG T26, Scratch T26, Scratch Early Square turret T26, Scratch BT7M

    Soviet Mediums: HBG T34, Modified OOB, Scratch T34 ( OOB mods are now obsolete)

    Panzer Gray: HBG PzIII, Modified Version1 HBG, Scratch PzIII, HBG PzII, Scratch PzII

    Desert Yellow: Scratch PzIV G, Scratch Pz IV D and F1, Scratch Pz III L, HBG PzIII

    Prototypes

    OOB M15-42 to M13-40/M14-41, M3A1 Halftrack, US 105mm Howitzer, Russian 76 mm divisional gun M1939 (USV)Canadian Sherman Firefly, Anzac short 25 pounder used for jungle fighting.

    The Scratch builds are 20 Years old and I still haven’t finished painting them.
    If you want to see some great scale comparisons, look here.
    http://www.axisandallies.org/forums/index.php?topic=28294.0


  • air filters on the Tiger 1
    sideskirts on the Panther
    exhaust covers on the T 34
    mantlet and bogies on M4 Jumbo
    good stuff dude!

  • Customizer

    Sgt.,

    I commend you on the level of detail you’ve raised your pieces to. EXCELLENT!
    I look forward to seeing the paint jobs you put on them. Keep up the good work!

    “Tall Paul”

  • '17 '16 '15 '14 '13 '12

    I dont know what to type :-o

    Holy crap!!!  they look great, my 5 year old said thay looked like candies…I had to laugh, and then I sent him to his room.

    Well done my man!!!

  • Customizer

    Malf, you know your stuff.

    The early panthers are in the final stages of construction and work on the first Tiger Platoon has begun. The second will also be started and will only be slightly different in terms of stowage and turret version. The panthers just need the stowage and smoke dischargers and a week to dry before the first base coat.

    The HBG PzIIIs (75 out of 90) are finished…I think. I’m not sure if I want to add the Mantlet vision port covers.
    15 ausf. H are still waiting on their turret.

    10 HBG Pz38t’s are done and base coated but I have removed the turrets and scratchbuilt my own. They look more realistic.
    I’m also going to prototype a Type 95 Ha-Go using the 38t Chassis.
    I’ll get more pics up soon of my other scratchbuilds which I made for the original MB version of A&A.

    Thanks for looking all.


  • Pleasure looking.


  • Very nice piece. Cant wait to see them fully painted.

    Just a question:
    What kind of paint are you using, because I wanted to paint the jap tiger and plane in black and german boats (that are jap scults) in orange from the 1941 game.

  • Liaison TripleA '11 '10

    @wittman:

    Pleasure looking.

    That’s… an interesting comment.

    One man’s plastic is another mans Pr0n? :P

  • Customizer

    I use Model master paints without priming since at this scale the paint buildup quickly blobs out the details.
    I prefer spirit based paints since they “eat” into the plastic and adhere better. The only prepaint prep I do is to soft scrub wash in warm soapy water to remove any oils and dust that could cause the paint from sticking. Plain black spray paint from WalMart made for plastics will work great. Don’t stay in one place at all while spraying. Use a linear movement from 8 inches to a foot away. It’s wasteful for single pieces but since I paint in bulk while base coating, one can will last up to 100 or more pieces. Be patient and do one or 2 passes and apply other passes from different angles 15 minutes apart or you will end up with goop.


  • Good stuff! I blew it waiting to buy the 100 count 38s till after I got the 111/Hetzer.
    You creeps bought them all.I wanted to try to do do some late war conversions to
    Katchens and some Swedish post war APCs.I did manage 10 more on the new order,
    which was my largest to date!

  • Customizer

    Sgt.,

    Here you go.

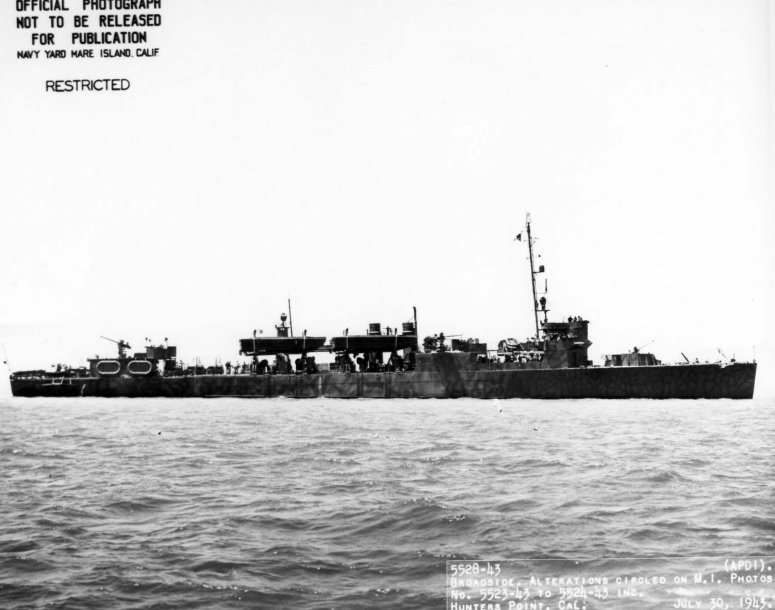
    ––The 1st pic is like the 100 FMG Italian Sea Transports I sent to you for
    Cargo Transports. I like the cargo hold covers & life boats. They’d look great with cranes + a few other details added.

    ––The 2nd pic is of the OOB “2nd-Edition” Anzac Sea Transports that I haven’t mentioned to you yet. These look really good for Troop Transports. What do you think???

    “Tall Paul”

  • Customizer

    Sgt.,

    ––On the FMG Italian Sea Transports. These will work great in representing
    (AK) CARGO Transports.

    –A pair of twin cranes, centered between the 1st/2nd hatches and between the 3rd/4th hatches. The cranes being a vertical staff with the fulcrum part of the cranes at 30 degrees facing both fore and aft.
    –A large gun tub on foc’sle(flat area up front) and smaller ones where they fit.
    –Removal of the two-step building on the poop deck(rear). The national ensigns will go here.
    –Any other details you think would look good on the ‘prototype’.

    ----On the OOB 2nd Edition Anzac Sea Transport. These will work great in representing (AP) TROOP Transports.

    –Removal of the large building on the poop deck(rear). The national ensigns will go here.
    –Cranes wherever they’ll fit.
    –Gun tubs wherever they’ll fit
    –Any other details that you think would look good on the ‘prototype’.

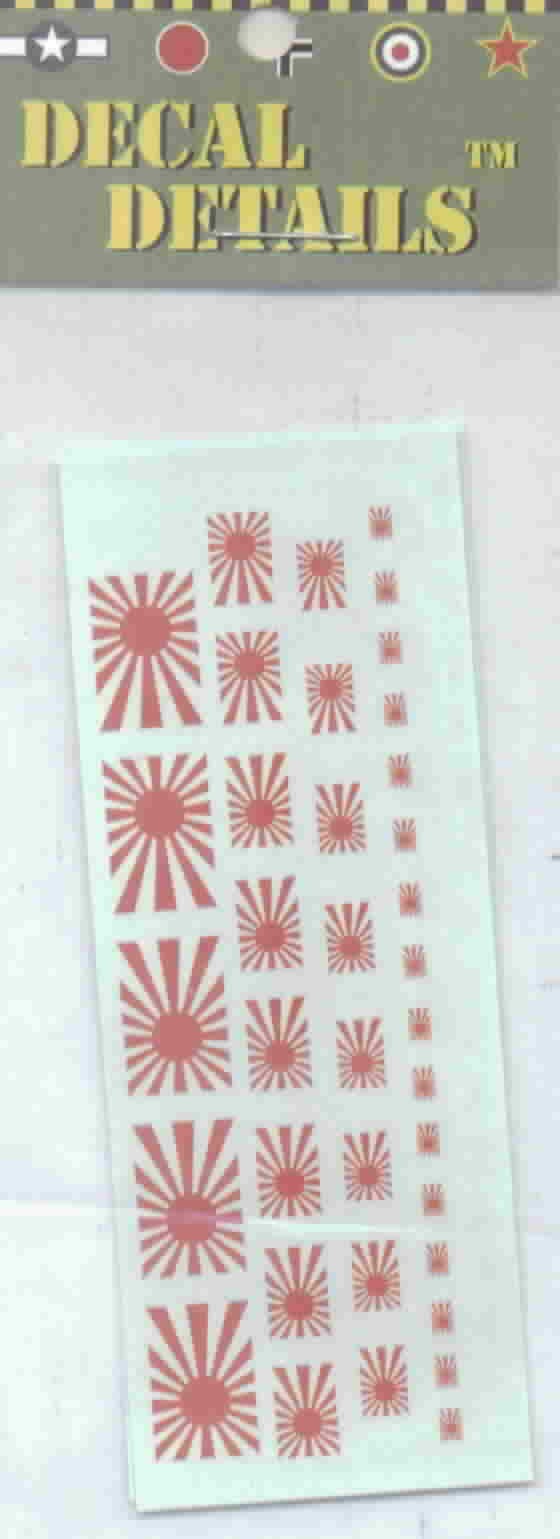
    ----Here’s a pic of the I-94 decals that will be used on the stern decks of the American and Japanese ships.

    “Tall Paul”

    US119.jpg
    JP102.jpg

  • Customizer

    Really cool stuff there Sgt!  Awesome.  I mod my infantry infantry in much the same way - never thought about doing that to other units. Gonna give it a try.

  • Customizer

    Thanks V, I got the idea from your work so that when I paint the pieces, they will be worth the painting effort.
    I will also be using these pieces for other games as well.

    Paul, I’ve got the prototype for the Cargo carrier made but have not taken the picture as I have a bunch of pictures to take for other projects. I’ll try to get them to you by the end of the week.
    The prototype is 2 masted with cranes going fore and aft with a pair of gun tubs port/starboard on the lower deck with a larger gun tub on the Foc’sl. I think this is the design I’m going with. I’m using plastic since metal rods require quite a bit more pressure to insert and can result in more cast-offs. The design seem pretty durable but will require some care in storage. The care will be the same in keeping your painted pieces looking pristine and unchipped from wear. The paint and lacquer coat will also add another layer of durability in the end.

    I have also started on some of the arty but mostly just prep work before the real modding starts.
    Hope you like.

  • Customizer

    From mine? Wow… I did do some mods (mostly infantry, but also the Russian carrier and Italian craft) - but nothing in comparison to the good stuff you have going on.  I’m excited to see what yours look like once they’re painted up Sarge - and have started retooling some of my stuff as well  Much obliged for posting the pics!

  • Customizer

    V, Your anniversary pics on Boardgame geek gave me the painting ideas but I wanted to use my A&A pieces detailed enough so I wouldn’t have to use GHQ lead tanks for my board games. I actually scratch built plastic tanks for the original A&A game before the A&A expansion and evolving scope of the gaming pieces.

    I should have new pics of the Tigers in basecoat Panzer grey along with 45 HBG modified and detailed Pz IIIs. I may post more of my old scratch builds and in progress prep work of Shermans and Matildas. I may even have time to basecoat the panthers in DunkelGelb just to see what they look like base coated. I’m too much of a historian to paint my Panthers in grey. I’ll be using the Panzer IIIs for my A&A board games rather than the Panthers and the Tigers will be the elite upgrades. Panthers did not reach the front till 1943 while Pz IIIs and Pz IVs were used thoughout WWII.

  • Customizer

    OOhh… ahhh… let’s see those photos Sgt, I’m anxious.  eh eh eh

  • Customizer

    Re-Organized
    Now on 1st Page

  • Customizer

    Wow! n Cooolll…  So I gave my hand at it… ehhh, my first go on a Panzer was terrible… gonna just cover that one up, but trying a second out…

  • Customizer

    I’ve been doing this for decades and it took a long time to learn.
    You can actually use different shades of paint to give some form of depth without having to make everything truly 3d.
    Look at some of the modelling sites to get an idea. Also look for 1/72 scale paper models. They basically do a basic 3d model and the print work
    gives an illusion of depth even though most of the model is flat sheets. I choose the full 3d route and enjoy the results but have not really
    used them for gaming where they get a lot of handling. Try just extending the glacis below the tank treads and fill in the other details with lighter or darker paint to create an illusion of depth.

    Here is an example by Chagadeil for just using paint to add depth

Suggested Topics

  • 6
  • 8
  • 7
  • 21
  • 16
  • 66
  • 19
  • 11
Axis & Allies Boardgaming Custom Painted Miniatures

217

Online

17.3k

Users

39.8k

Topics

1.7m

Posts